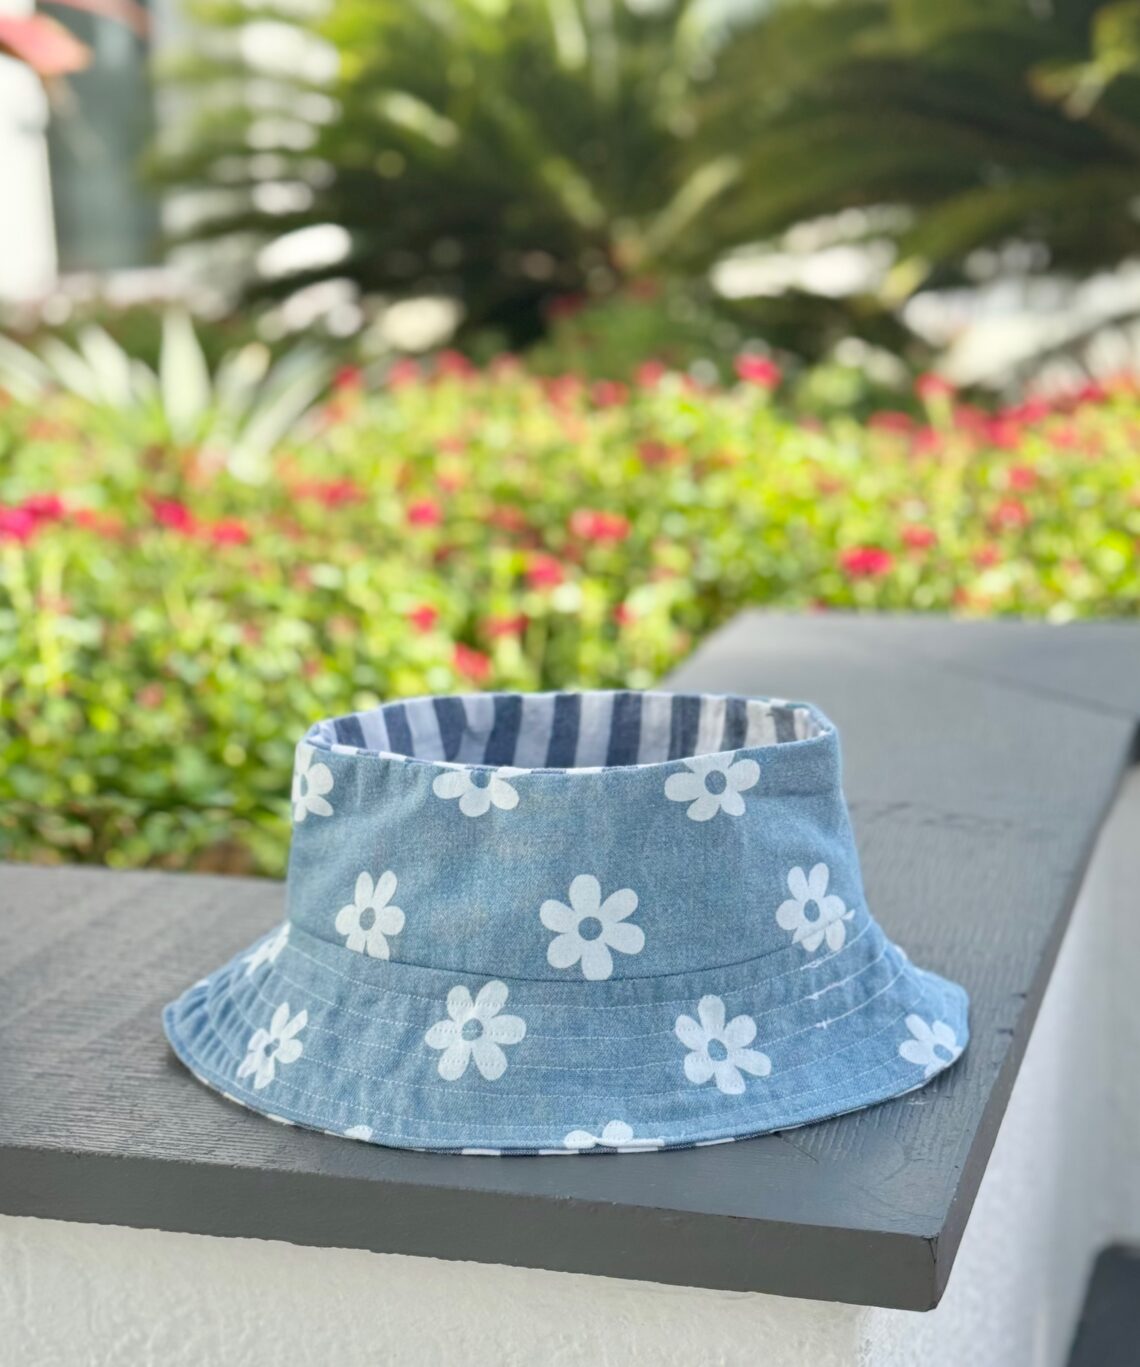
DIY Open-Top Buckethat *free pattern*
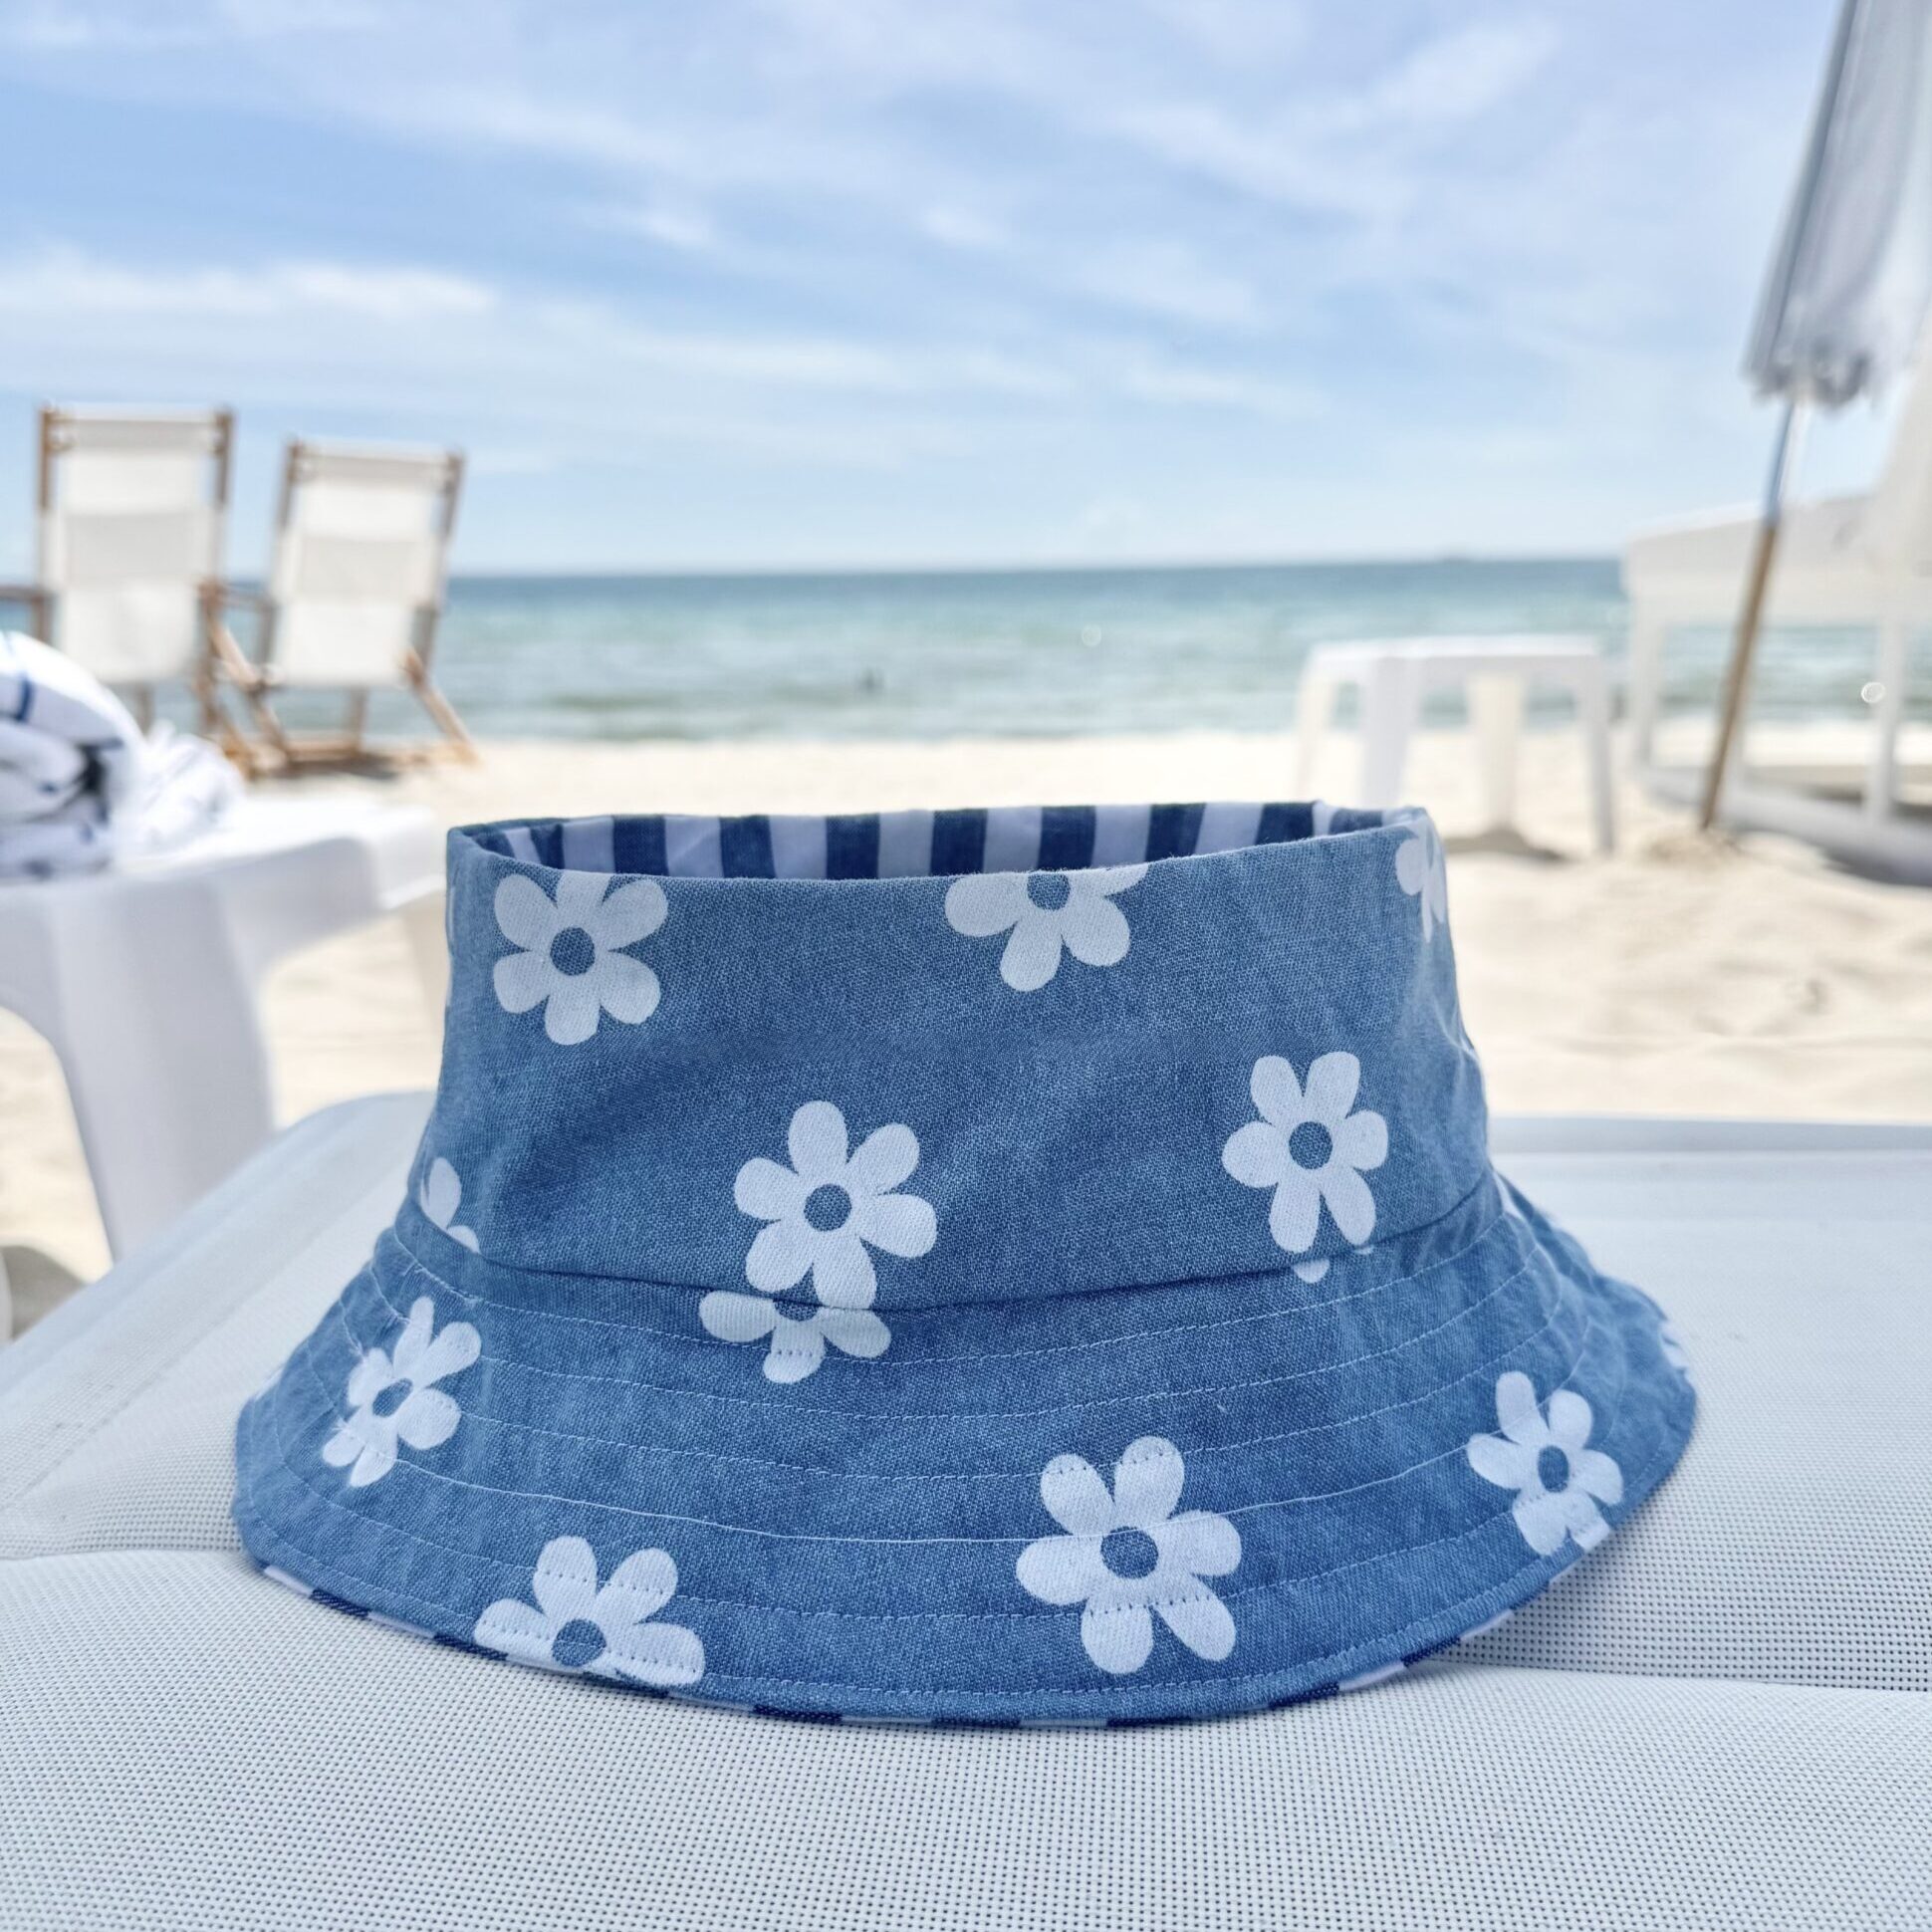
Hello, hot summer days! The bucket hat is the ultimate summer accessory for breezy beach days, but I also love to wear my hair up in the summer, so I created this hat so that I can style my hair how I want! Plus, it gives me all the shade I need. And wanna know the best part? It’s reversible! That means two fun looks in one, so you can switch up your style without packing extra hats. Whether you’re lounging by the beach waves, strolling the boardwalk, or just enjoying a sunny afternoon, this hat is as practical as it is cute. The pattern is inspired by Misaki Sewing with some modifications. In this blog, I’ll show you how to make your very own open-top bucket hat that’s perfect for summer adventures. Grab your favorite fabrics, and let’s dive in!
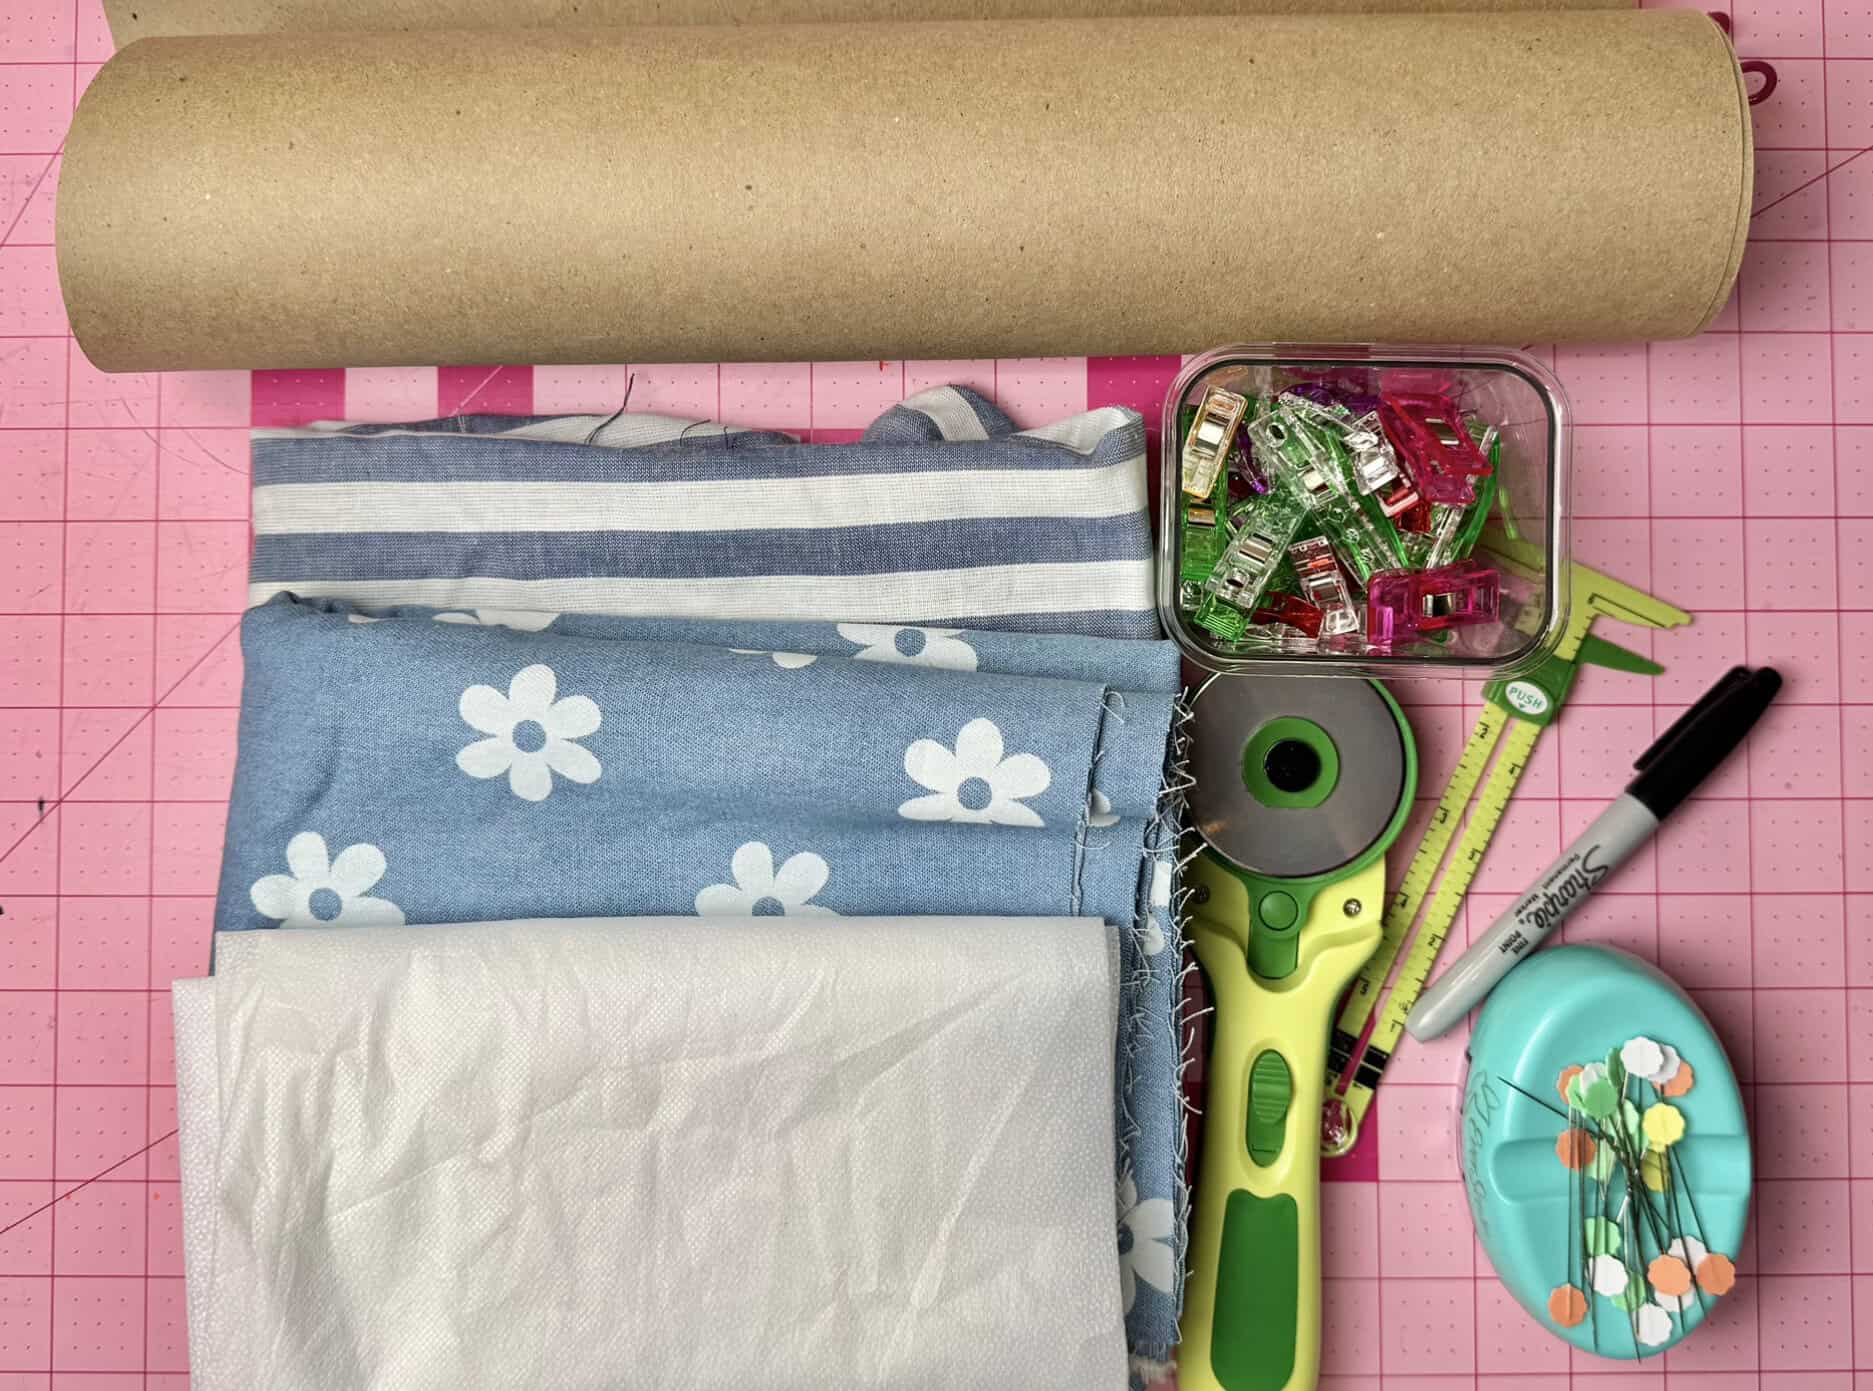
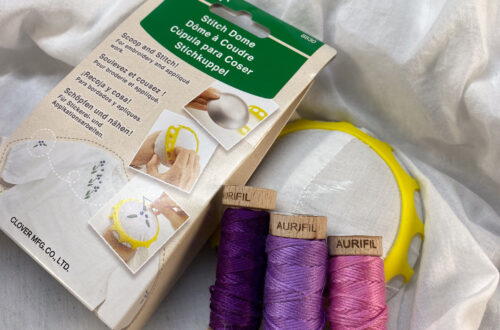
MATERIALS:
- Clover Rotary Cutter (60 mm)
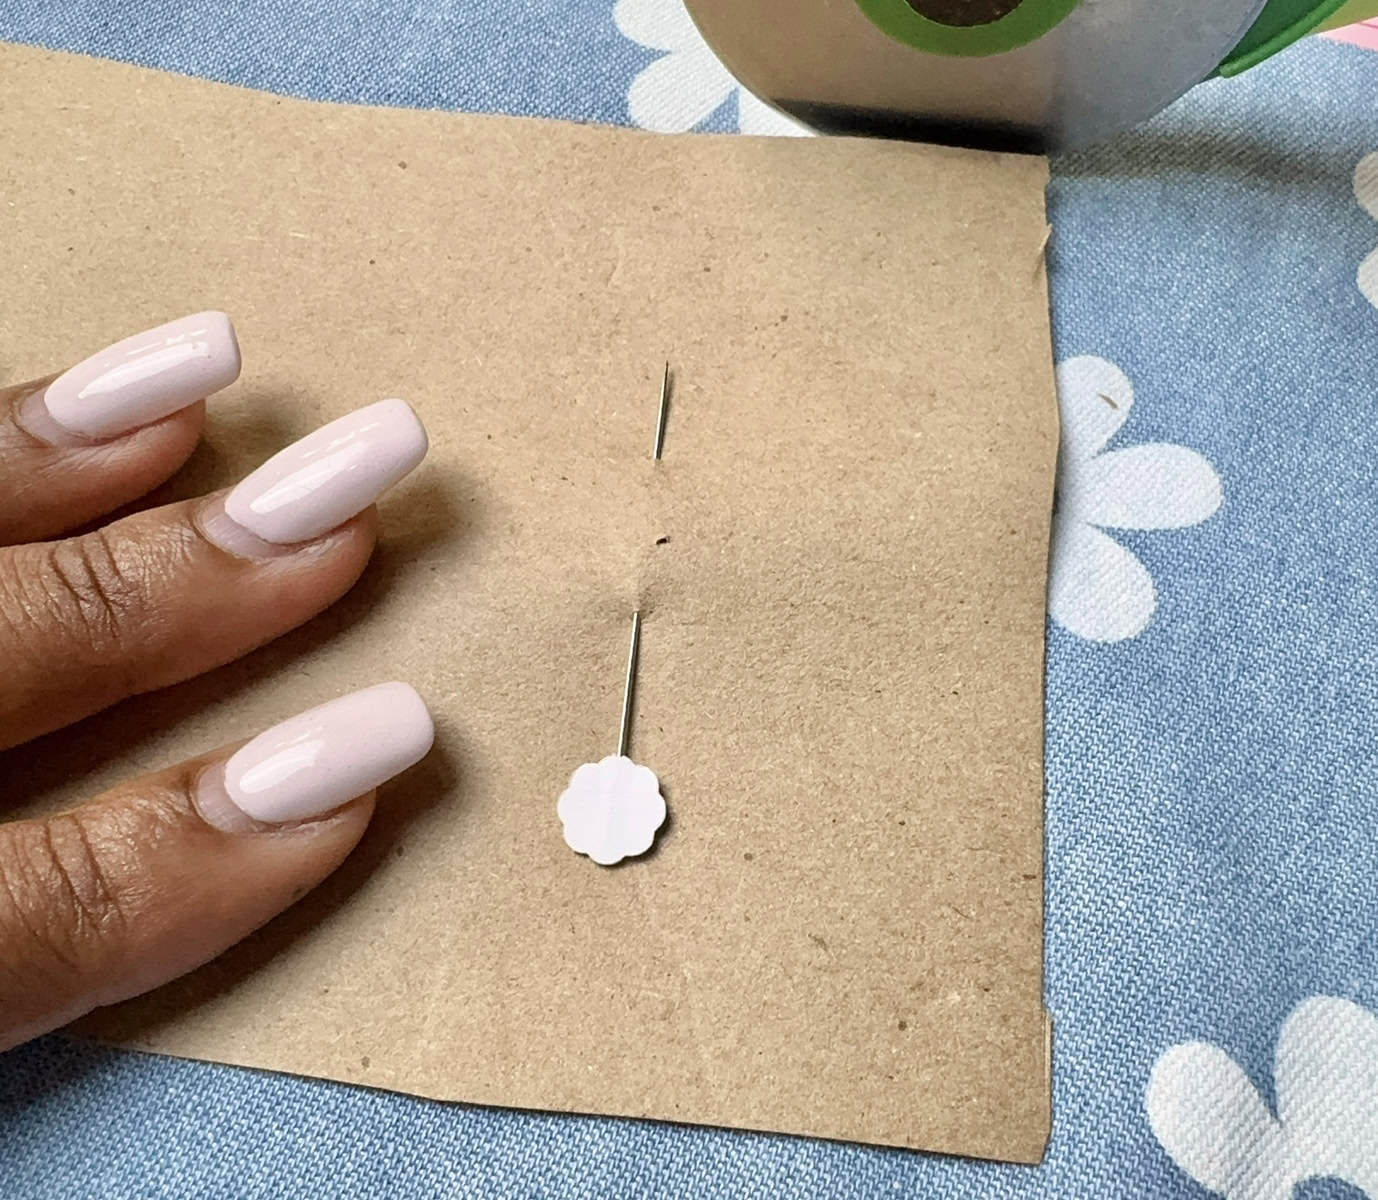
- Clover Flower Pins
- Clover Wonder Clips
- Clover 5-in-1 Sliding Gauge
- paper
- marker/pen
- 2 woven fabrics (¼ yard each)
- medium-weight interfacing
INSTRUCTIONS:
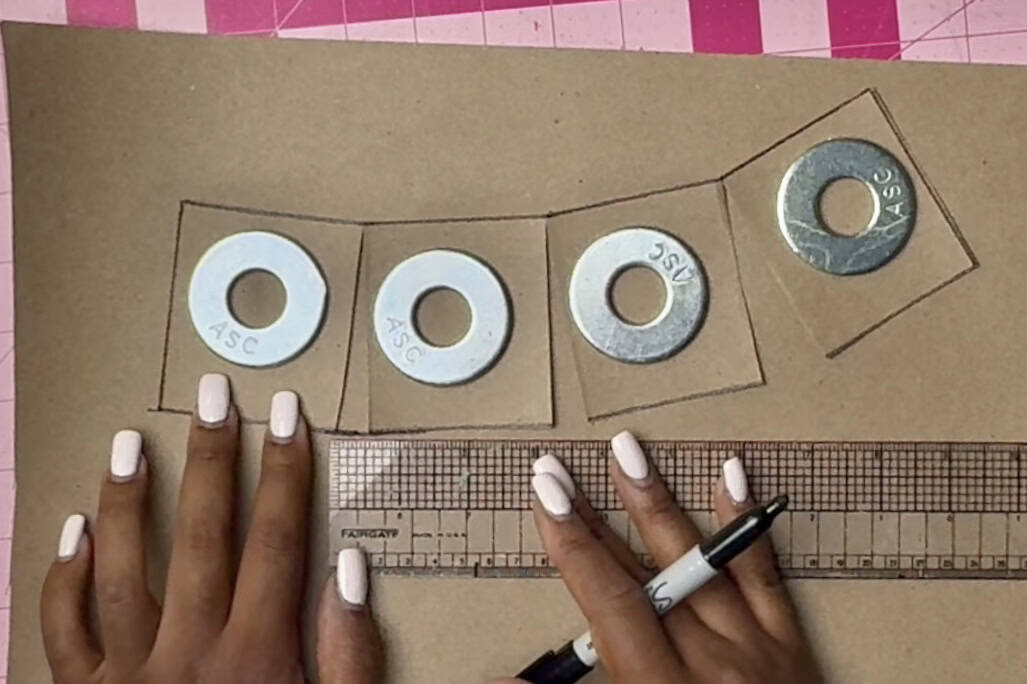
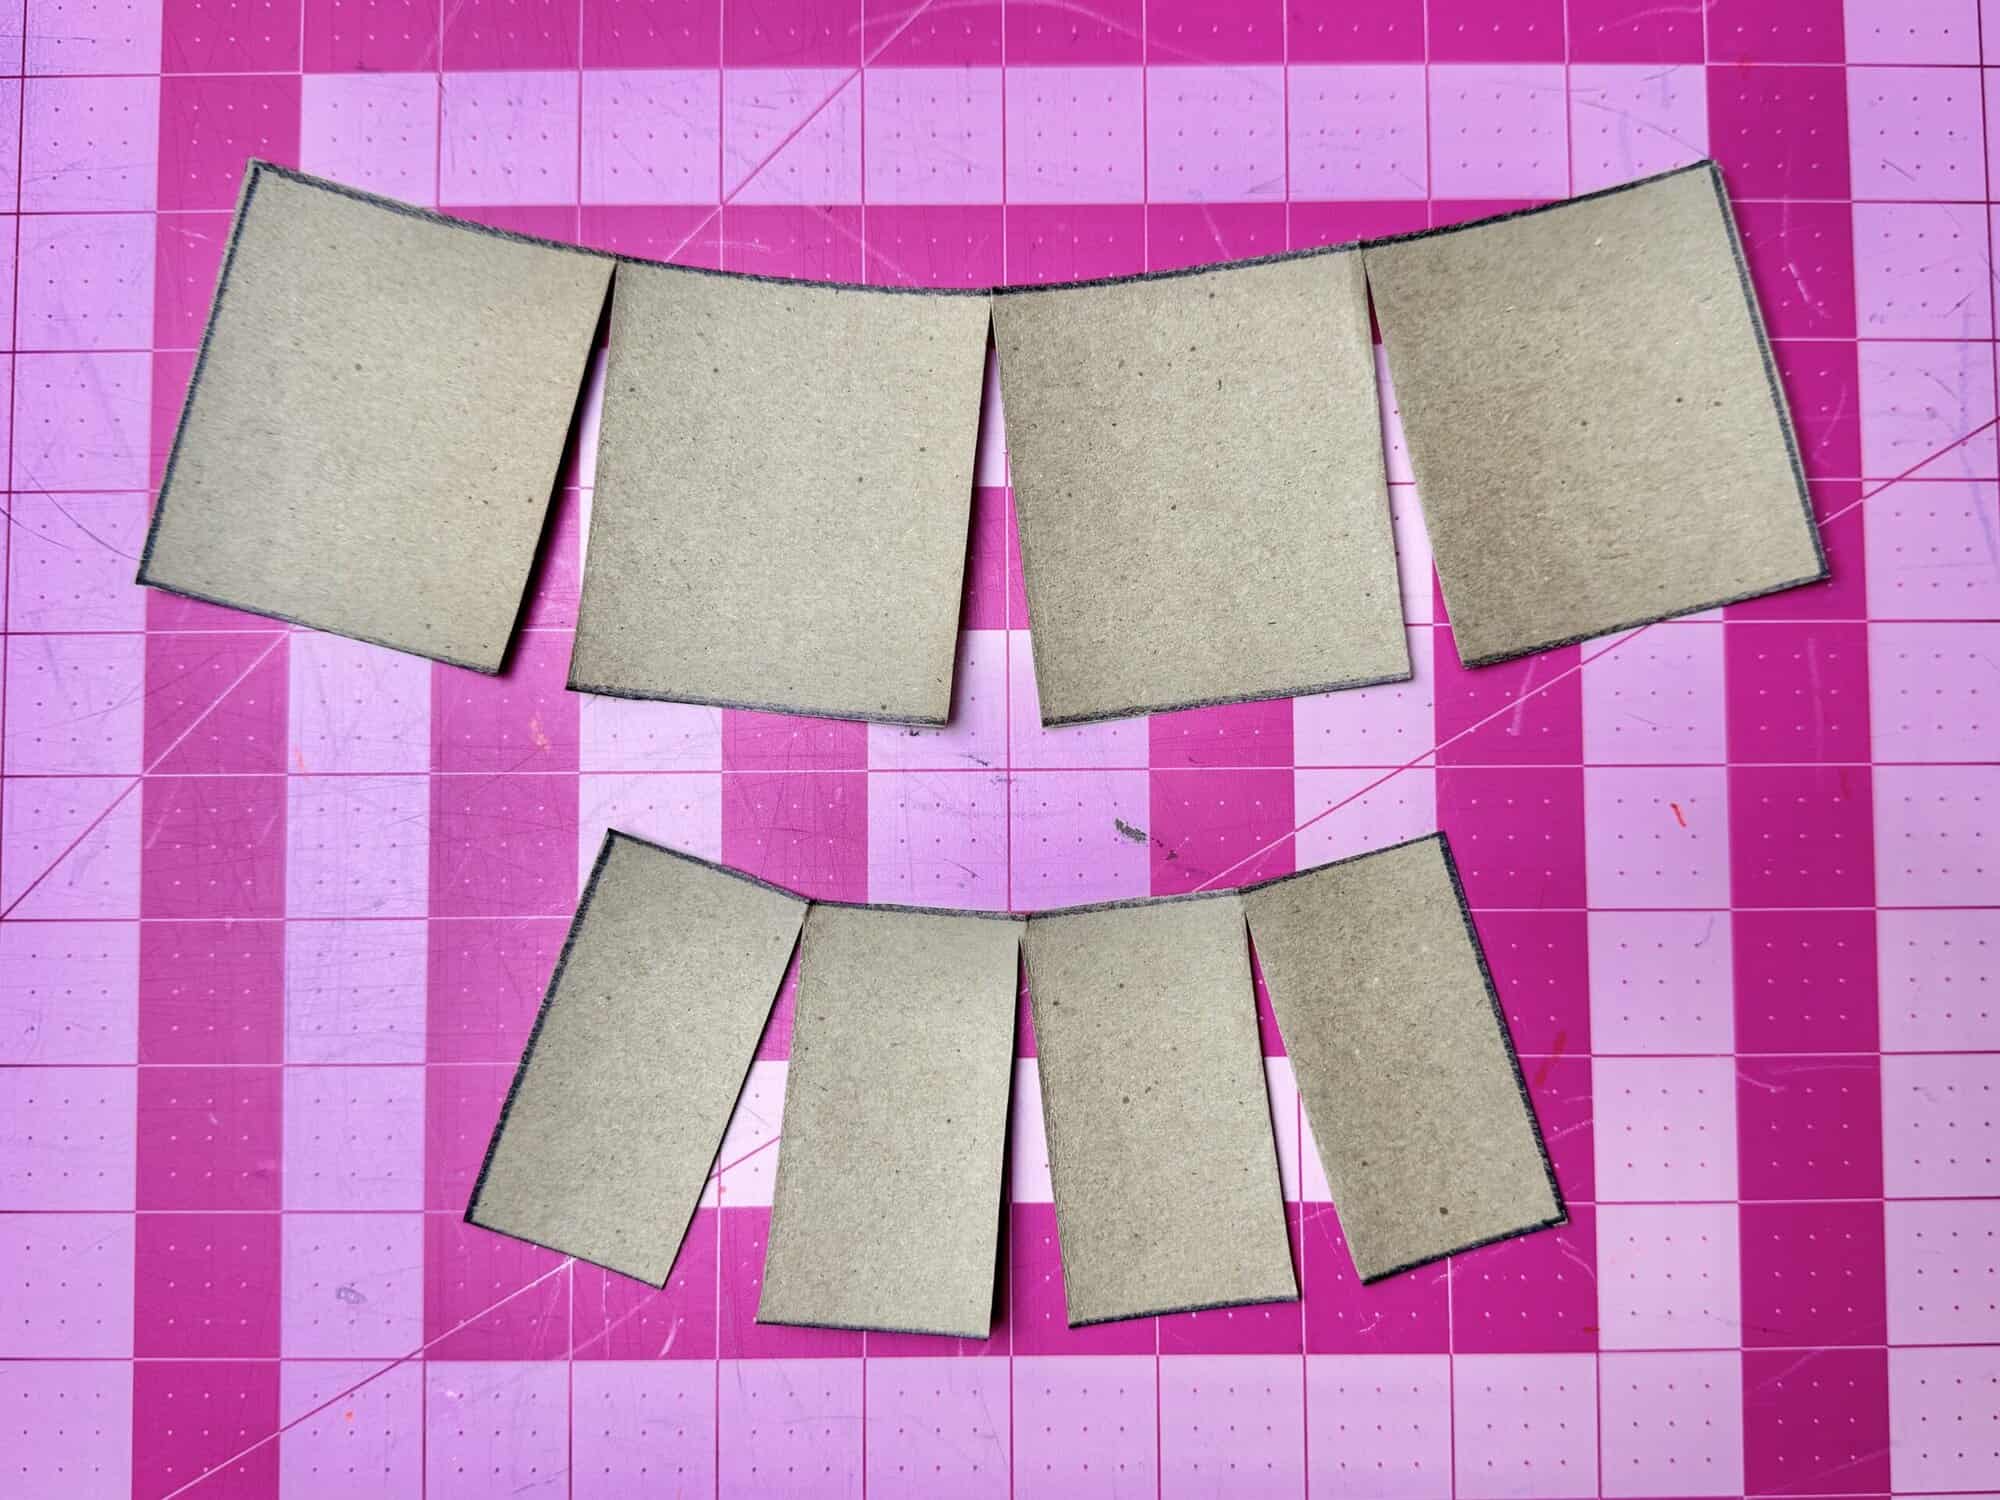
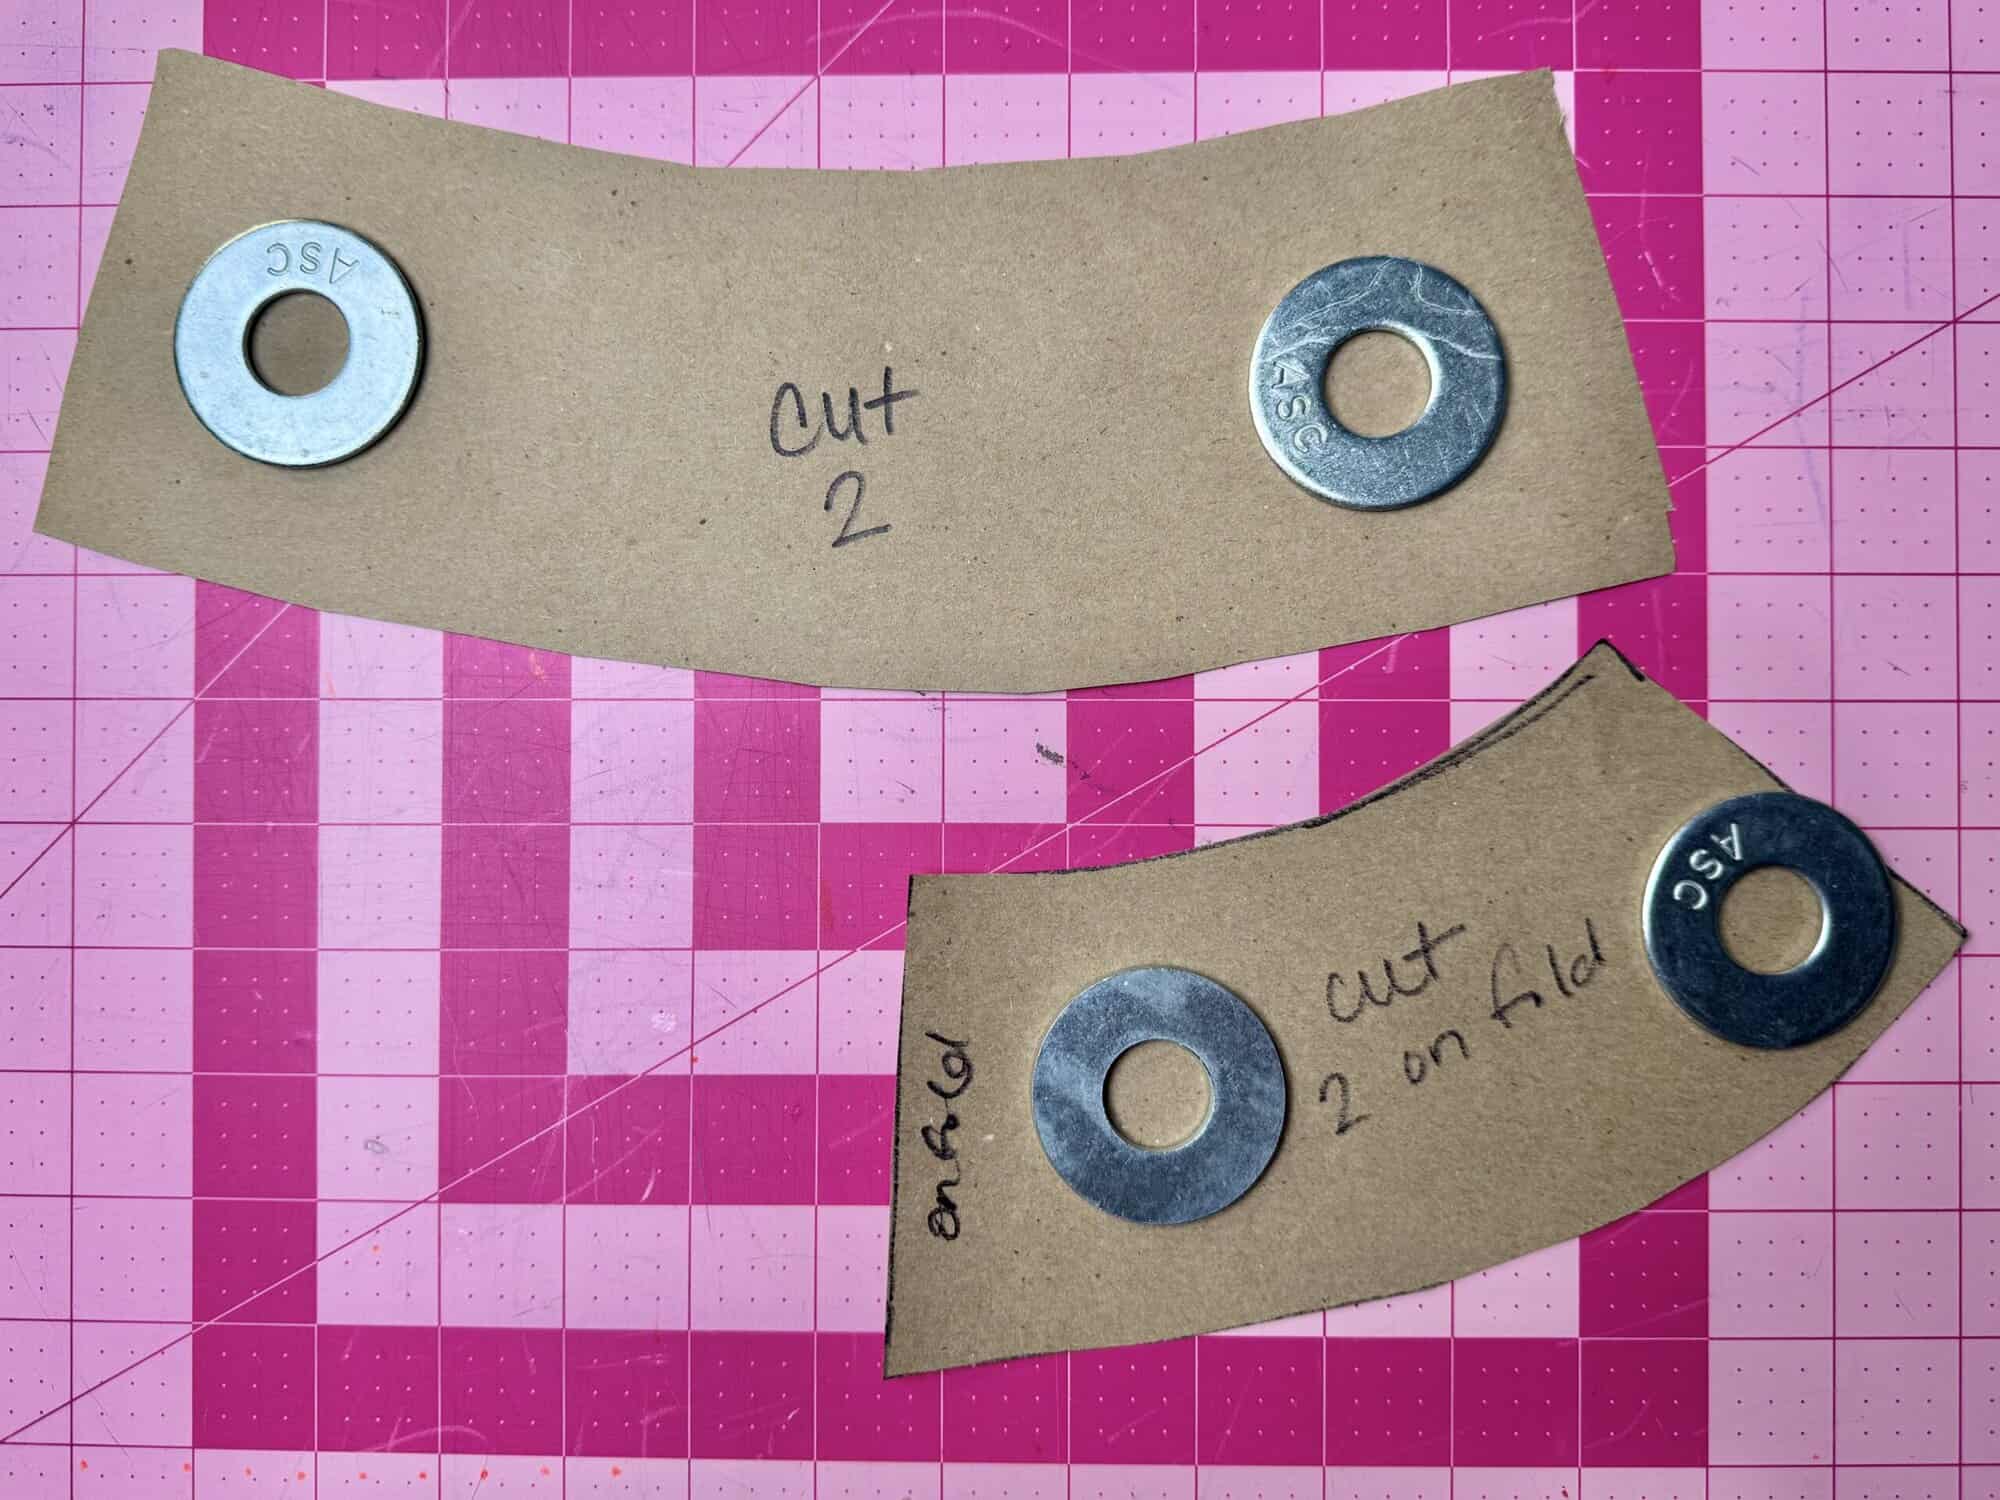
STEP 1: Draw the pieces for the pattern of the open-top bucket hat. The measurements for the hat circumference is 10 inches x 3 inches and the measurements for the brim is 6 inches x 3 inches. To create the curve of each piece, fold the pieces into 4 even pieces and cut at the fold from one end of the other without separating the pieces. Use that to curve the pieces, leaving ½” in between each new piece. The brim will be on the fold. Cut the new pieces out, using the Clover Flower Pins, leaving ½” around each piece as the seam allowance. You can use the Clover 5-in-1 Sliding Gauge to create the seam allowance. These are going to be the pattern pieces.
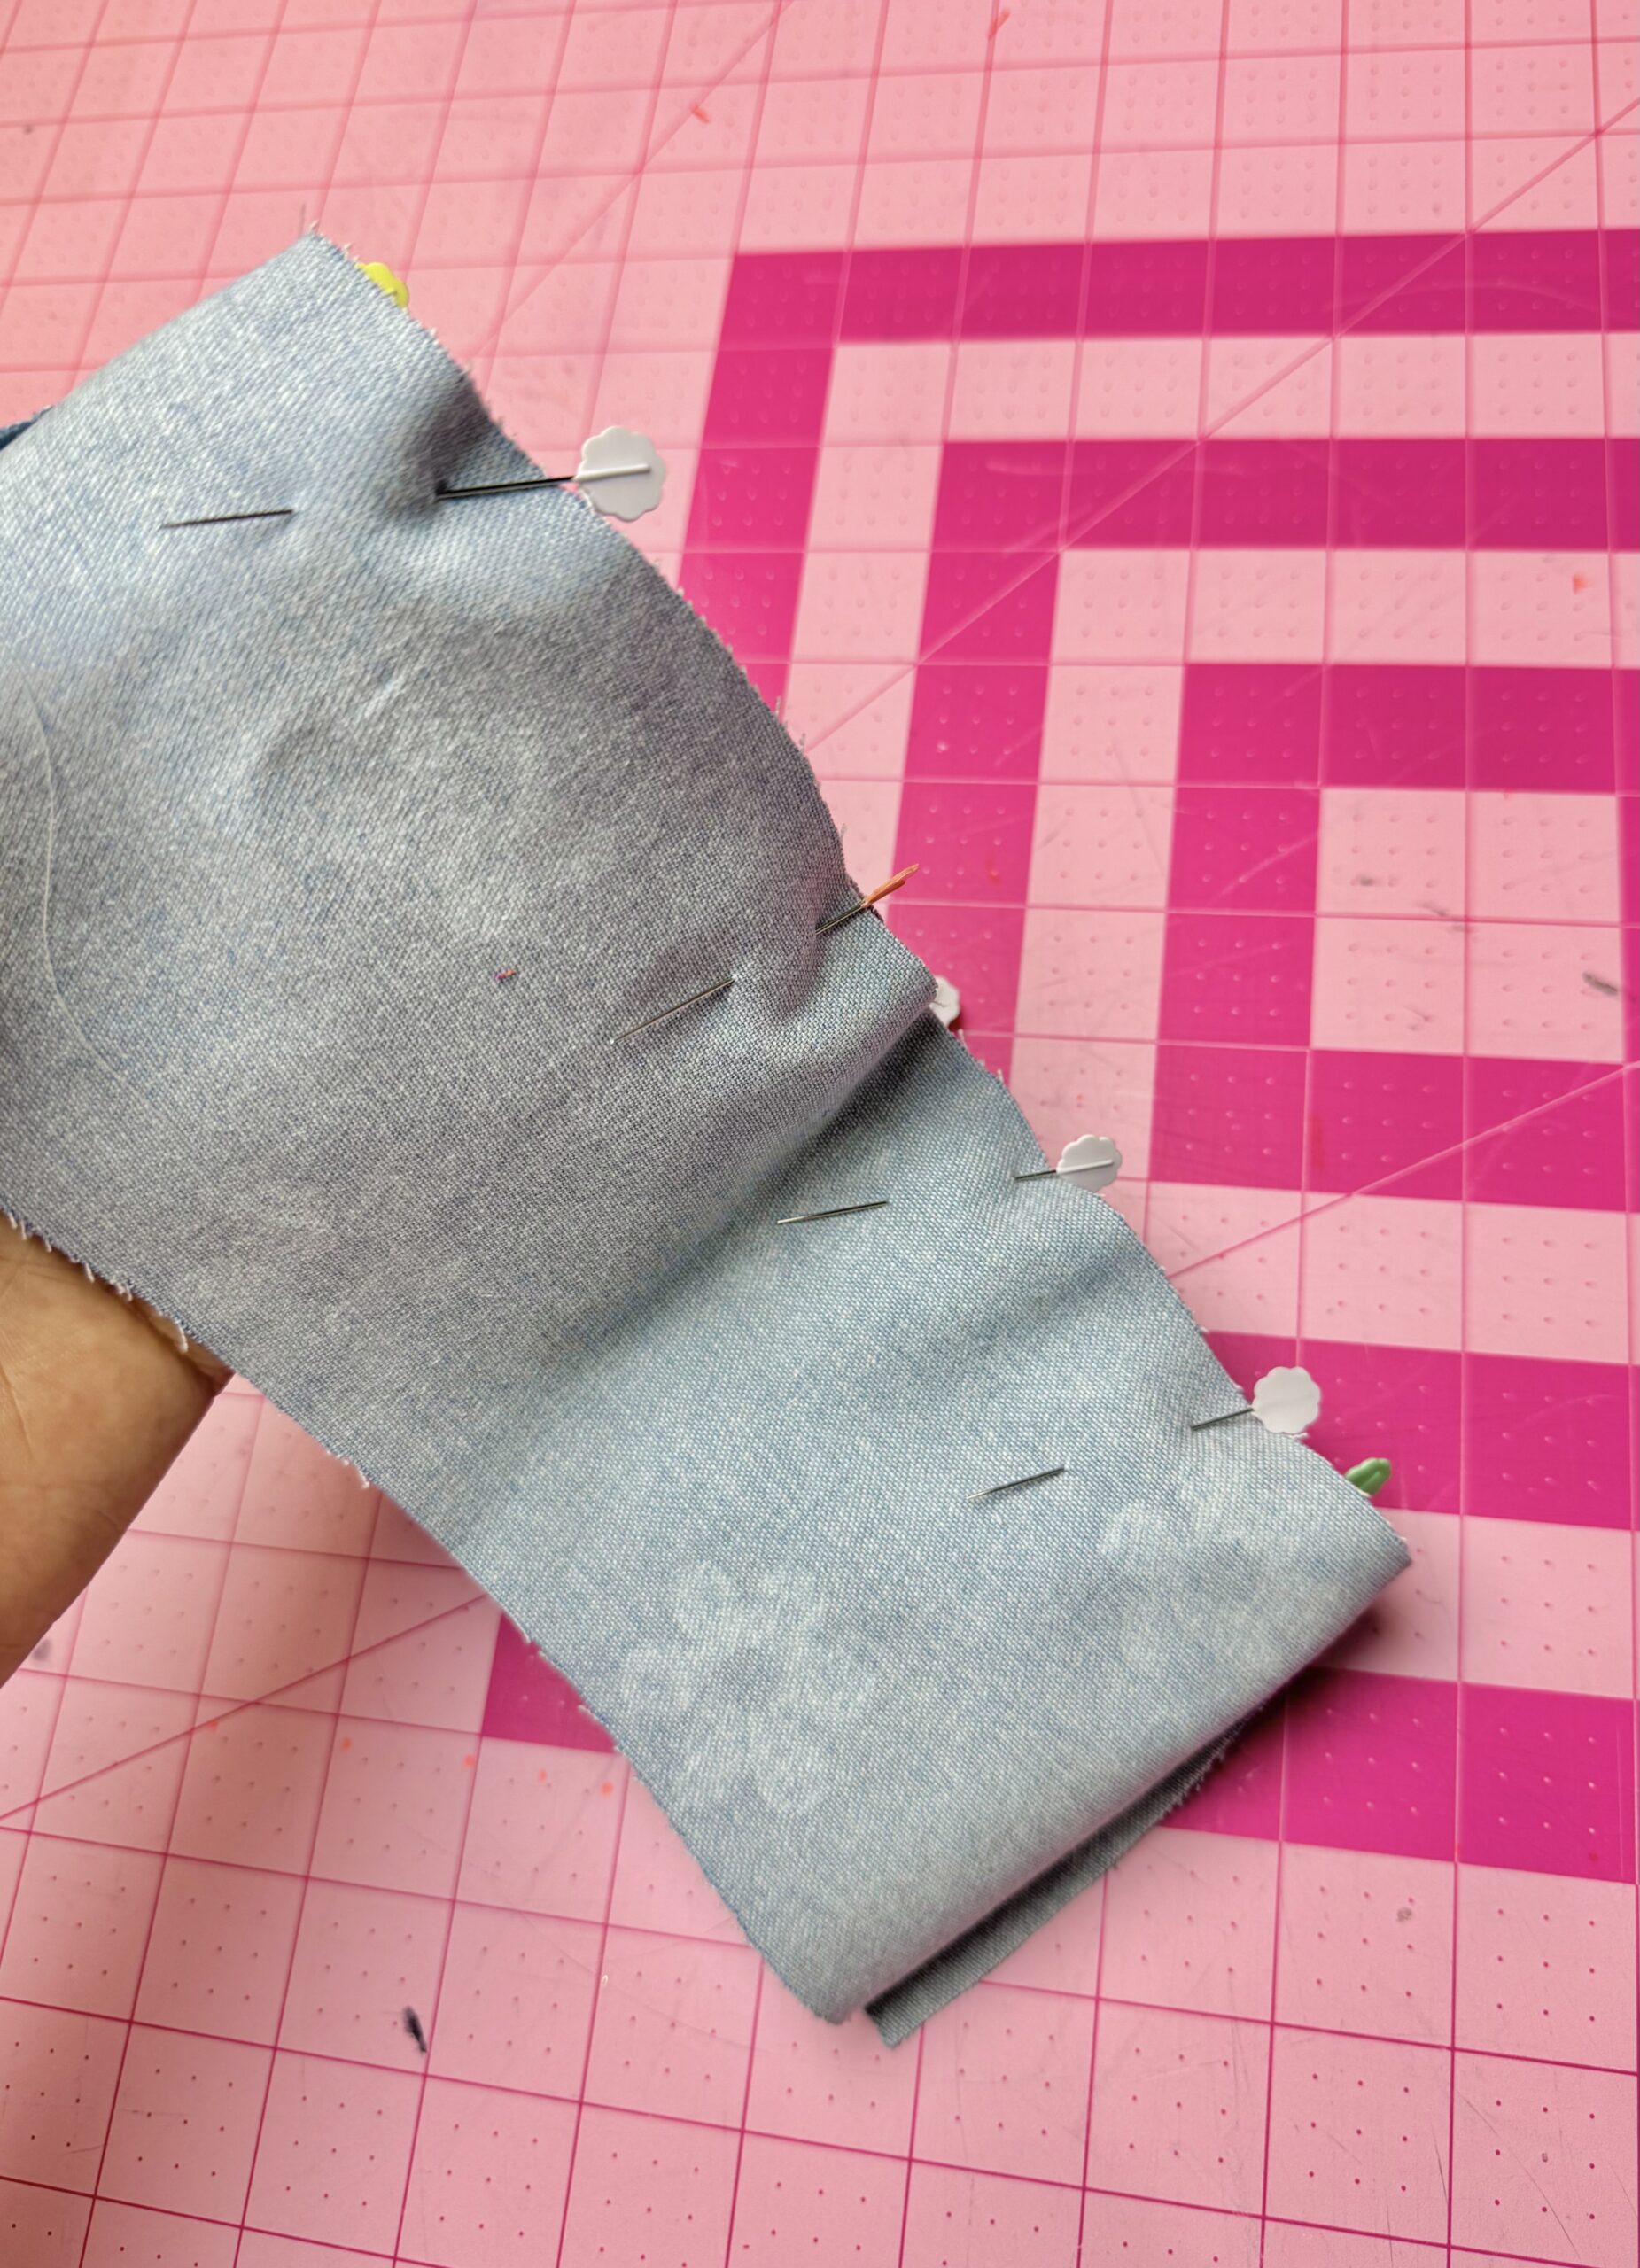
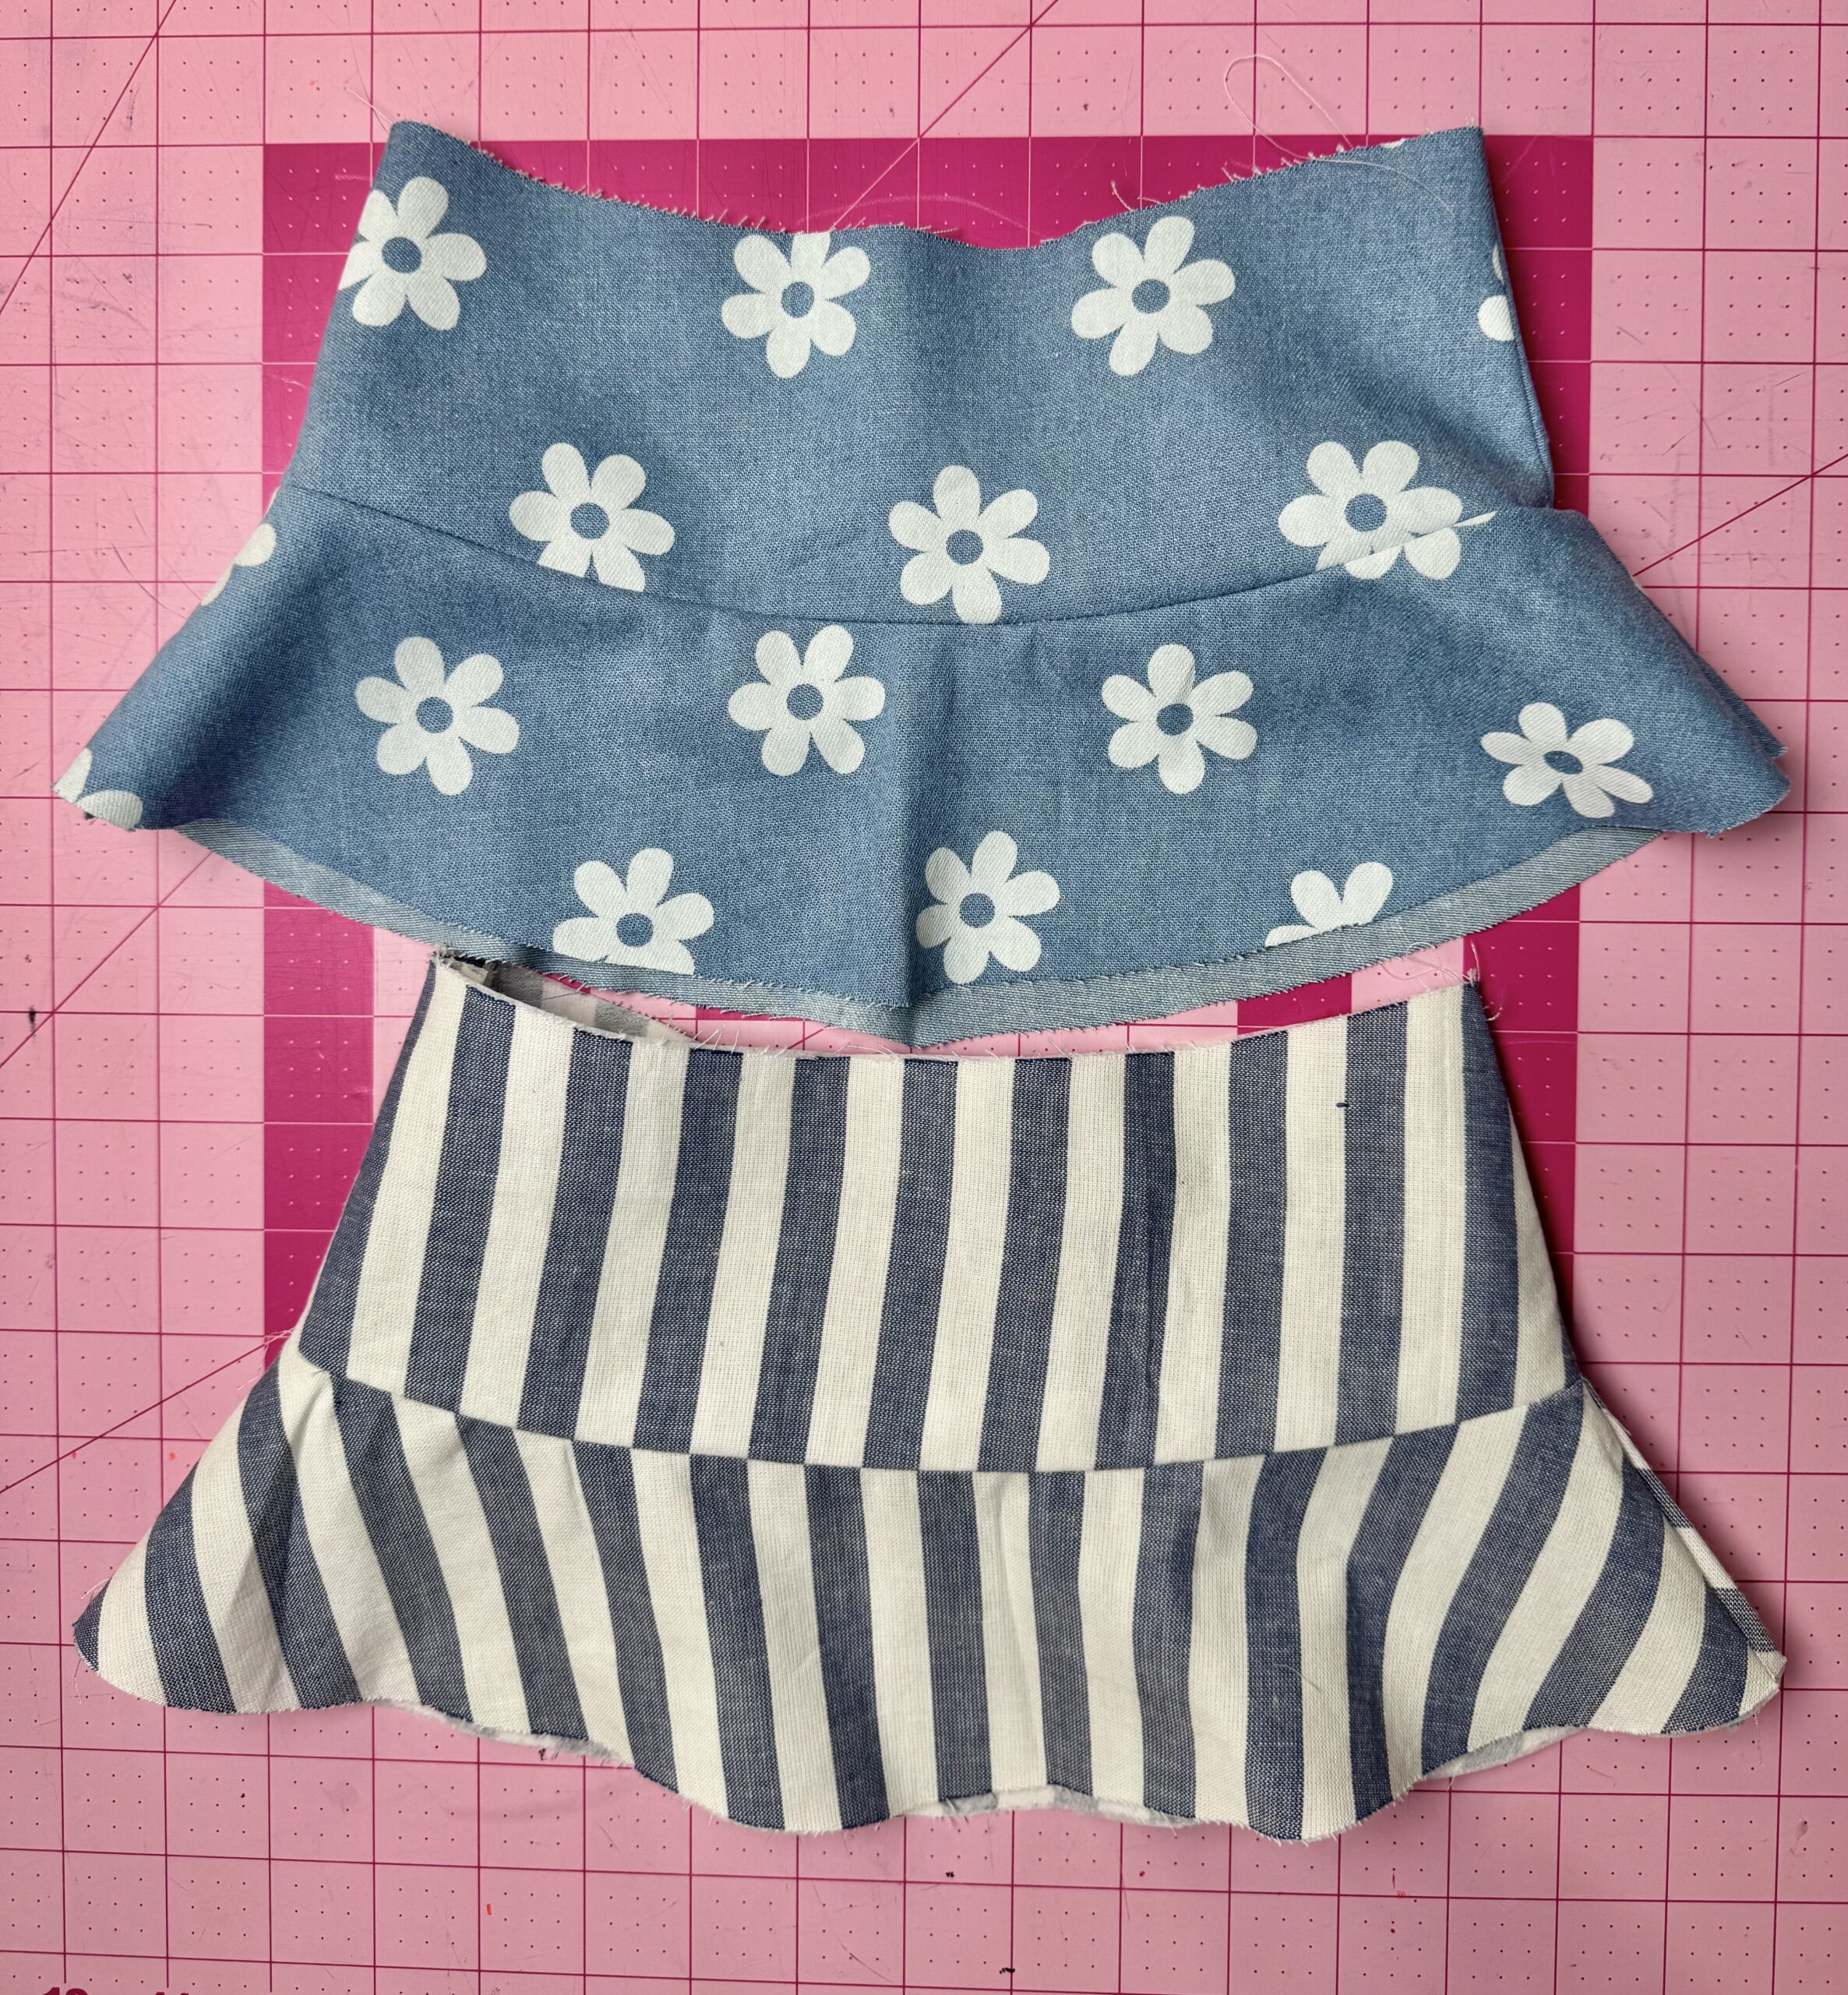
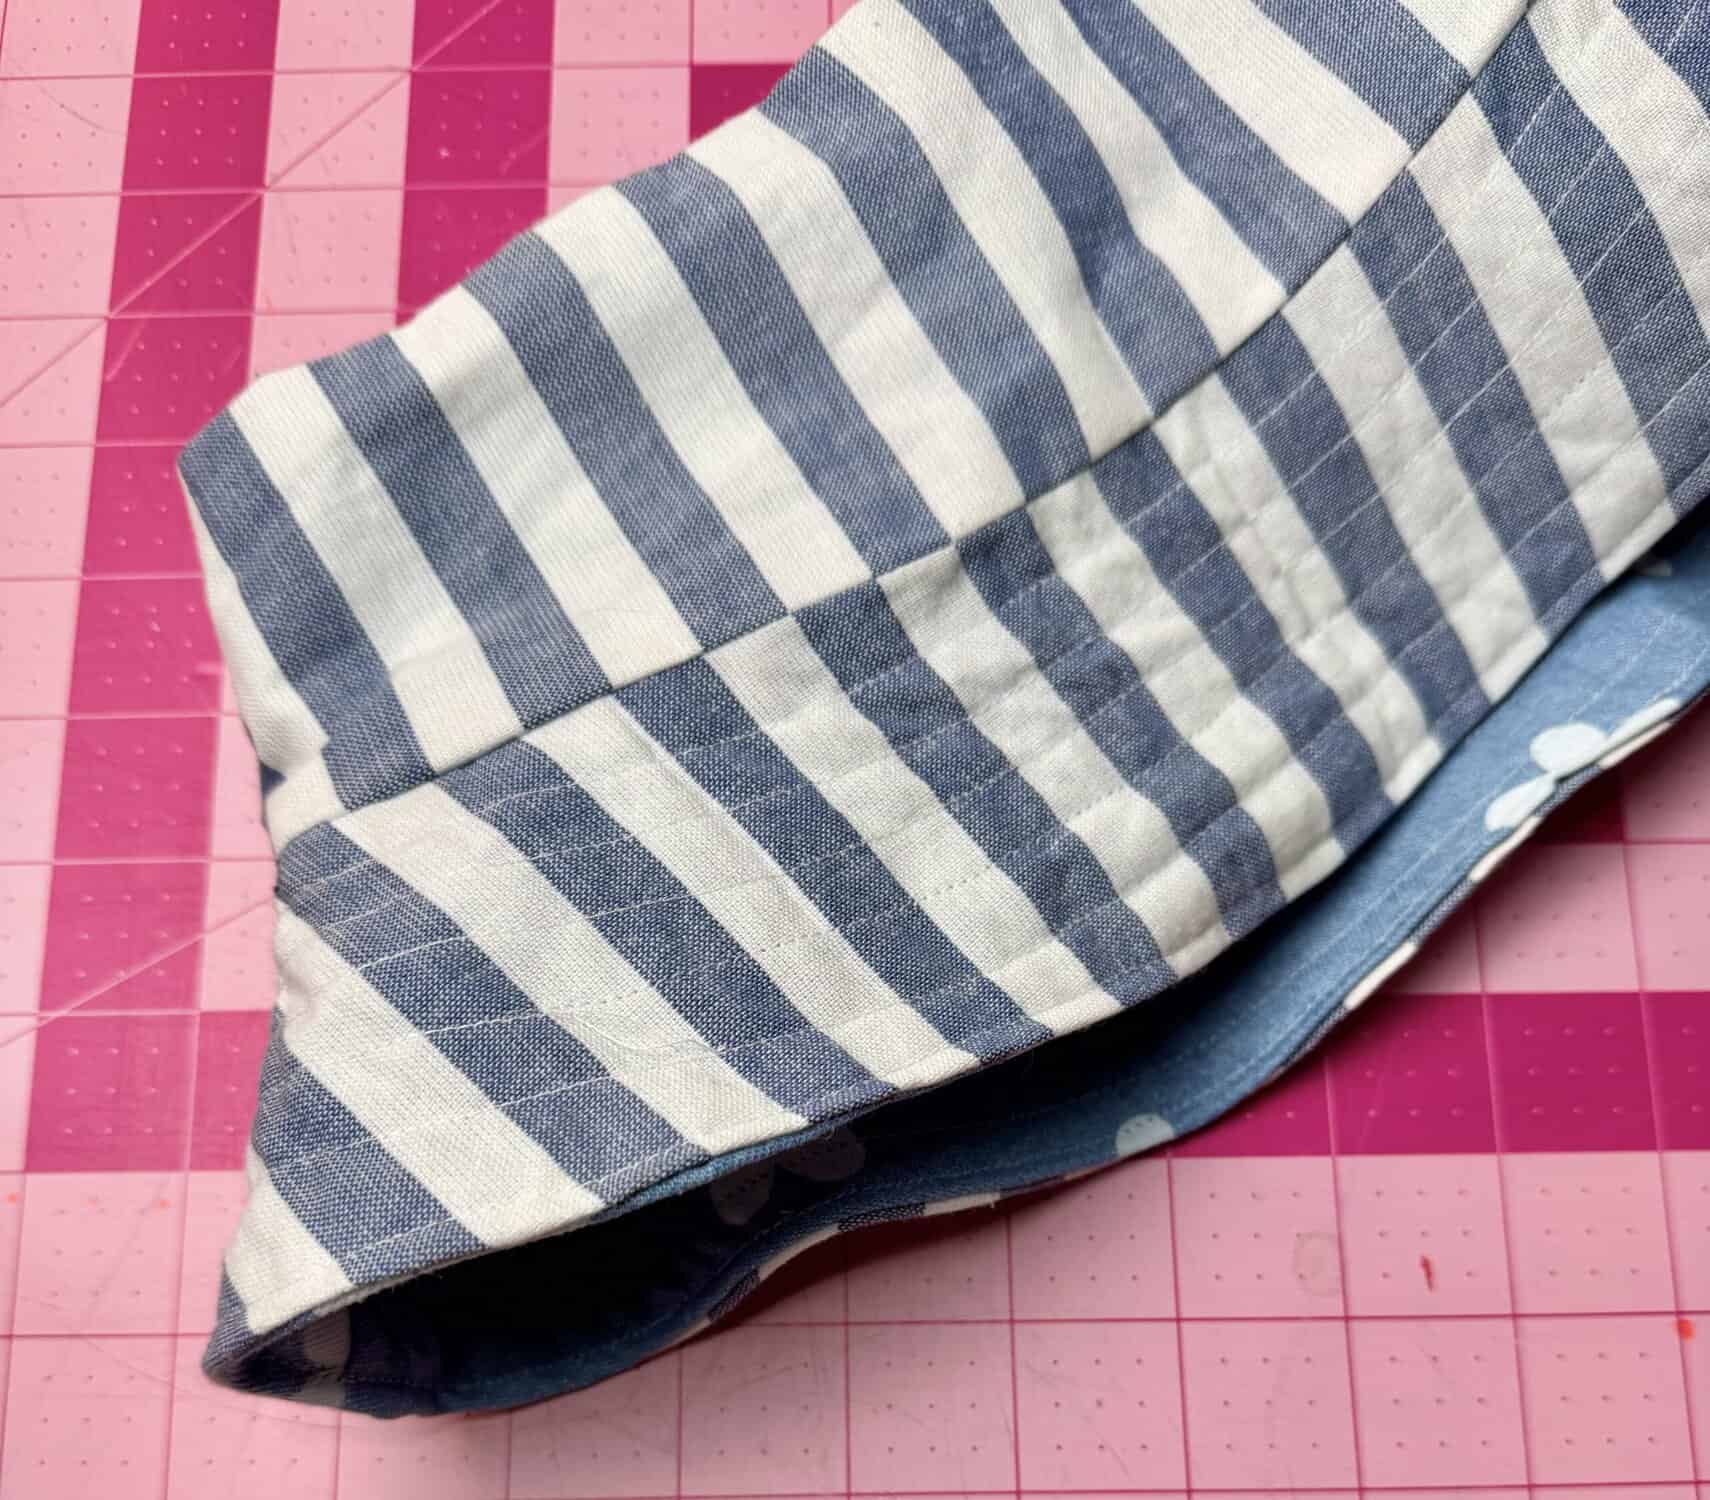
STEP 2: Cut out the two fabrics using the Clover Rotary Cutter (60 mm). When choosing fabric, it’s best to choose woven fabric. I used denim fabrics for my hat. If you use heavier fabrics, you don’t need the medium weight interfacing. However, I used the interfacing because one of my fabrics had a slight stretch. Use the Clover Wonder Clips and with right sides facing, hold the sides in place and stitch together.


STEP 3: With right sides facing, pin the hat circumference in the brim together. Press the seams open. With right sides facing again, pin the top of hat circumference and sew together. Do not sew the brim together.
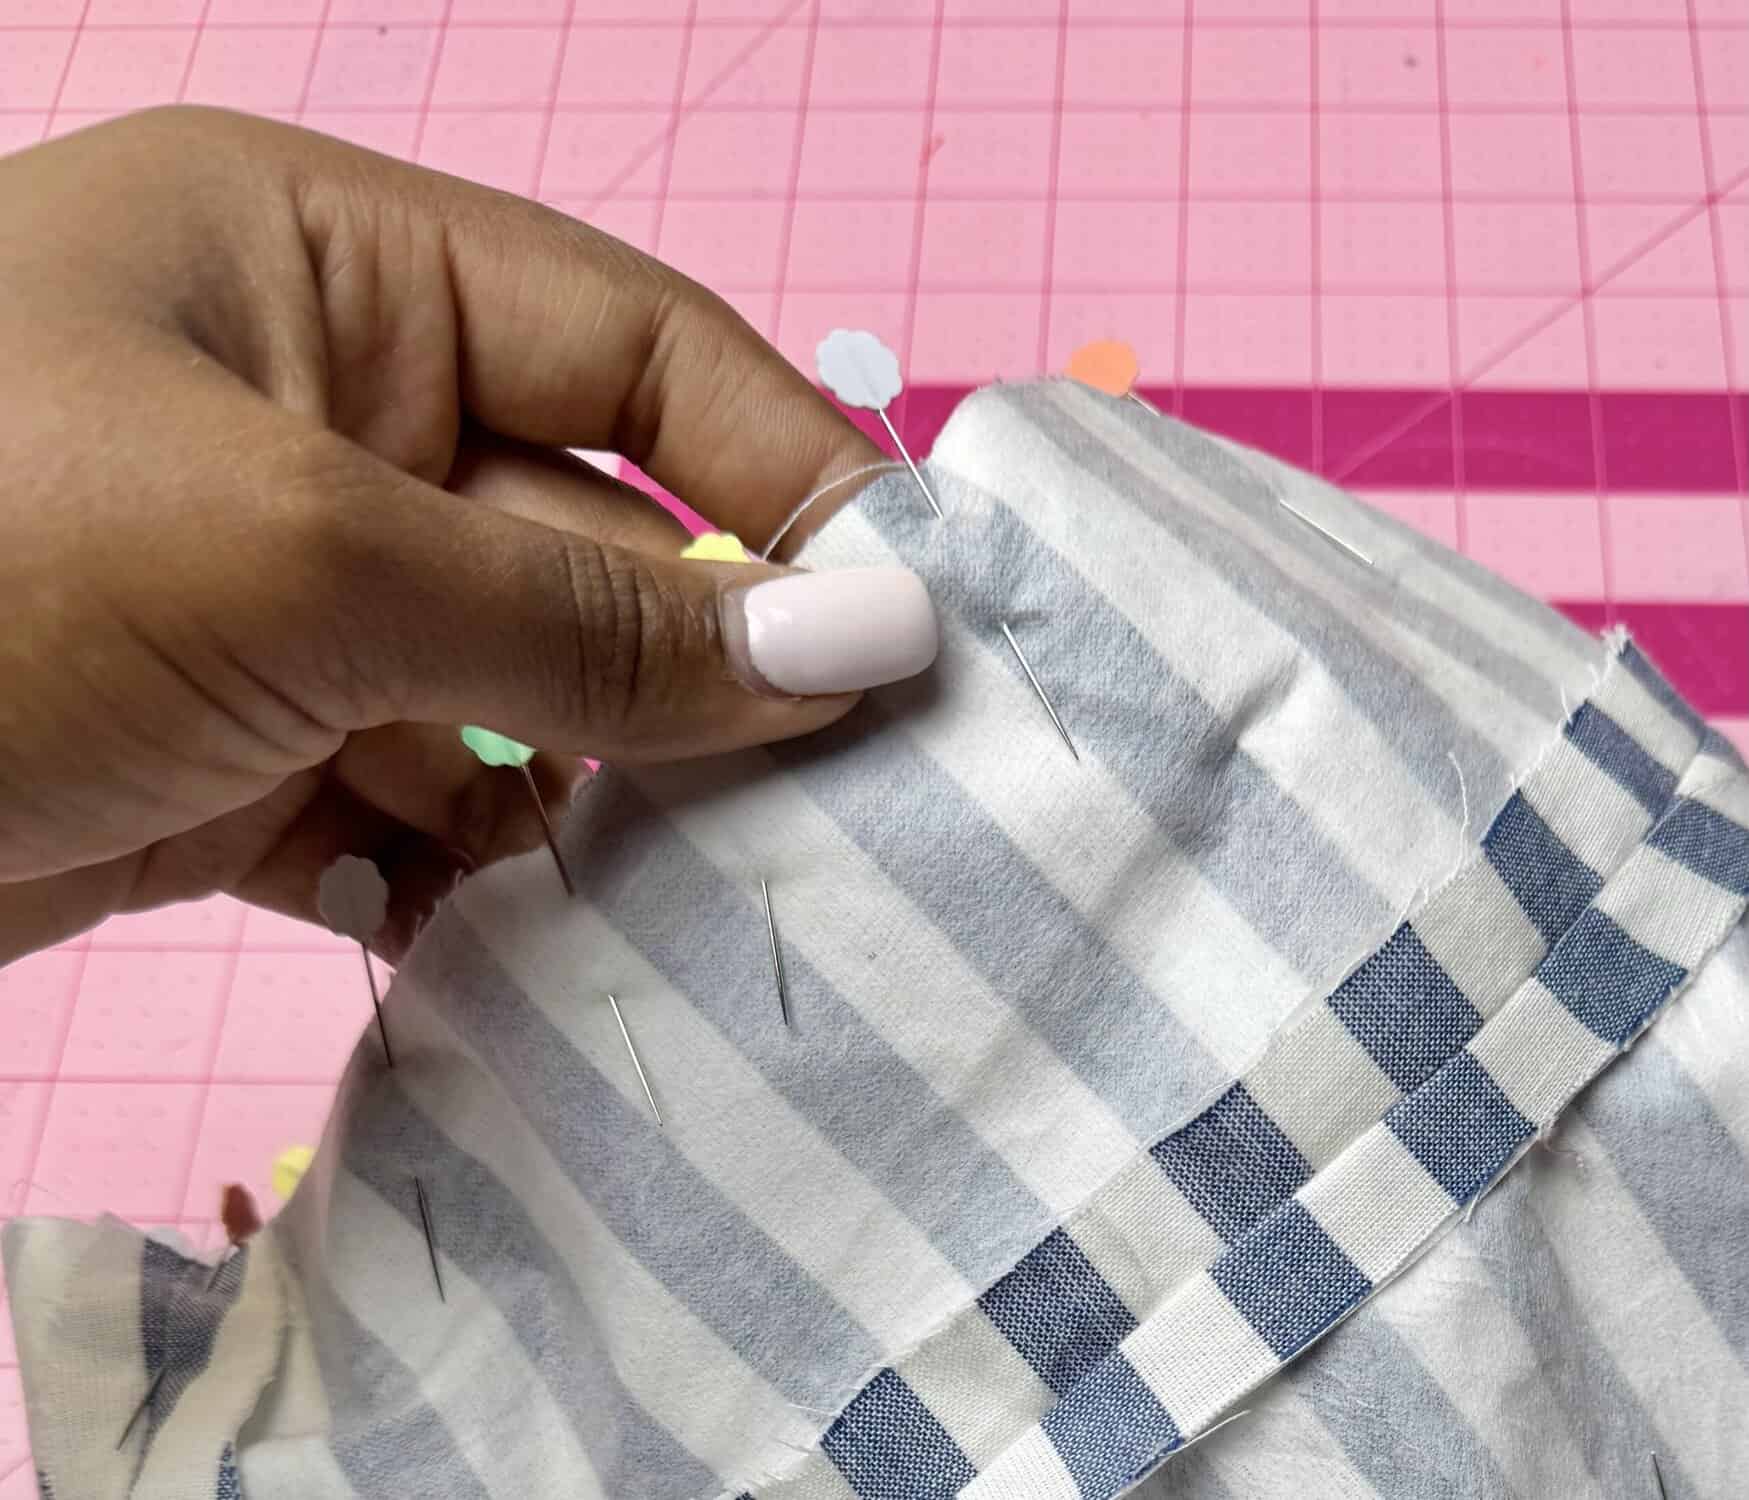
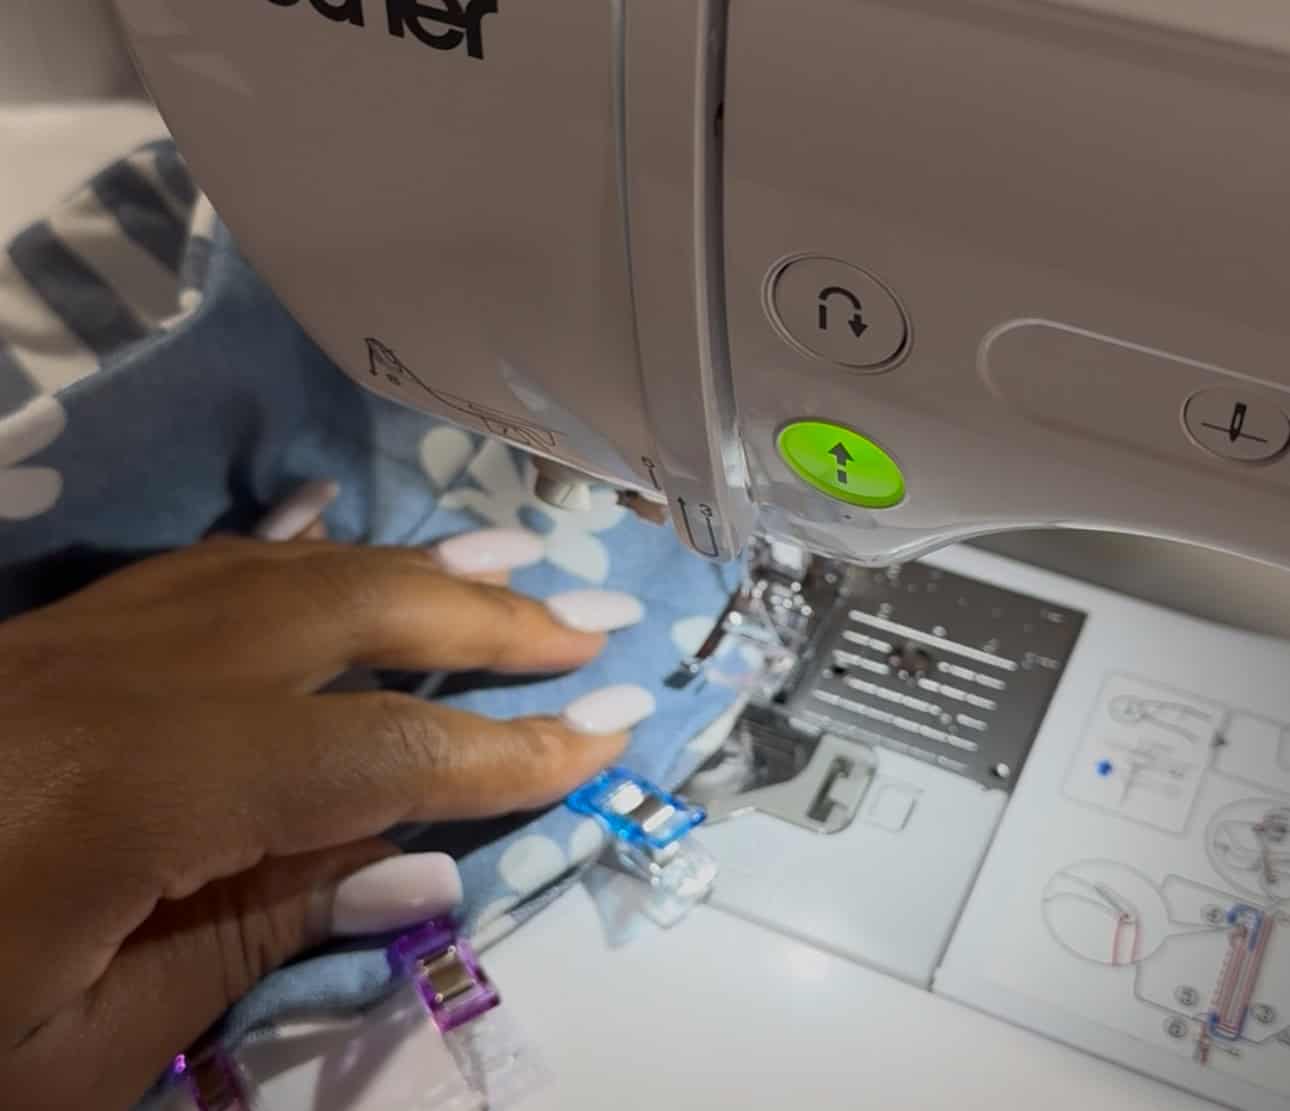
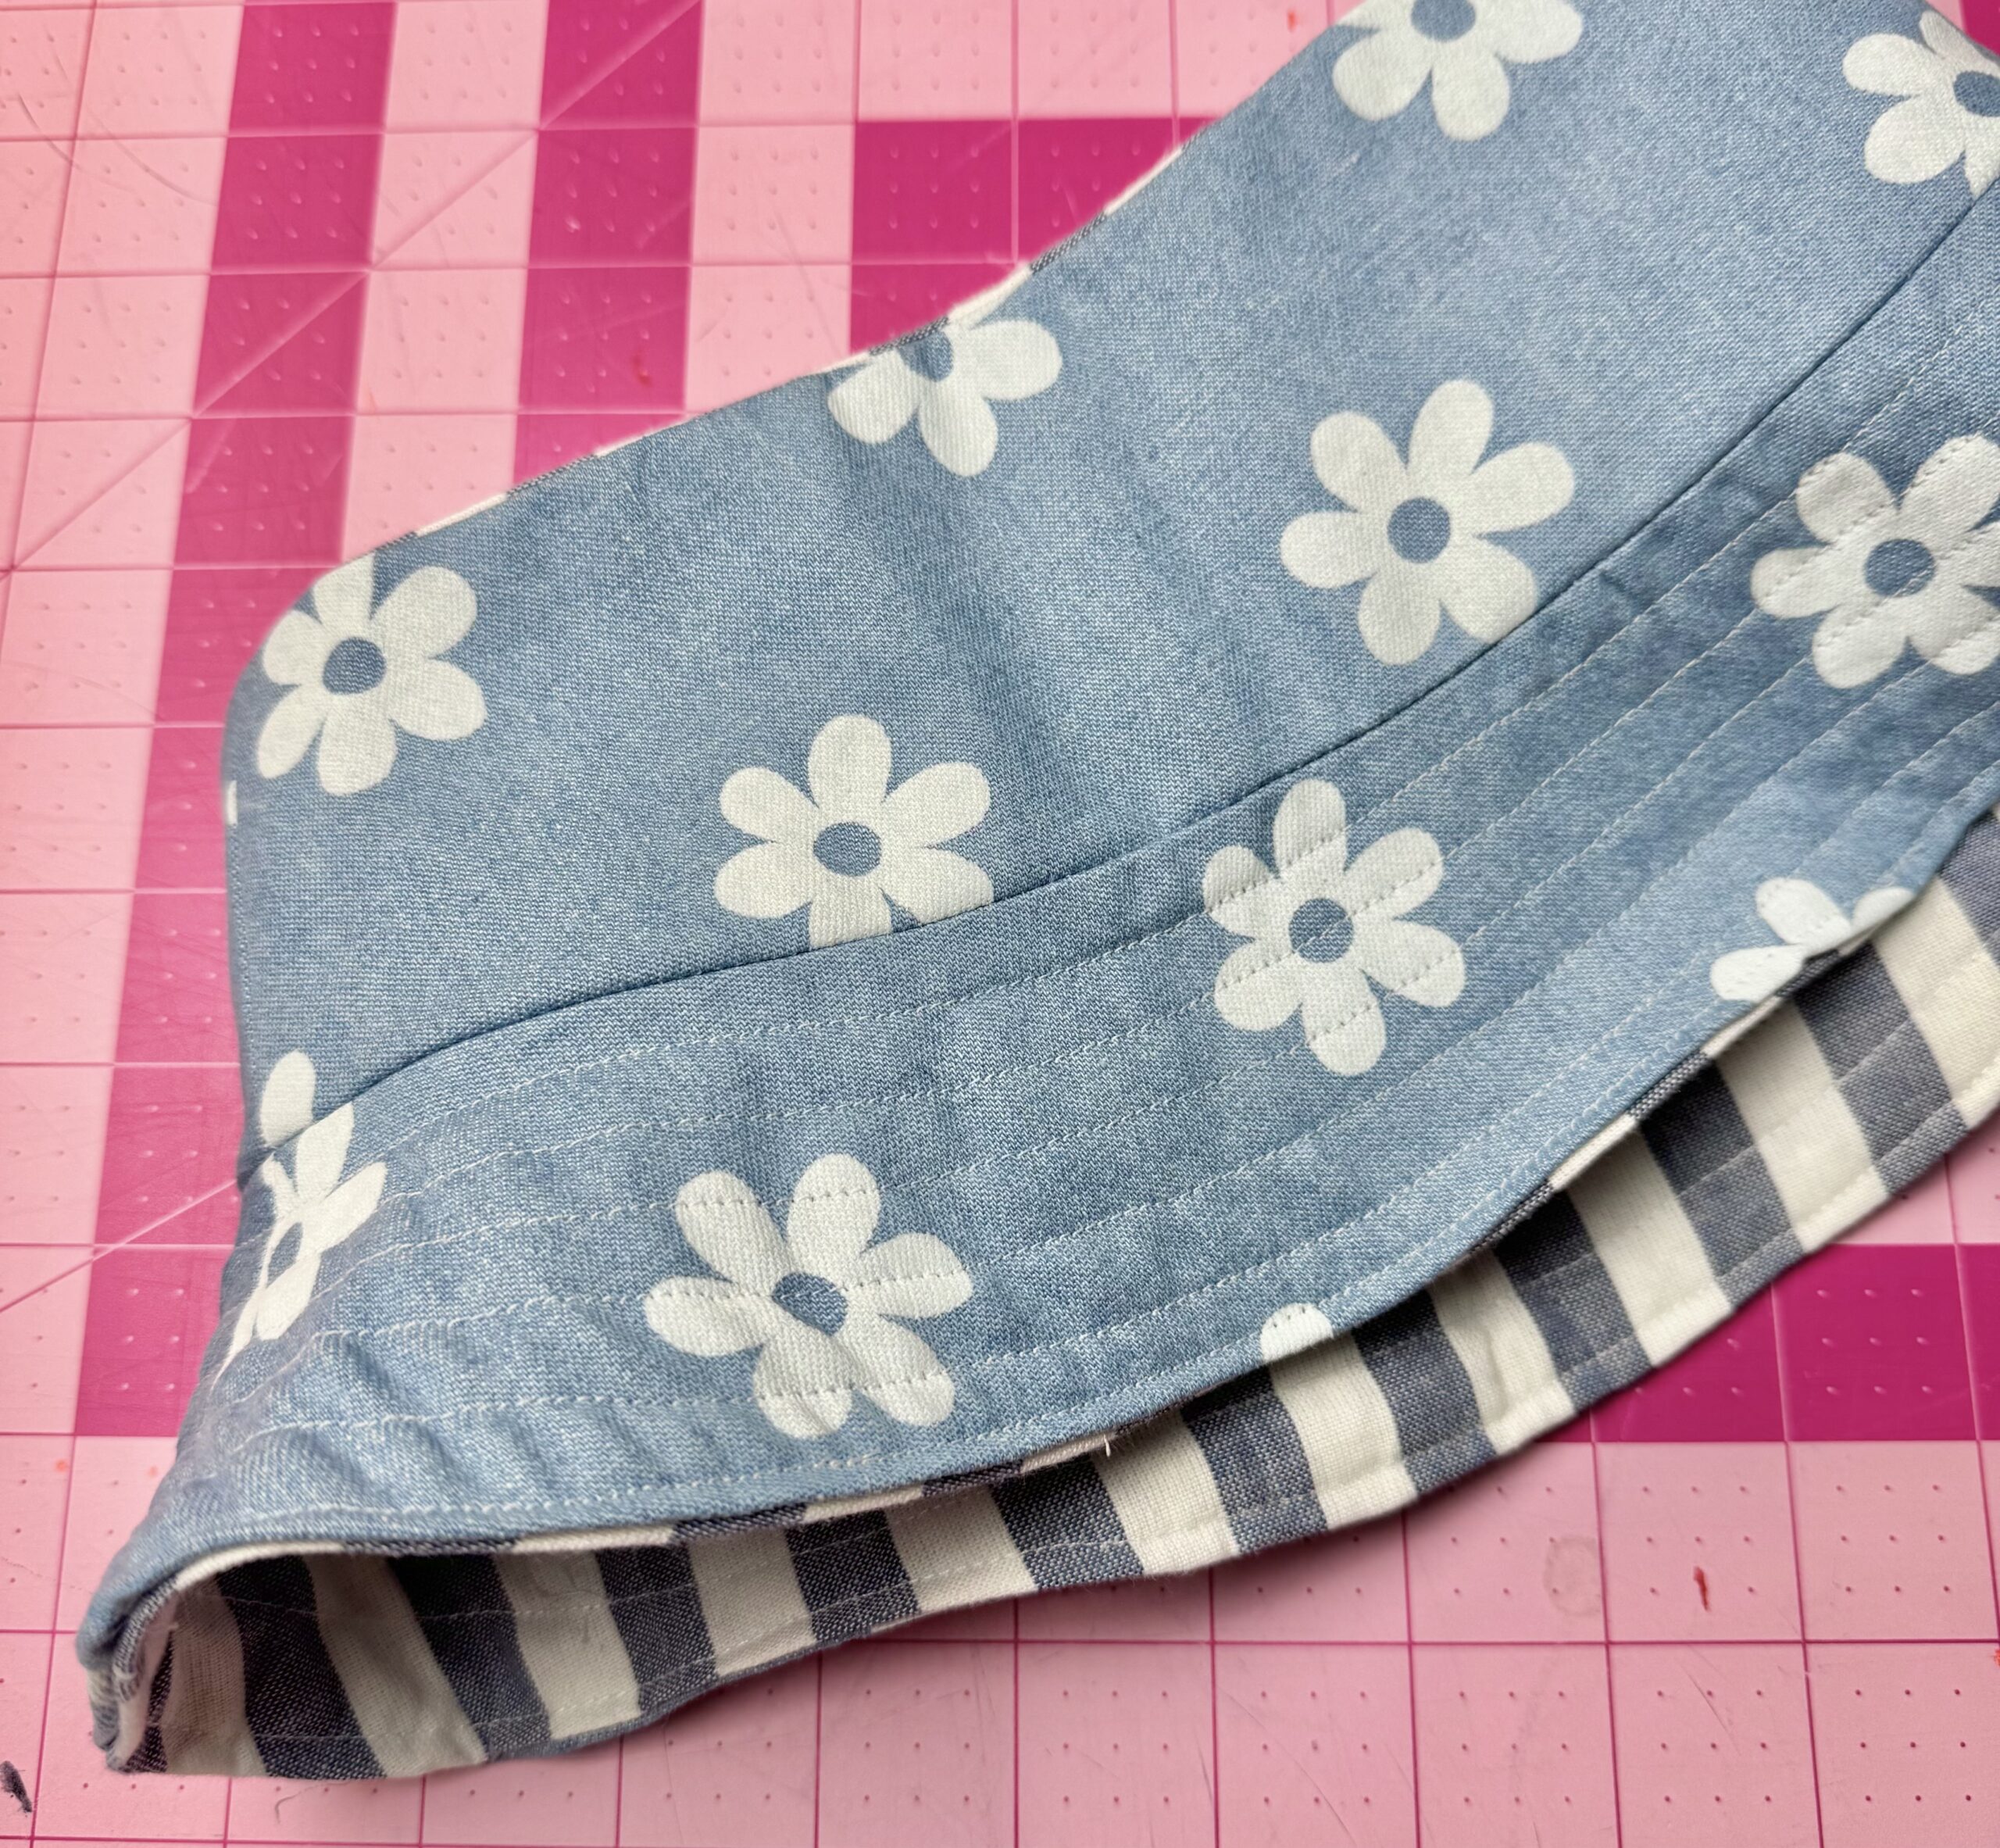
STEP 4: Turn the hat right sides out. Press. Fold in the brim 1/2” and press. Stitch along the edge and around the entire brim. Do about 5-6 more evenly spaced lines to finish off the brim. Press the entire hat and you are done! You can reverse it to whatever side to choose to use at the moment.
YOU’RE ALL DONE! Now you can enjoy your reversible open-top bucket hat out in the sun this summer – I know I am! Happy sewing 🙂

If you want to keep up with me, Duana, on social media for other fun projects, follow me on social media: Instagram
If you want to keep up with all things Clover, follow us on: Facebook | Twitter | Instagram | Pinterest | YouTube | Ravelry