Back to School: Create a Roll-Up Crayon Holder!
Hi friends! It’s Cataleya here! I’m new to the Clover blog rotation, but you can check out my IG @happystitches_us 🙂 I’m 10 years old, and my life revolves around sewing and my new golden-doodle puppy Flora!
I’ve been sewing something fun for Back-to-School—a Roll-Up Crayon Holder! I got the idea because my little brothers always bring their big, chunky crayons everywhere, and they prefer their own crayons to the ones at restaurants.
So I made this roll-up case to keep them neat for car rides, lessons, or just drawing at the table. I even made myself one! And guess what? I made it using some of my favorite Clover sewing tools! They make it way easier (and more fun!) to sew.
MATERIALS:
- (2) fabric pieces at 12″ wide x 10″ high (main body + lining)
- (2) fabric pieces at 12″ wide x 4″ high (pockets)
- (2) strips at 11″ long (for ties — yarn, ribbon, or anything you like)
- cotton thread
- crayons (I made the pouch slots big enough to fit thicker crayons, but you can make them skinnier if you’d like!)
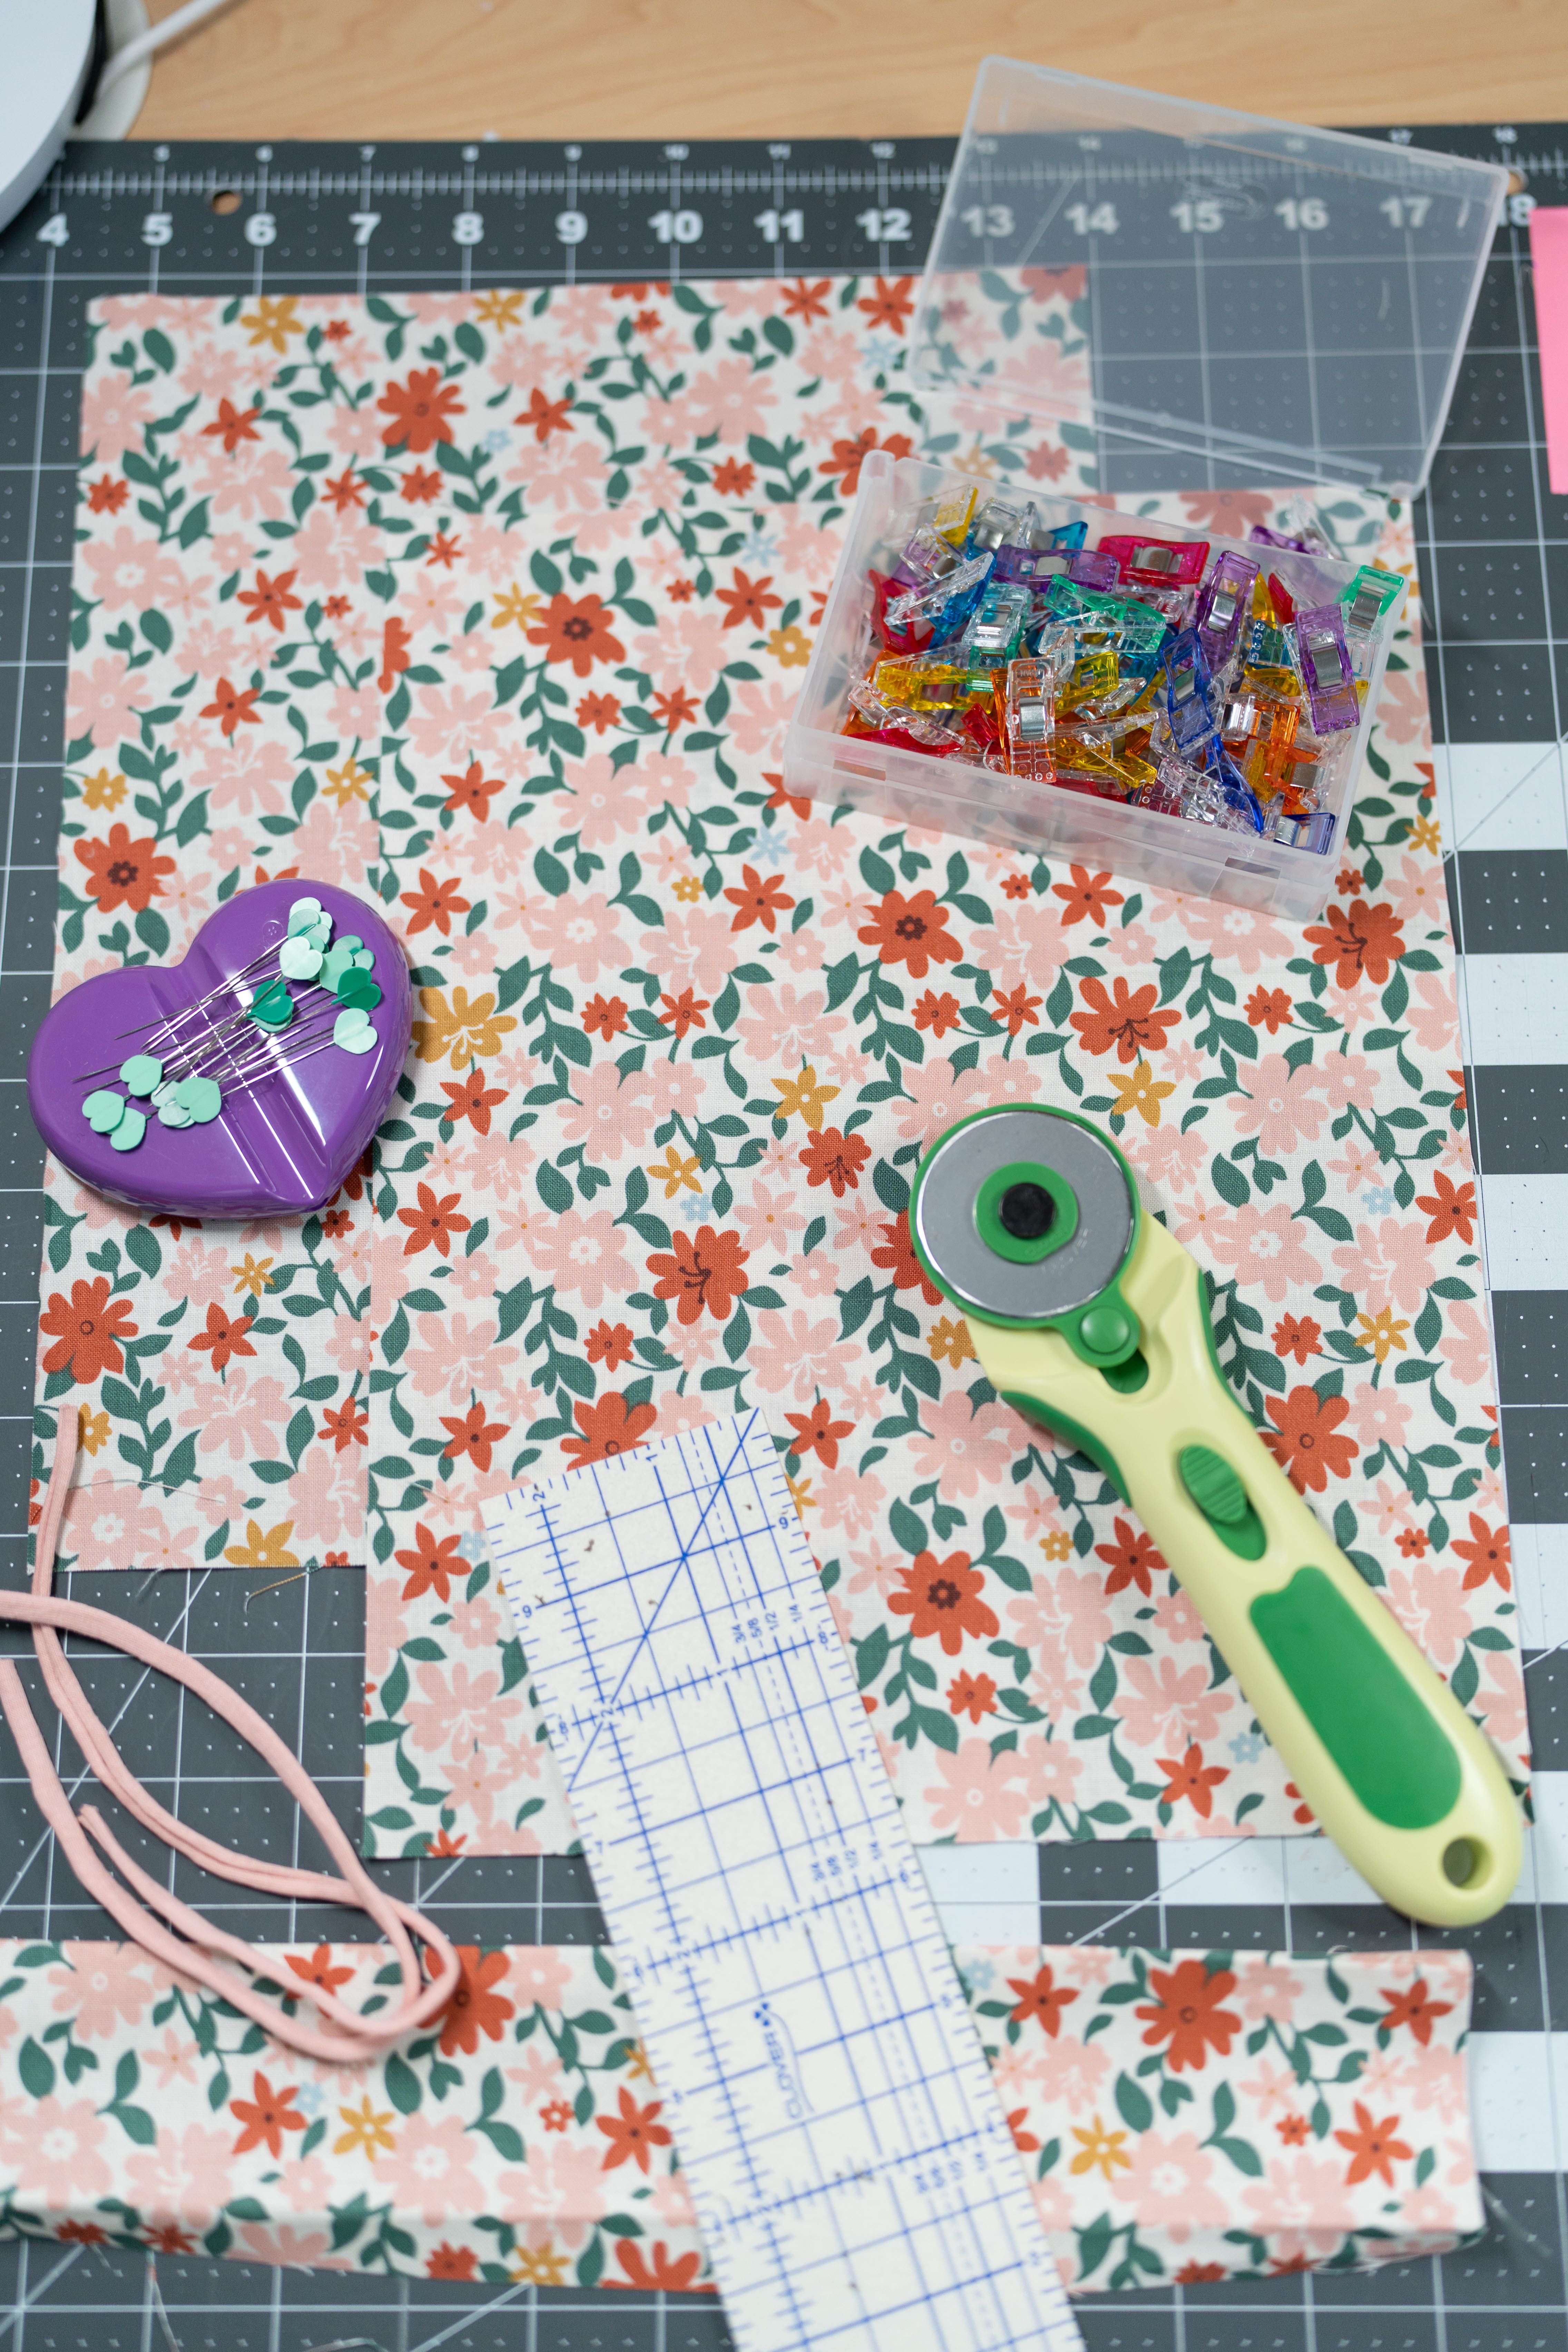
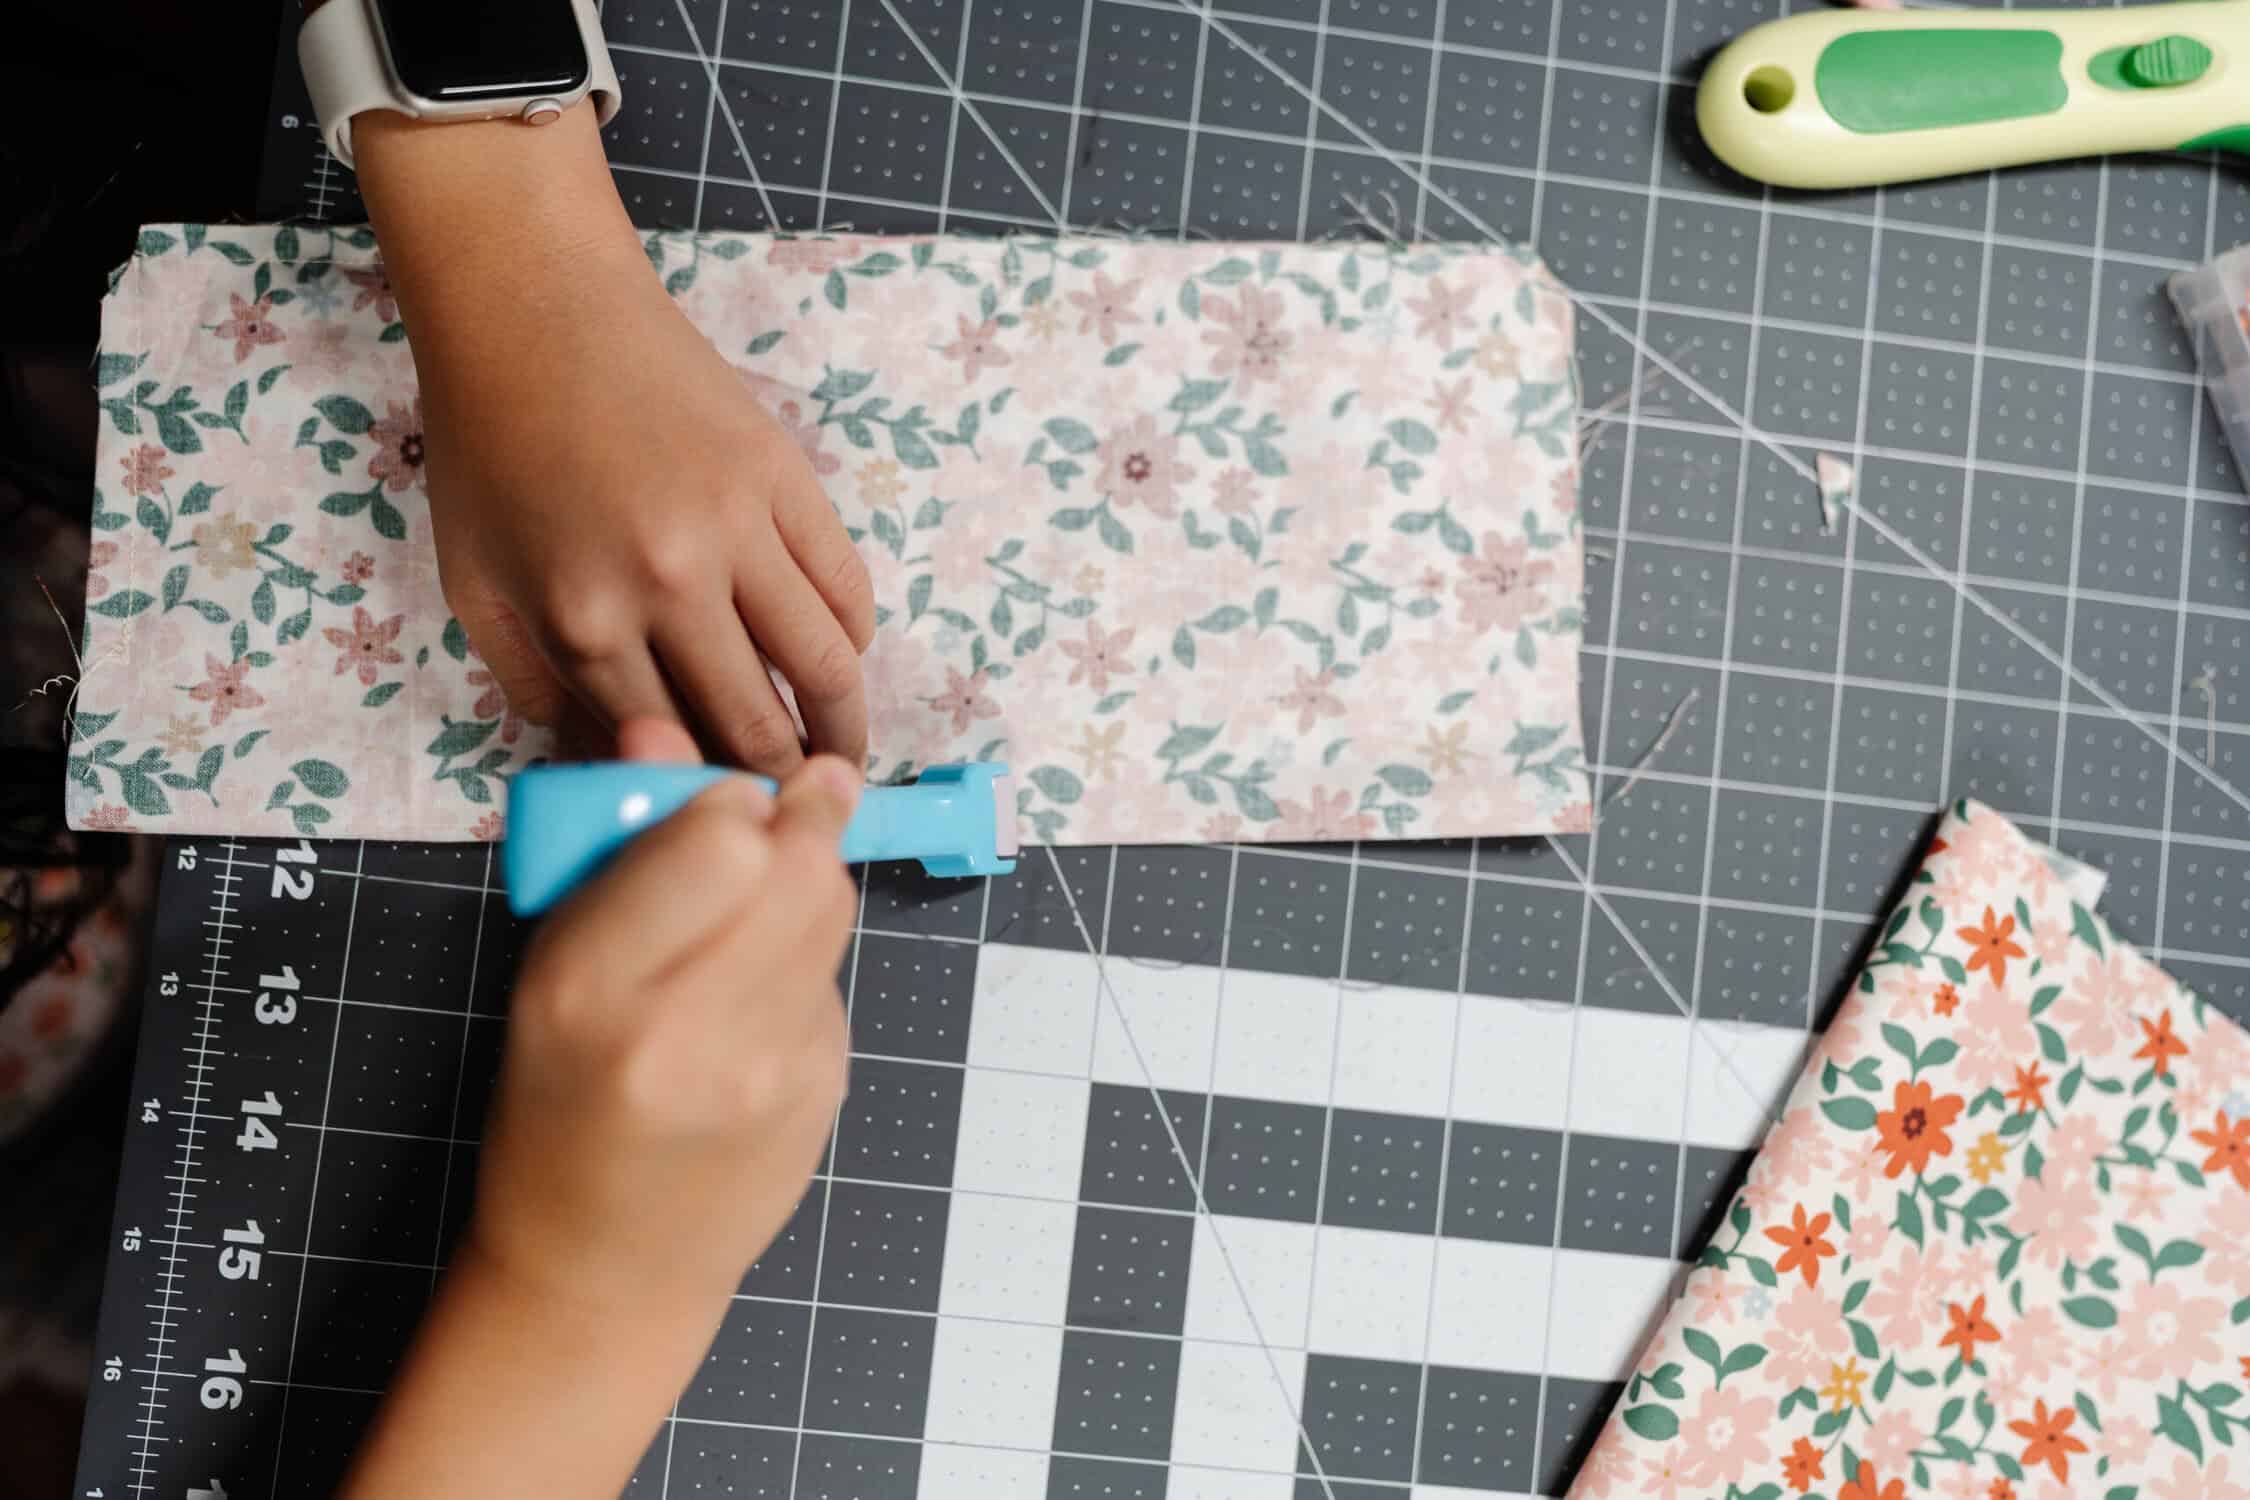
- Rotary Cutter 28mm – so easy to cut fabric nice and straight
- Magnet Pin Caddy – it holds all my pins so I don’t lose them
- Heart-Shaped Pins – cute AND perfect for keeping fabric in place
- Hot Ruler – helps me fold and iron straight lines
- Wonder Clips – hold my fabric when I don’t want to poke pins in
- Seam Ripper – for when I mess up (it happens!)
- Roll & Press – makes a crease without even using the iron
- Point Turner – the BEST for poking out corners
- iron + wool mat
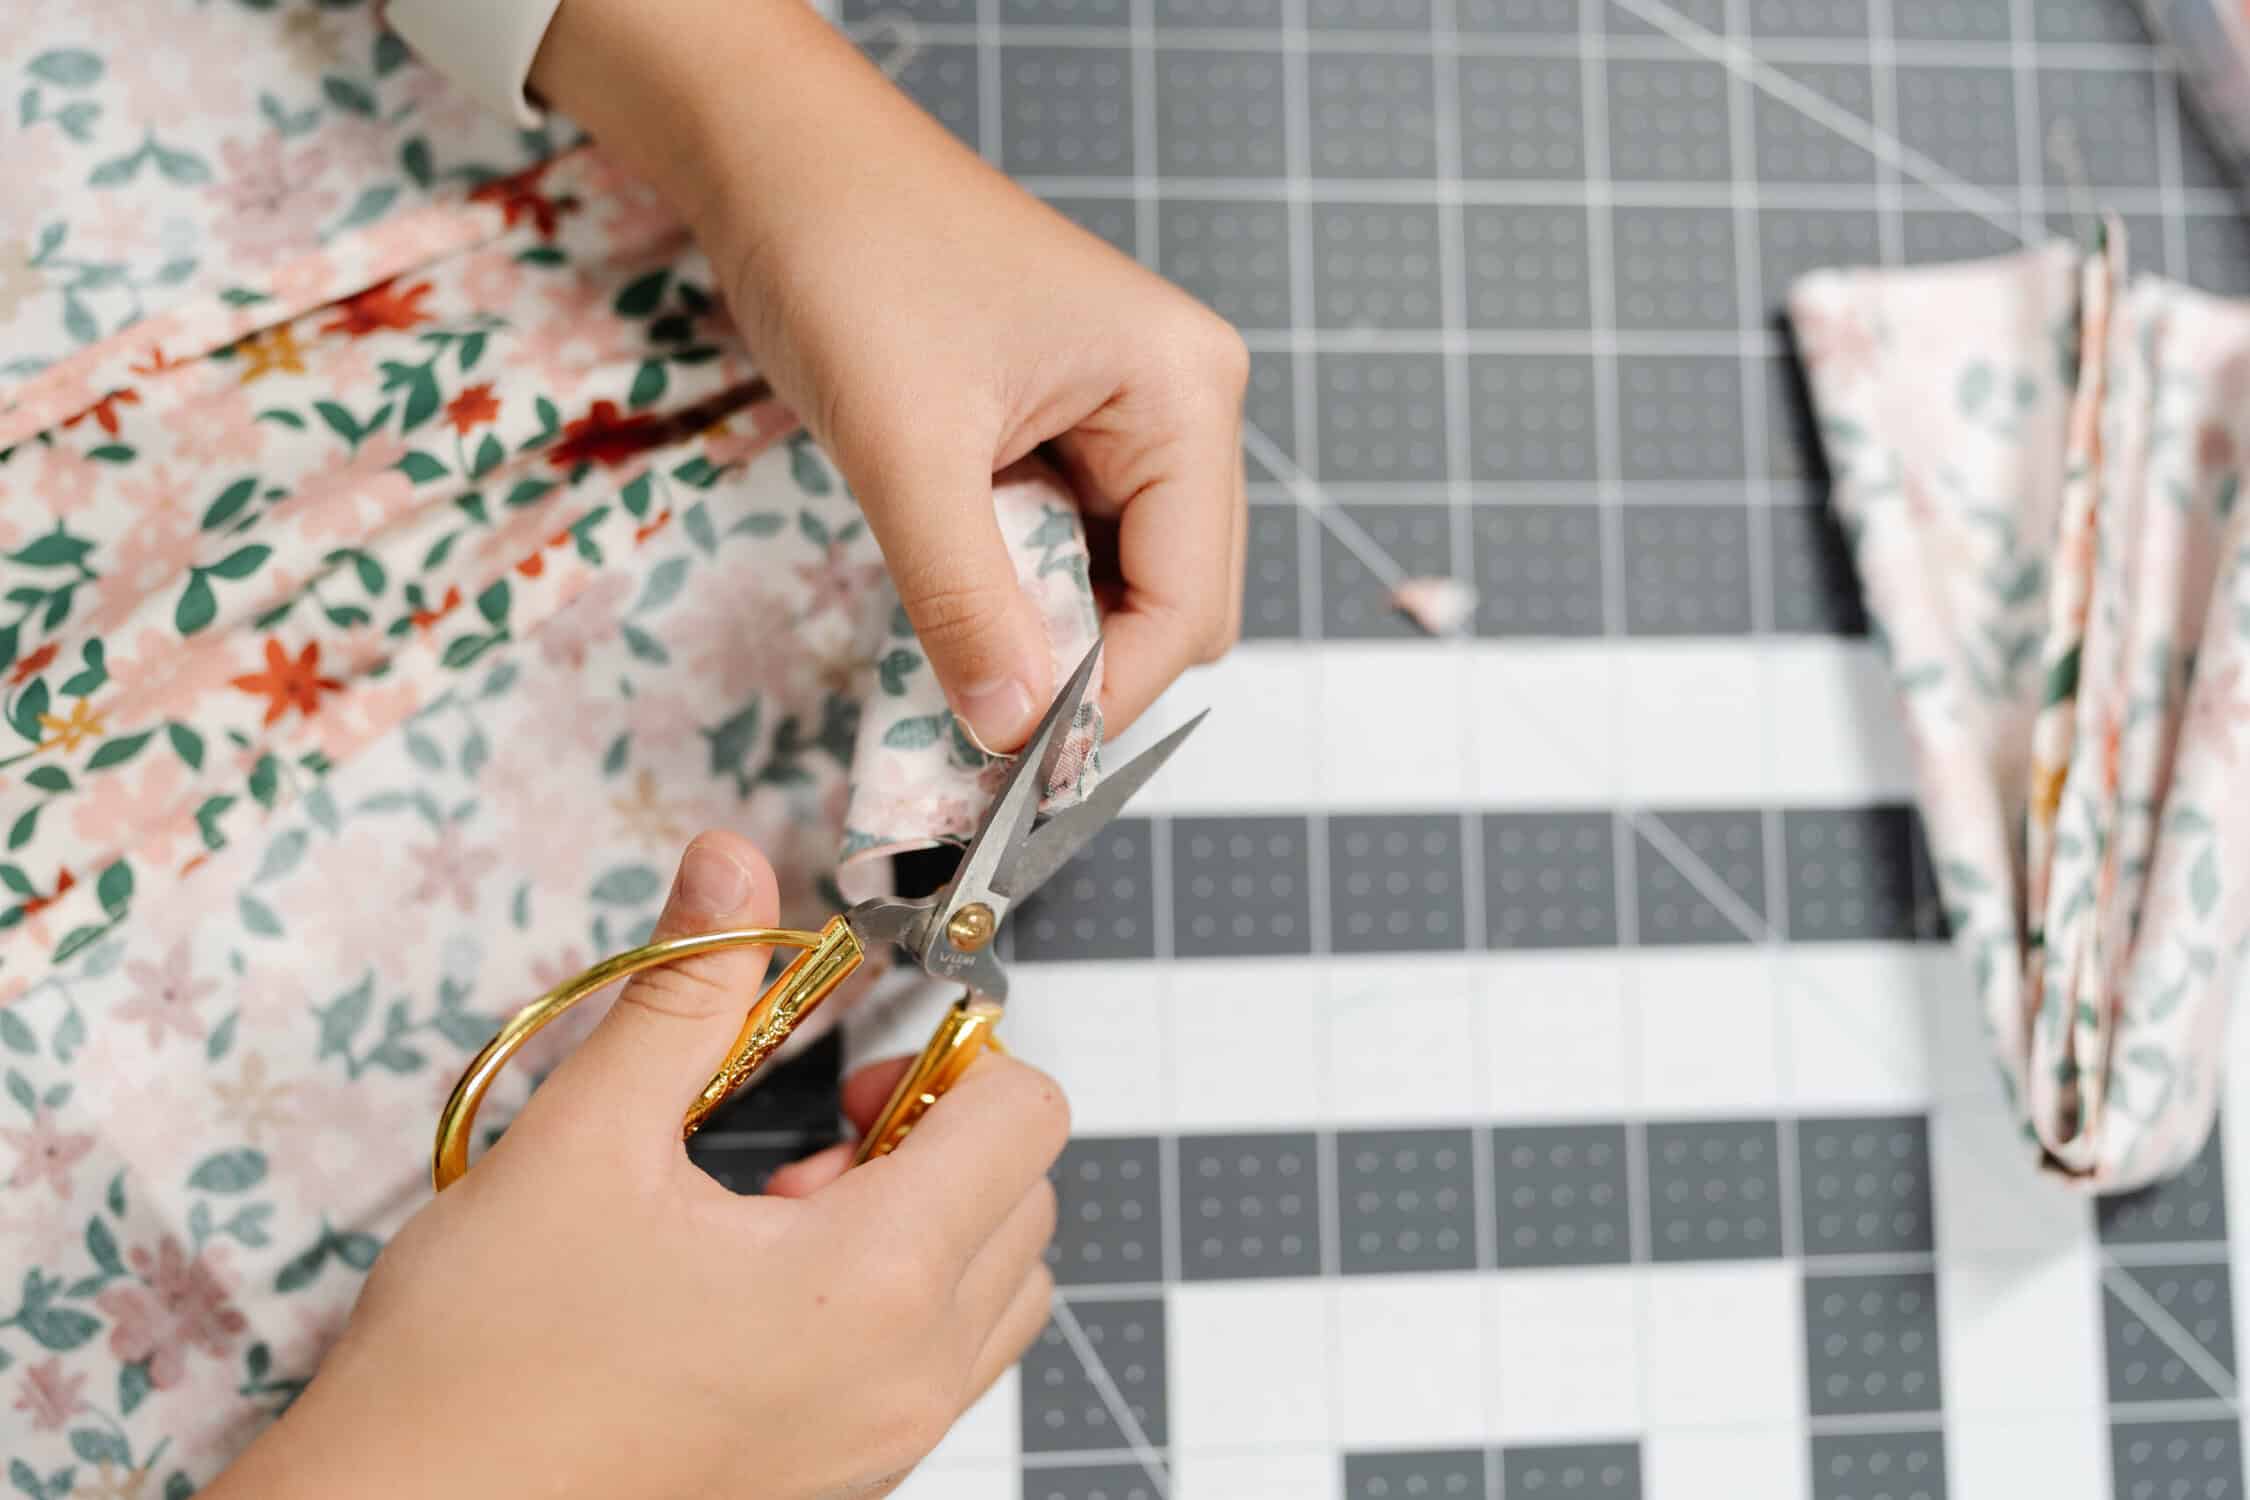
- small detail scissors – for trimming corners and snipping threads
- heat pen – for marking lines
TUTORIAL:
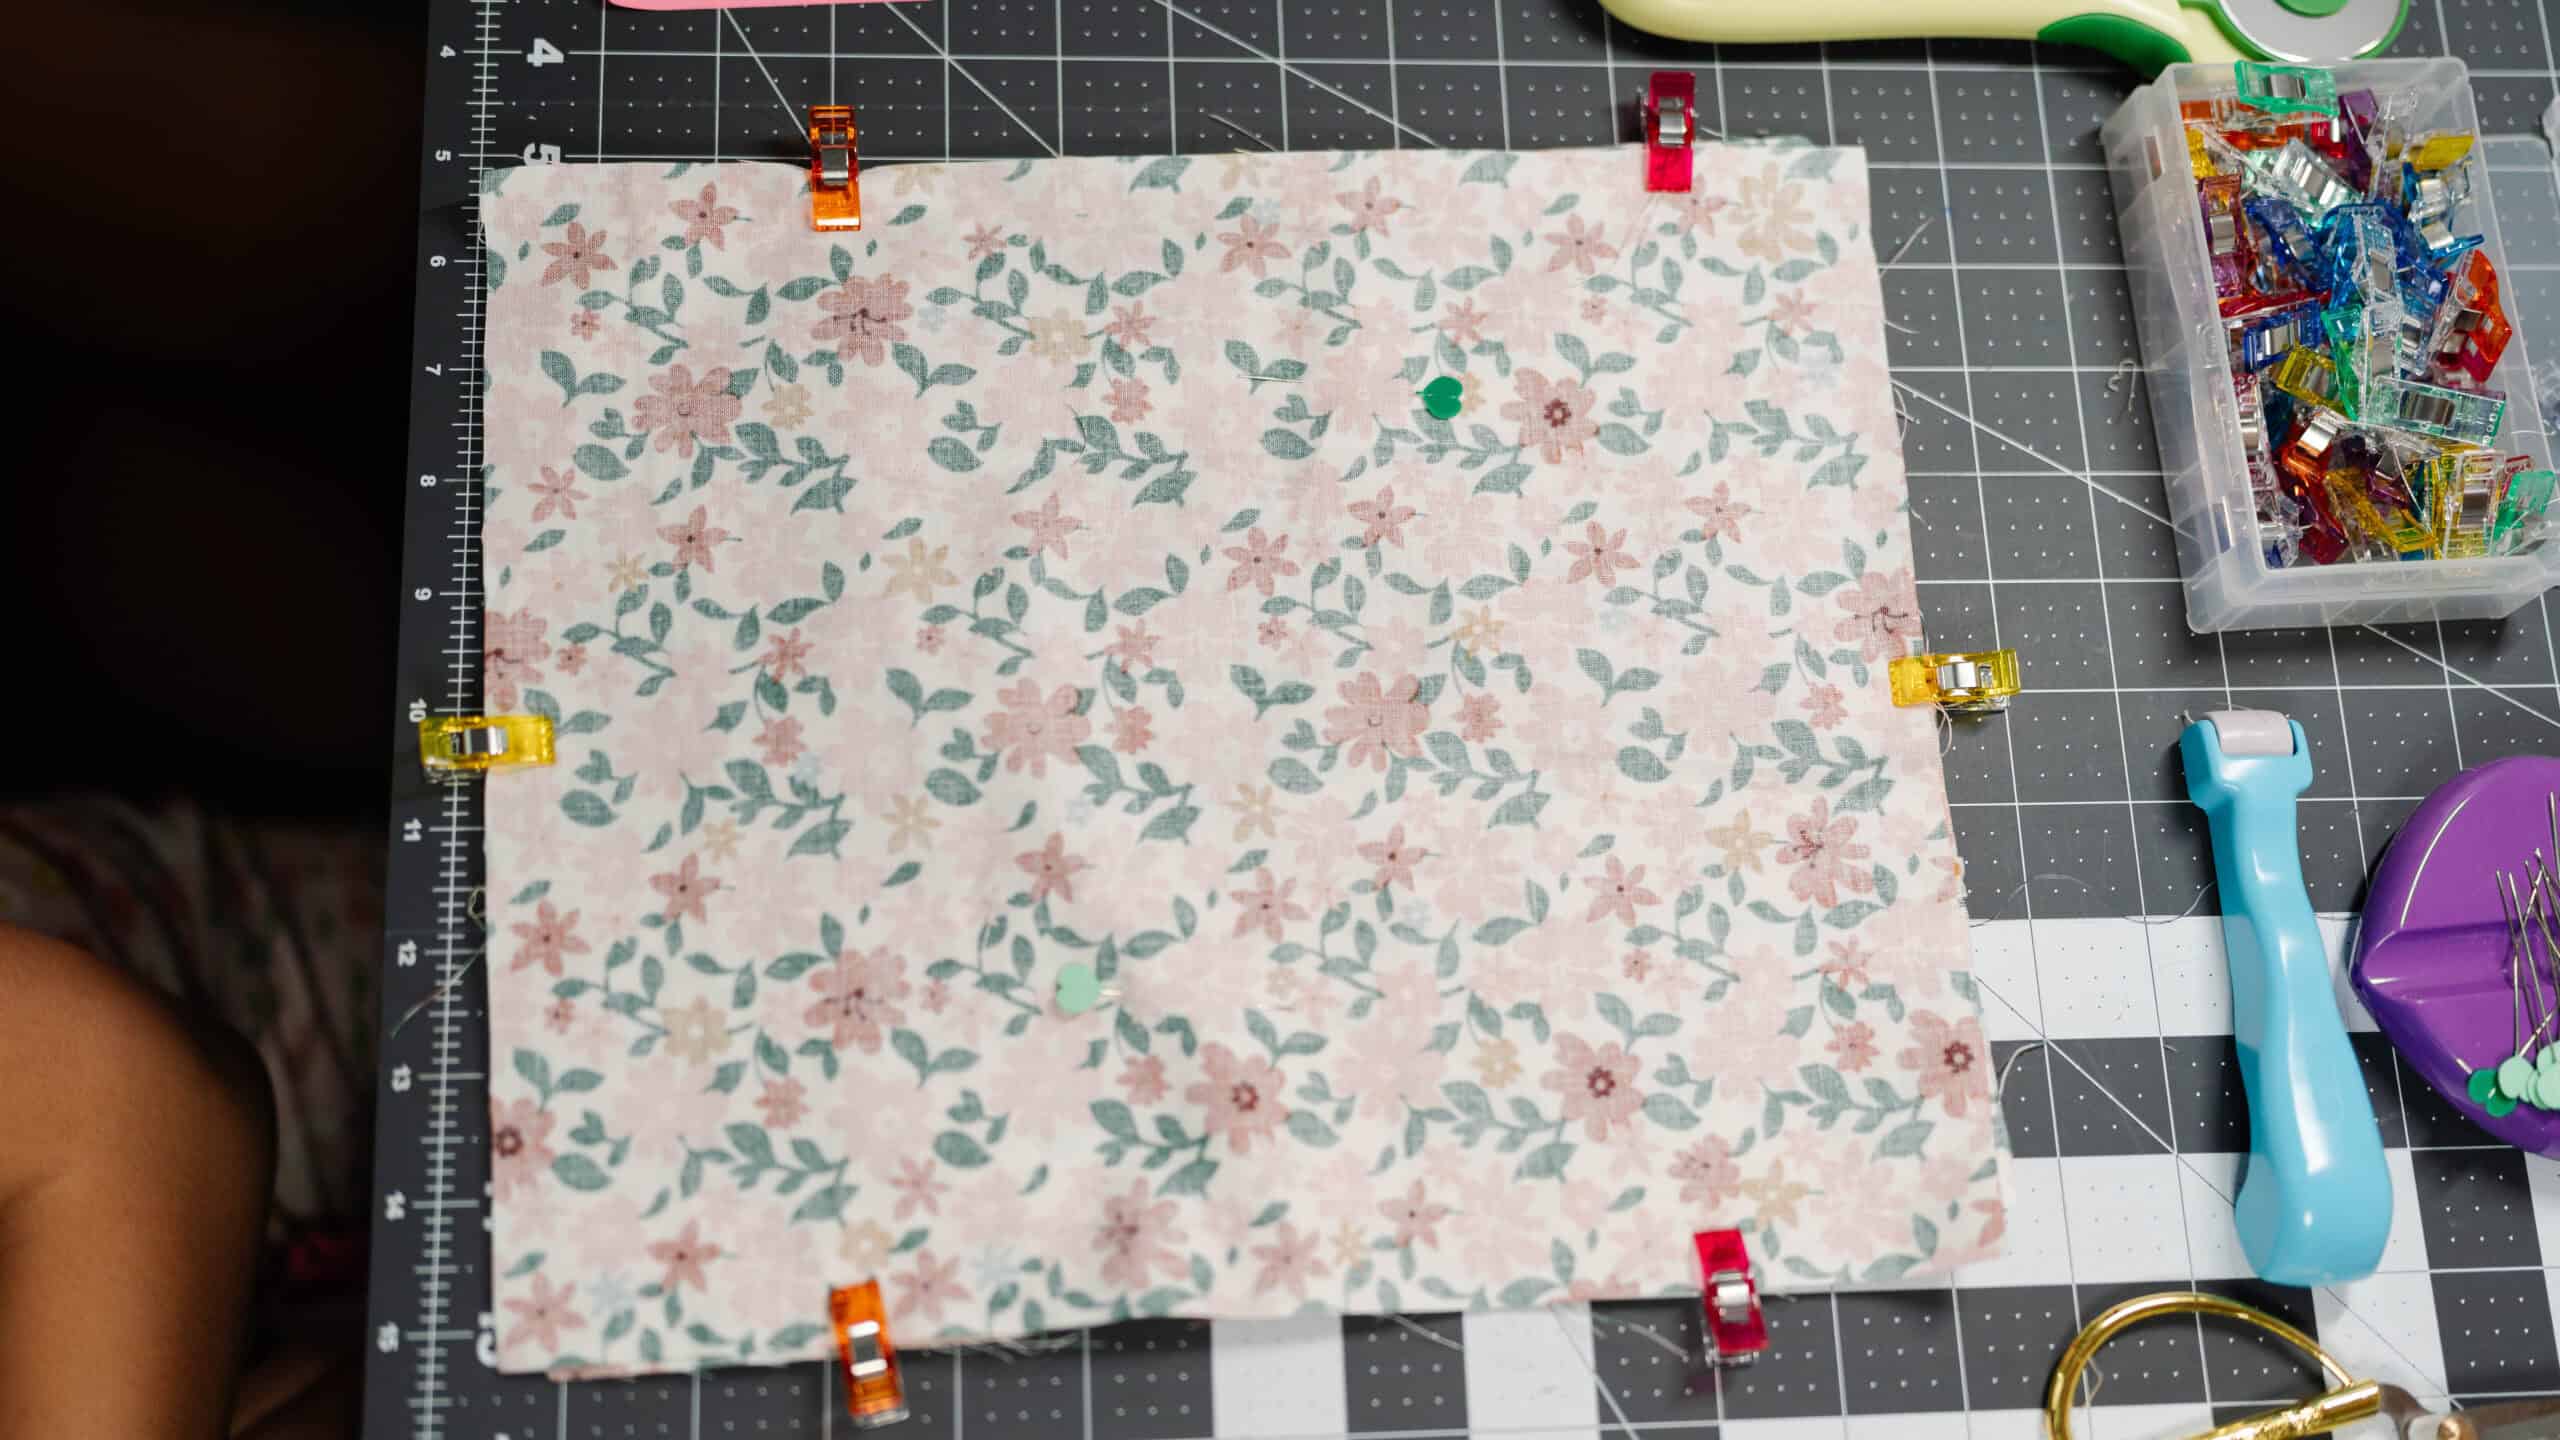
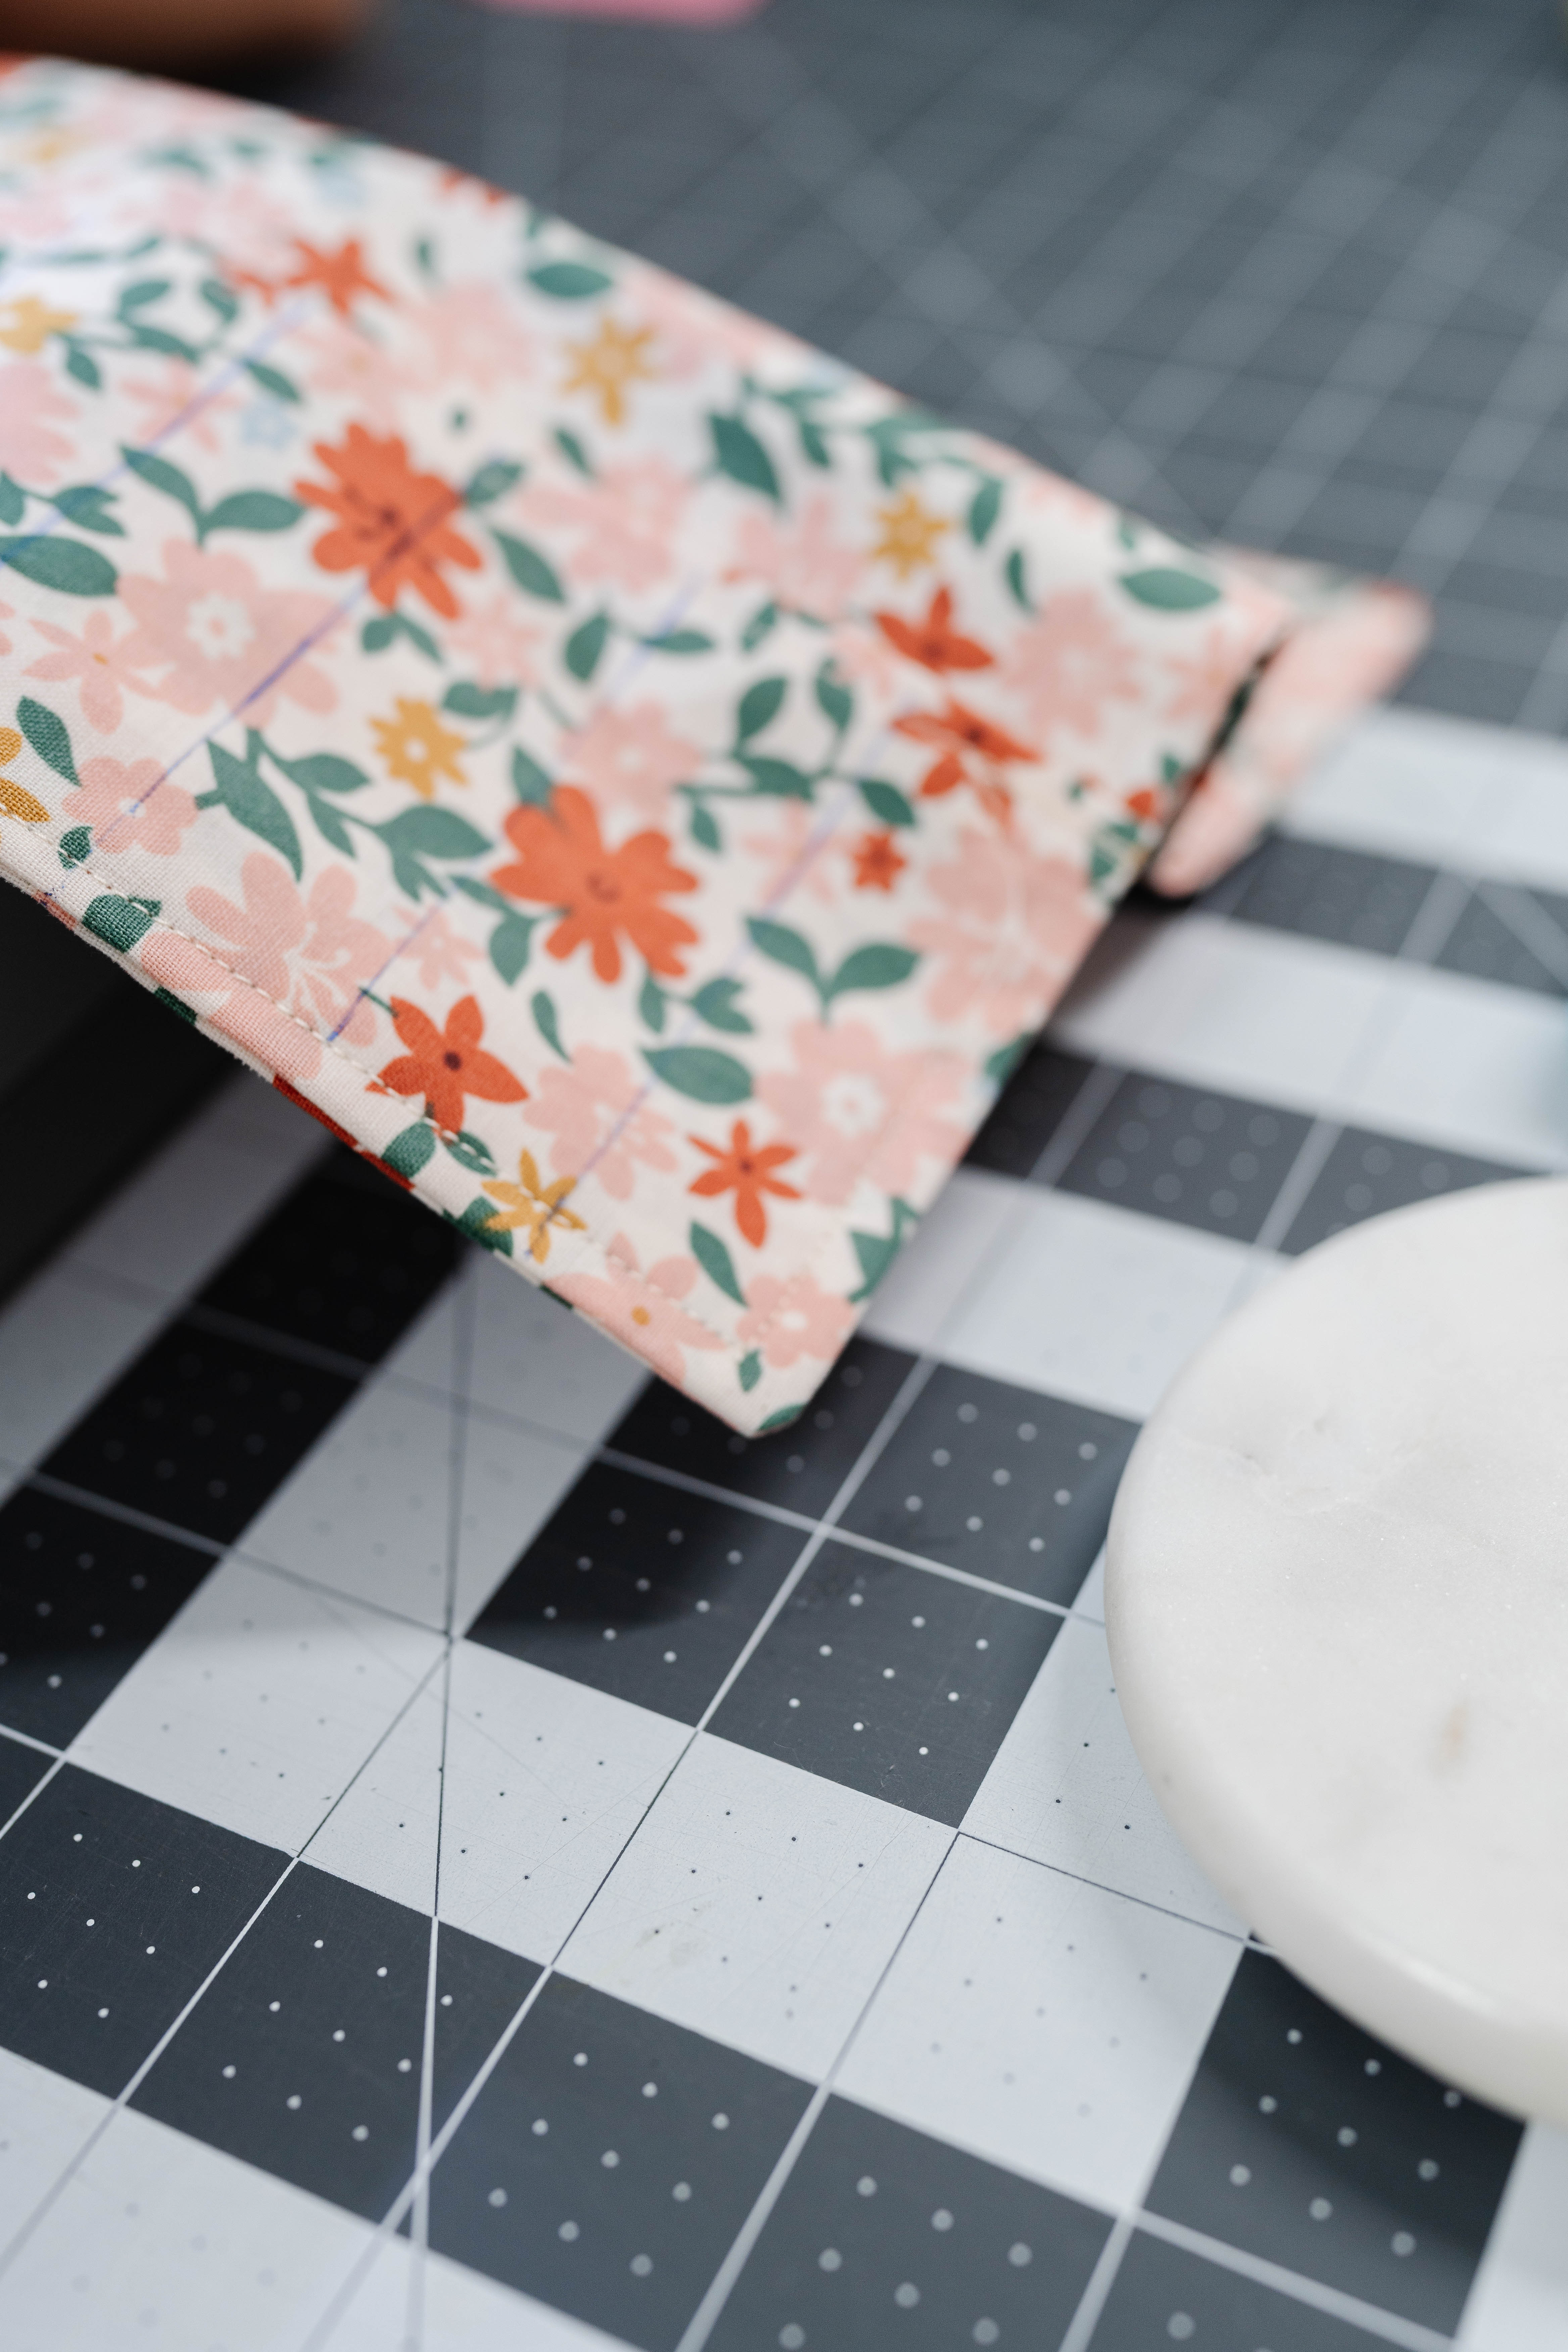
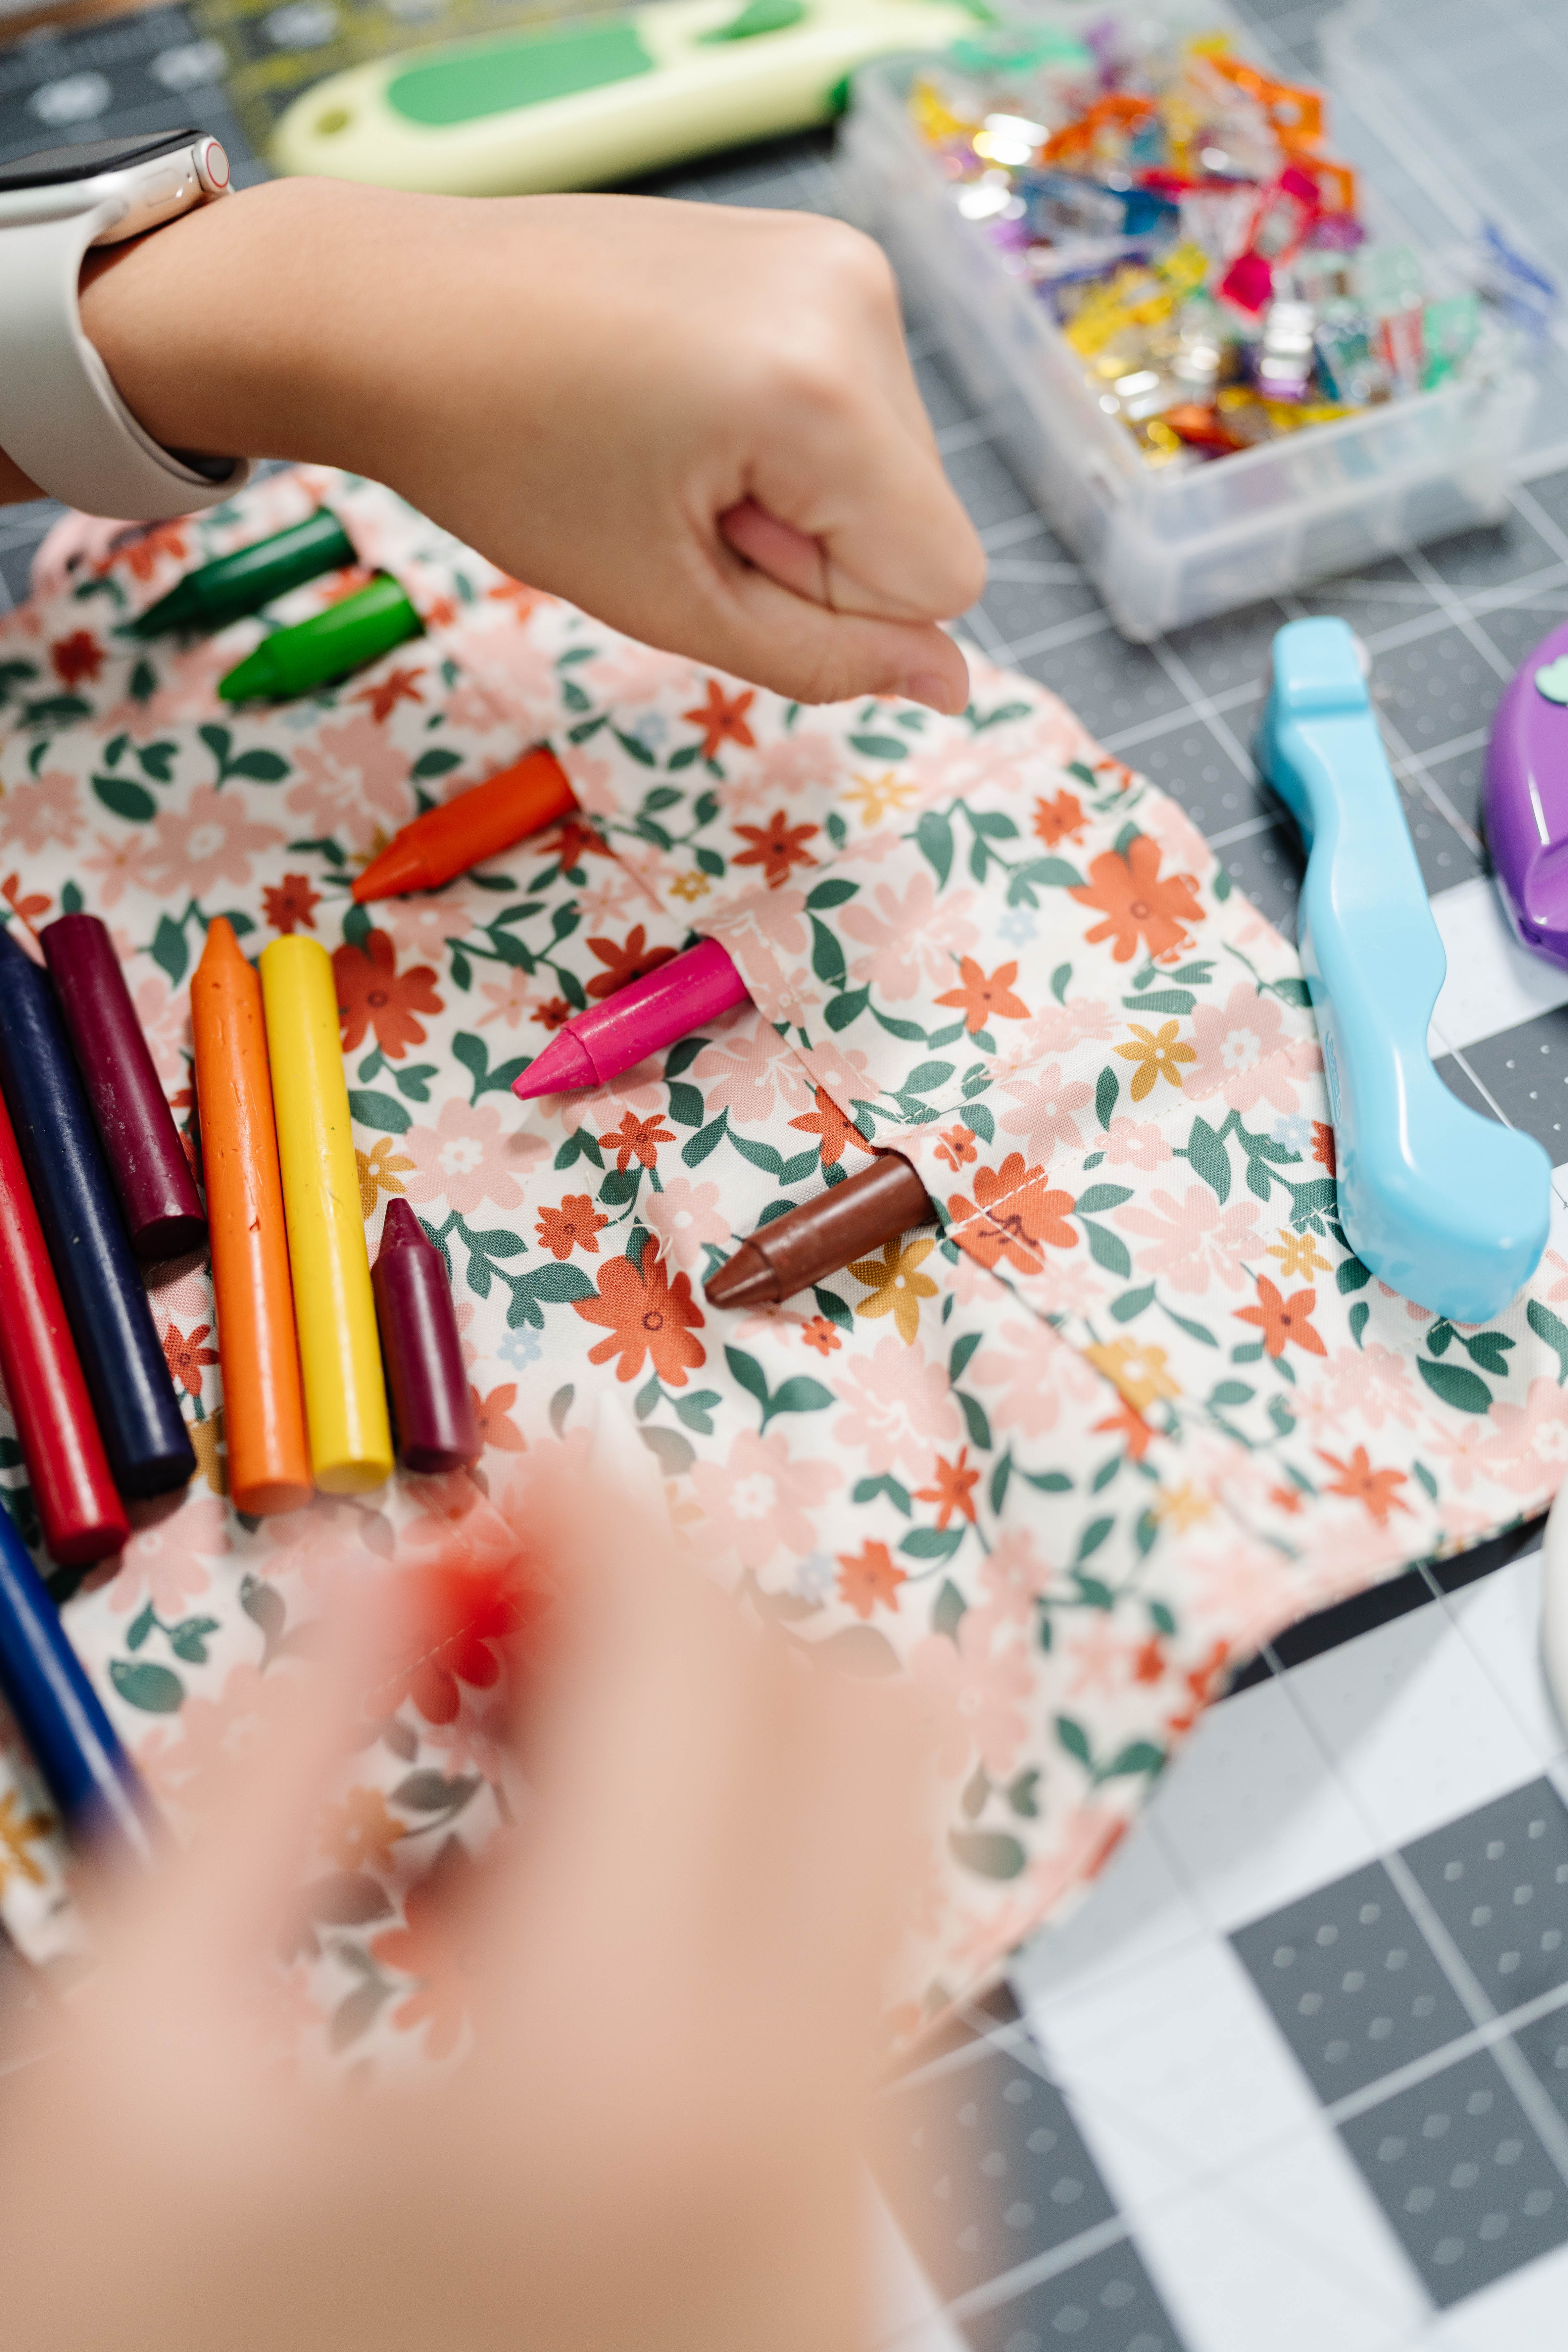
1) Cut + Prep
- I cut out all my fabric pieces with the Rotary Cutter. Then I ironed them flat.

2) Time to Make the Pockets
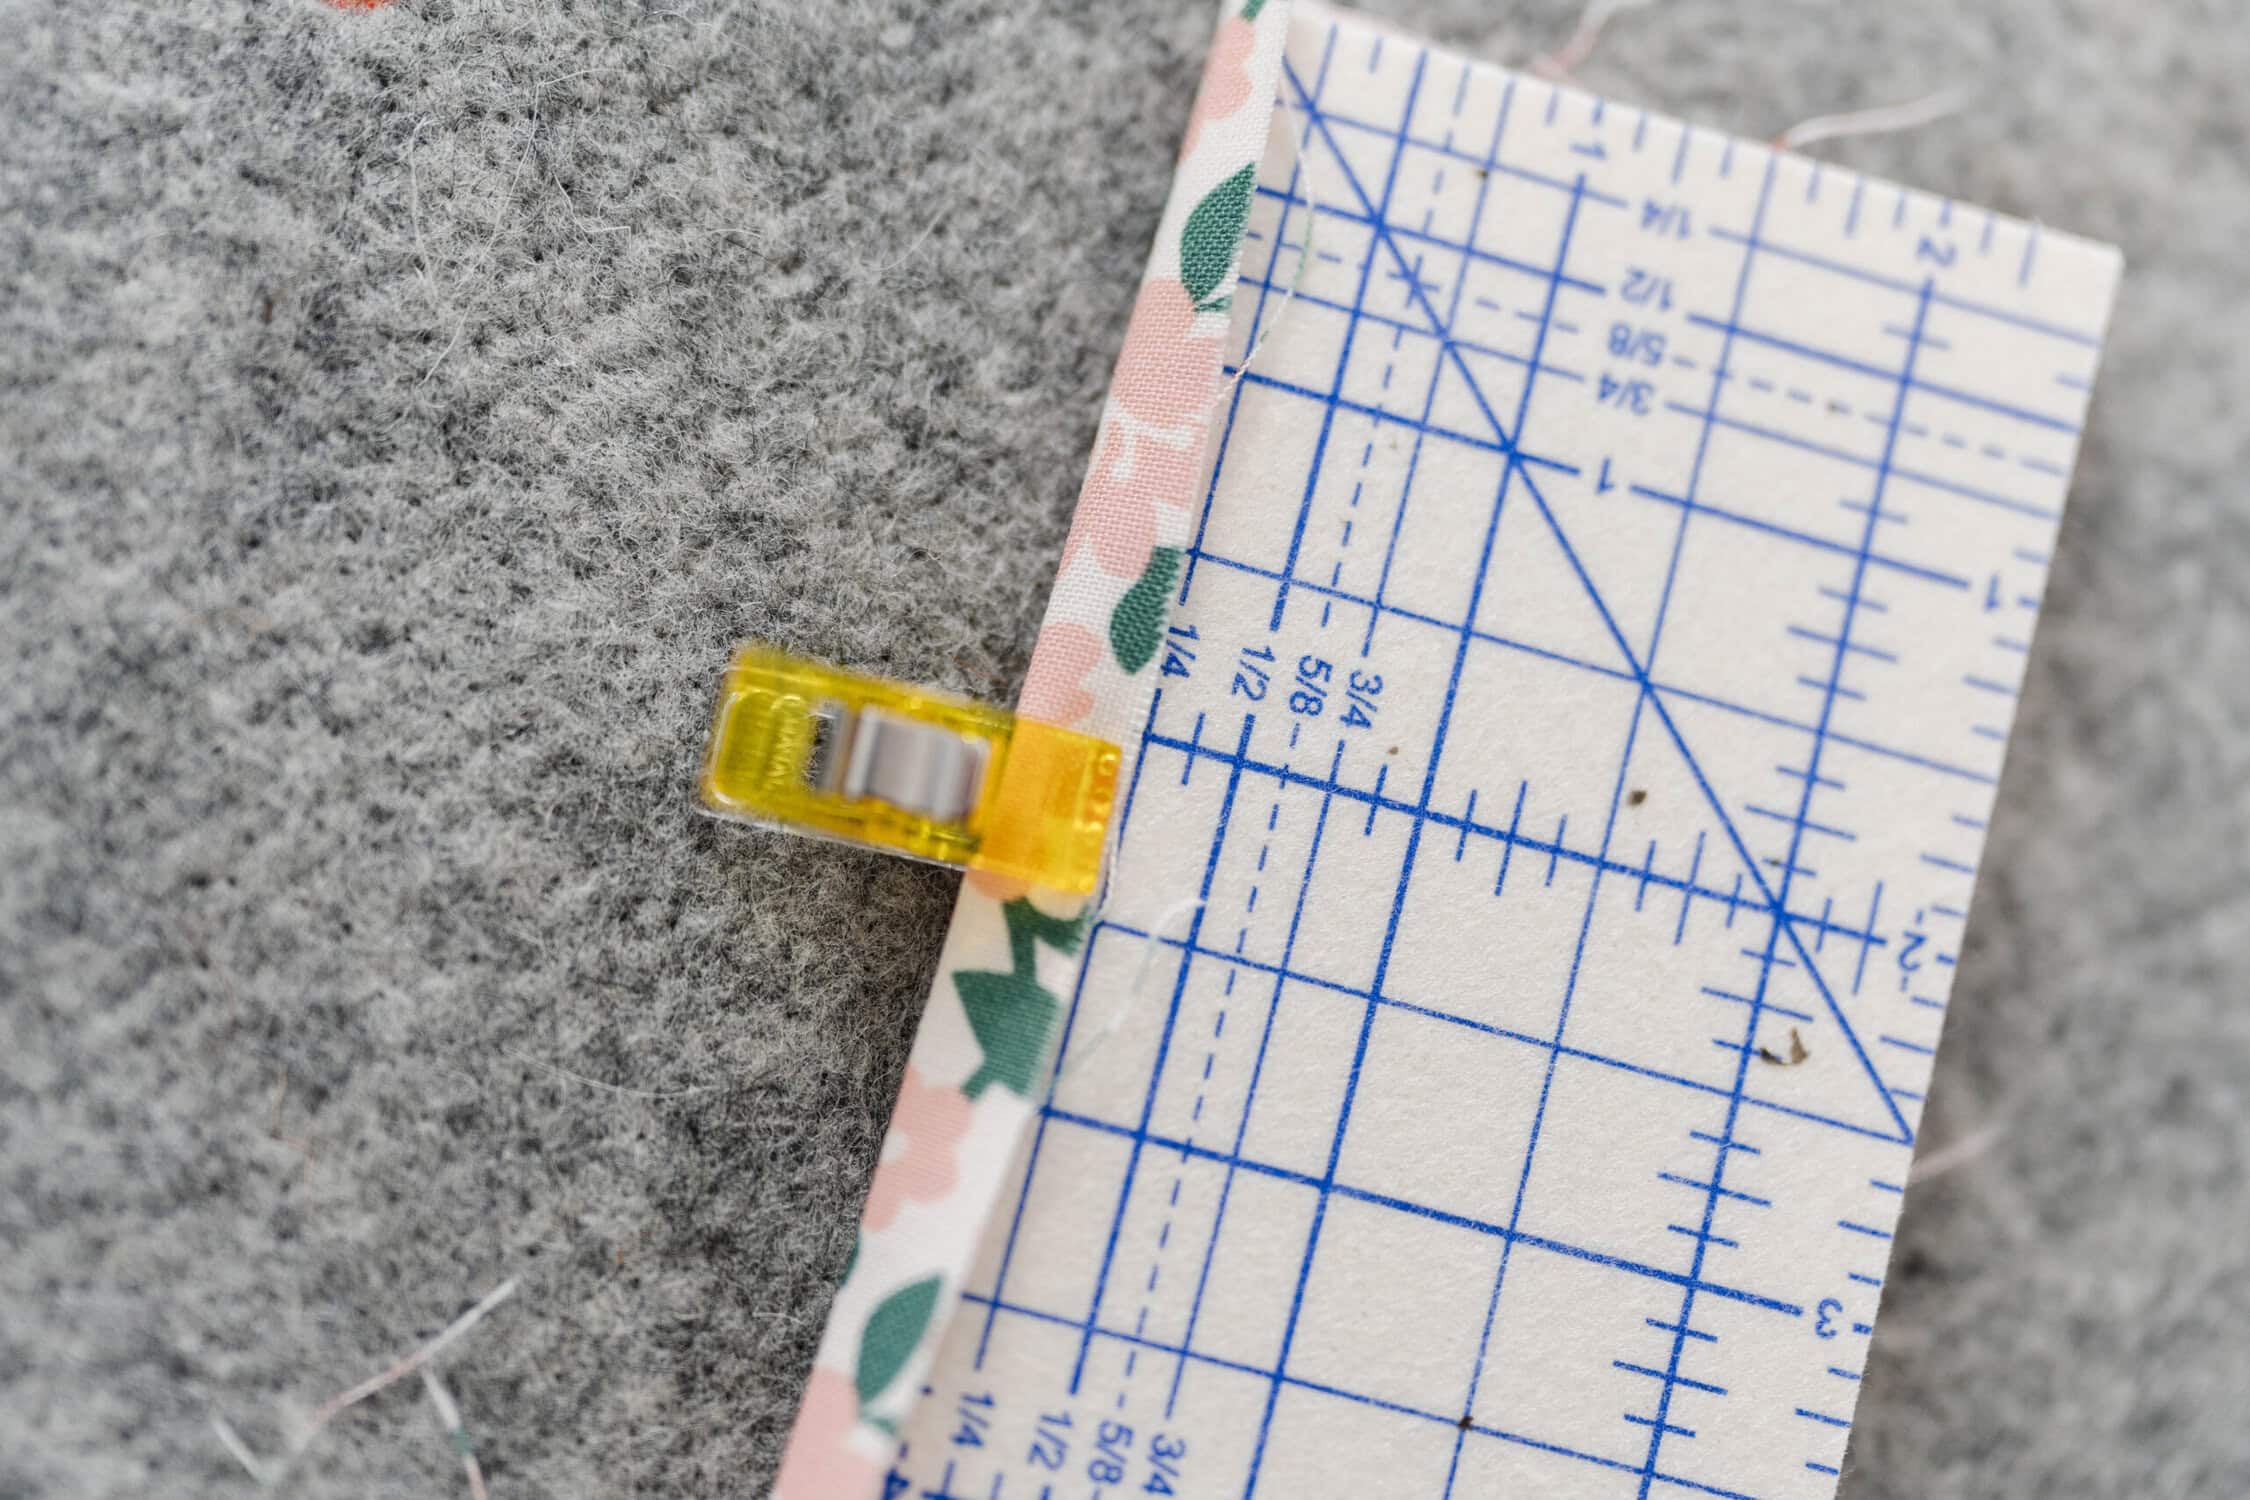
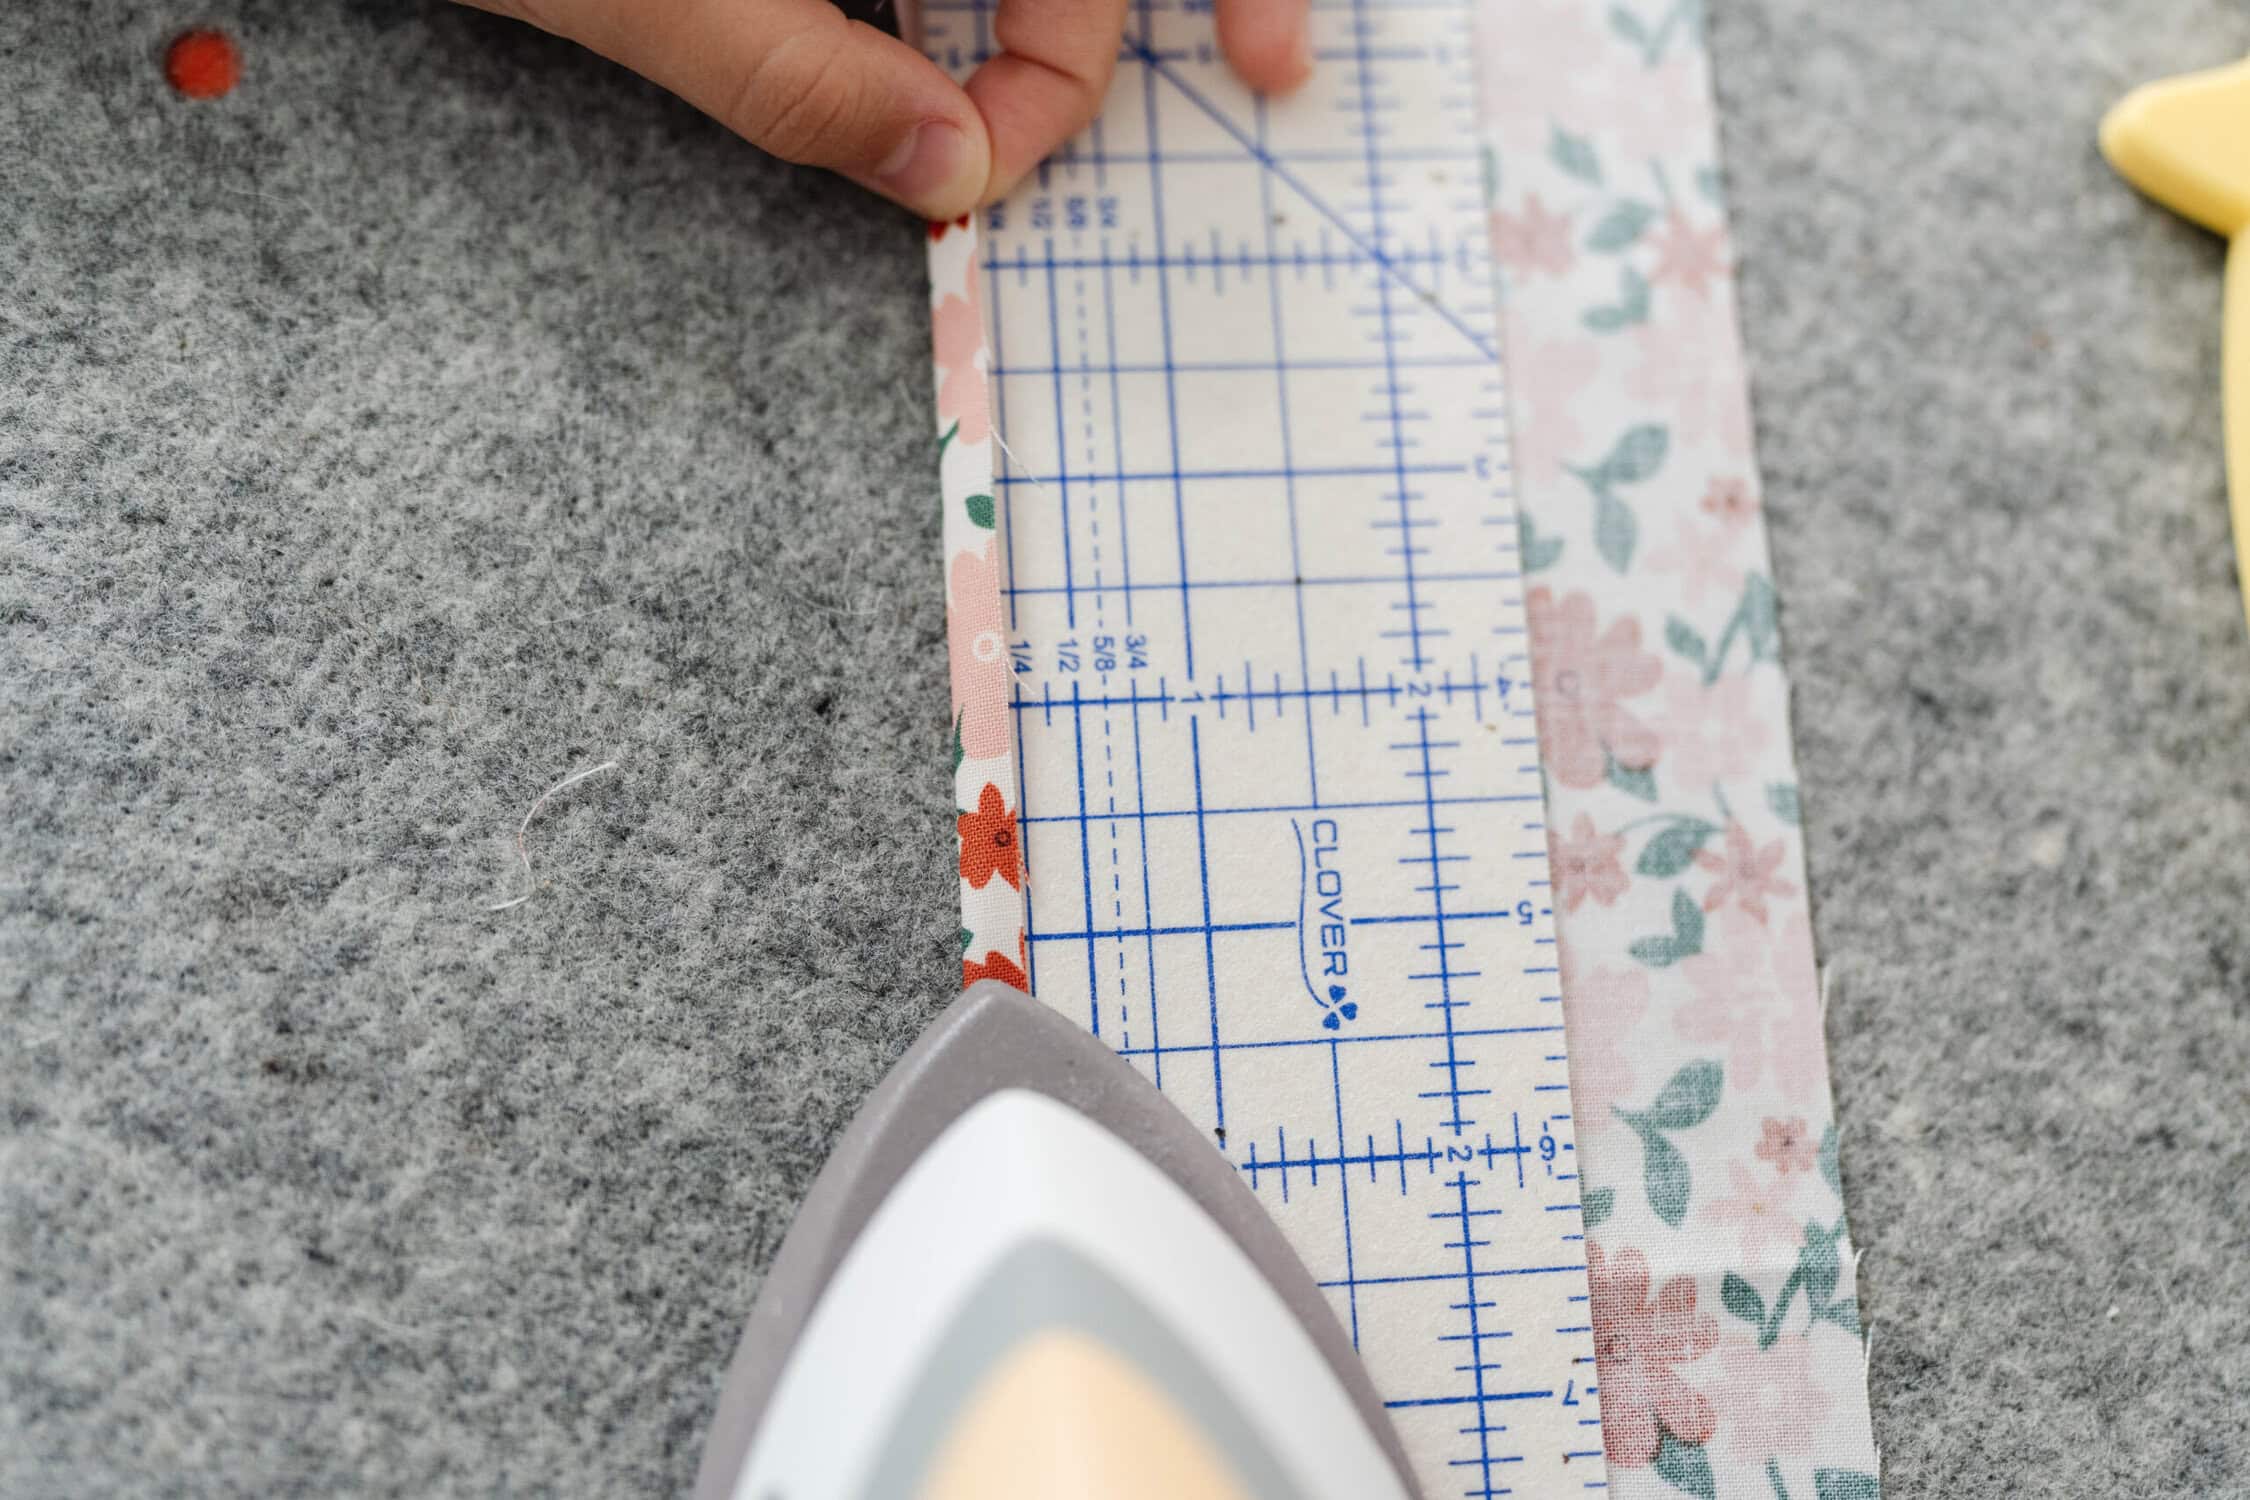
- For both of my 12″ x 4″ pieces, I folded up ¼” on one long side with the hot ruler, clipped it with Wonder Clips so it stayed, and ironed it down. Then I sewed a tiny seam (?”) along the fold. Now they’re neat at the top!
3) Pocket #1
- I laid my 12″ x 10″ piece right side up. Then I put one pocket piece right side down on the bottom edge, with the finished side pointing up.
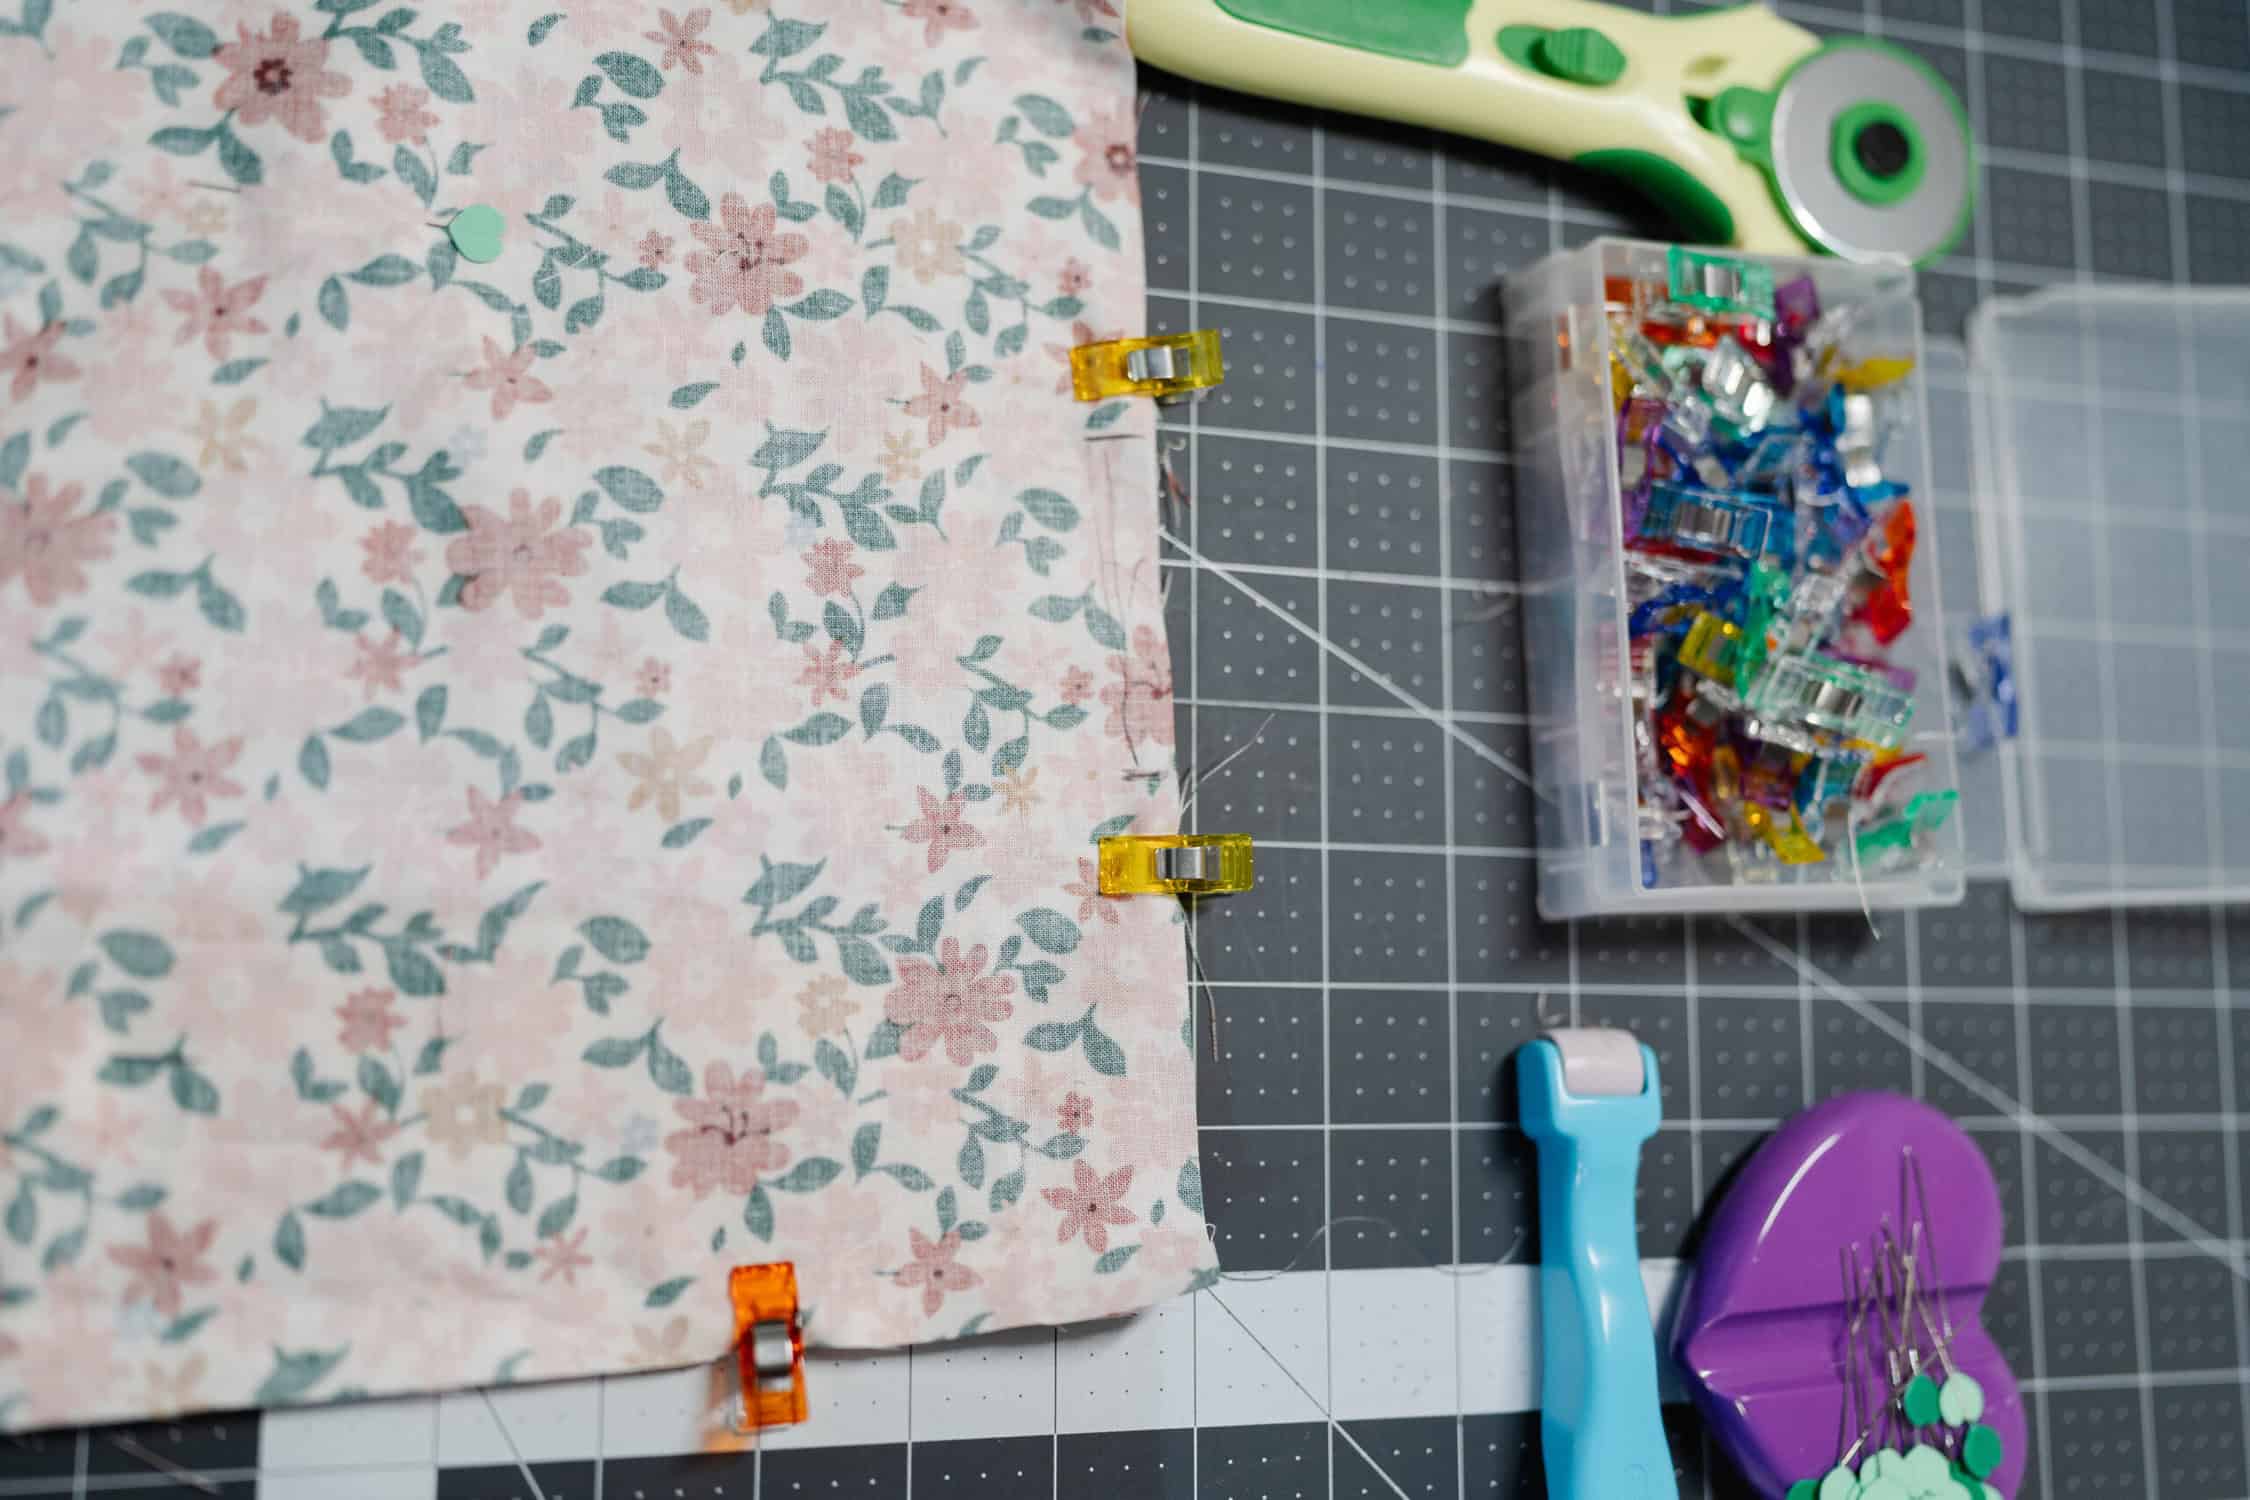
- I pinned it with Heart Pins and clipped the edges with Wonder Clips. Then I sewed across with a ¼” seam allowance in a U-shape.
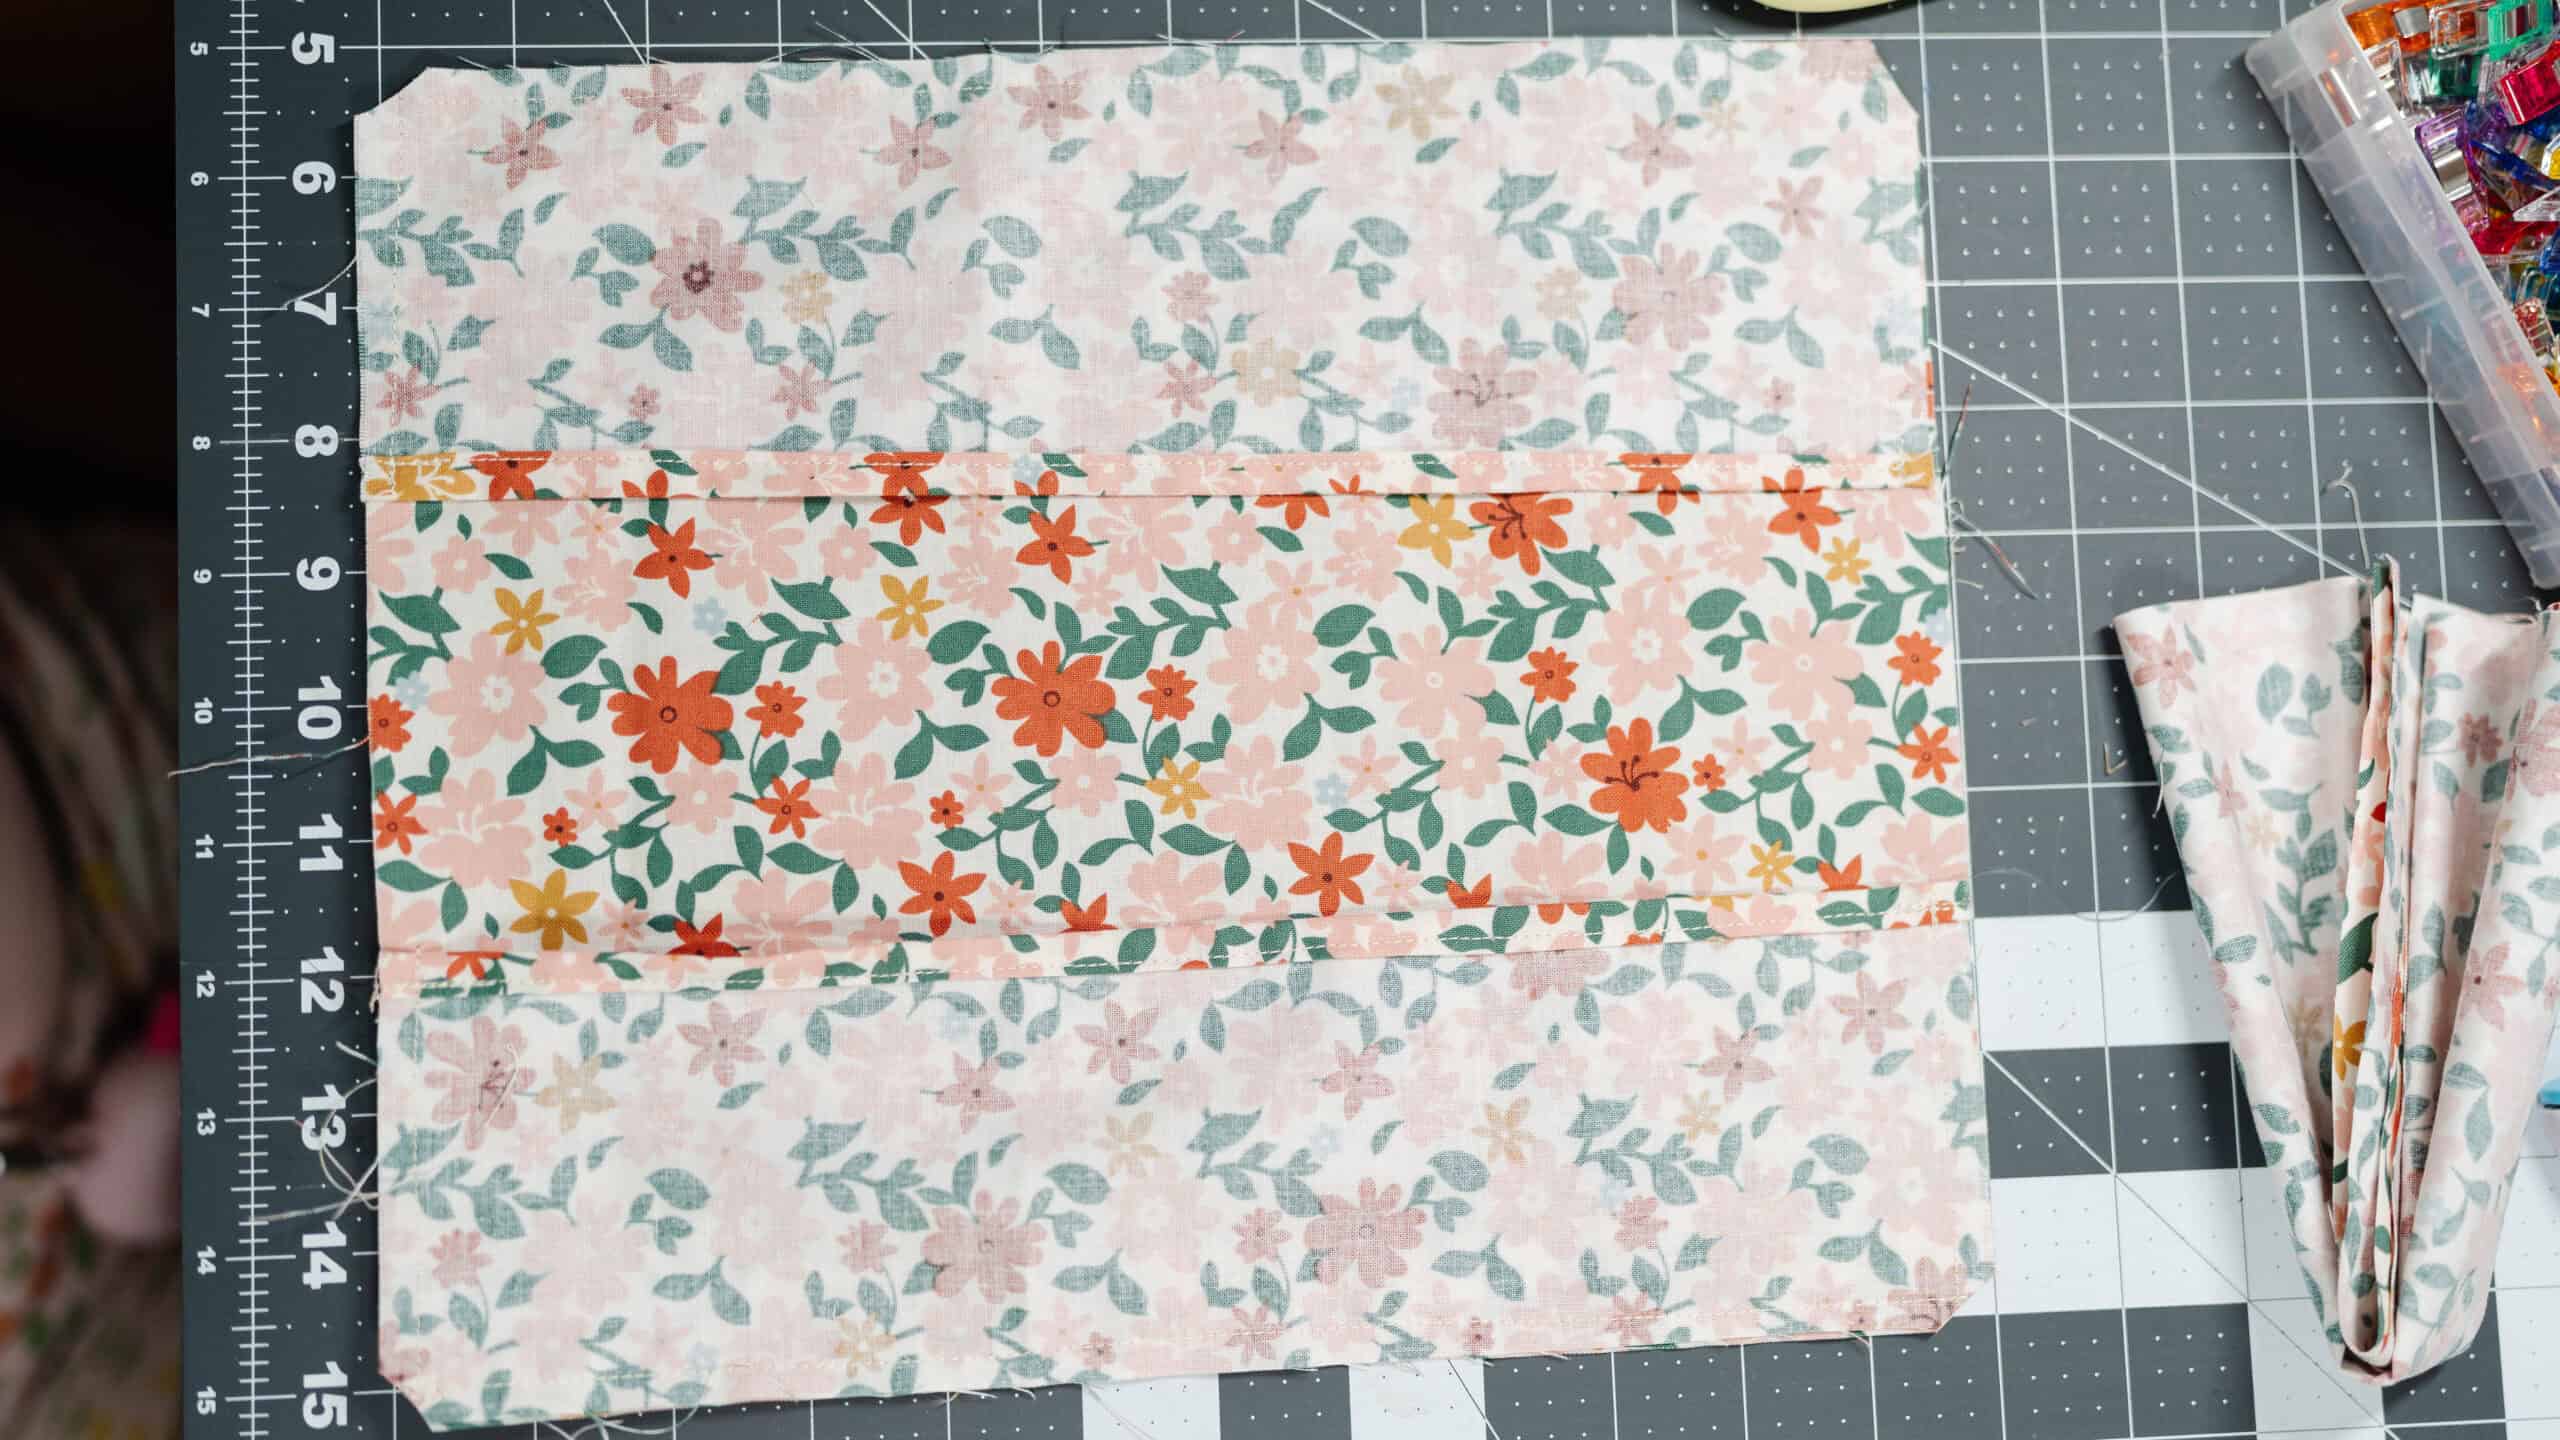
4) Pocket #2
- I did the same thing on the other side with the second pocket piece. Now there are two pockets — one on each side!
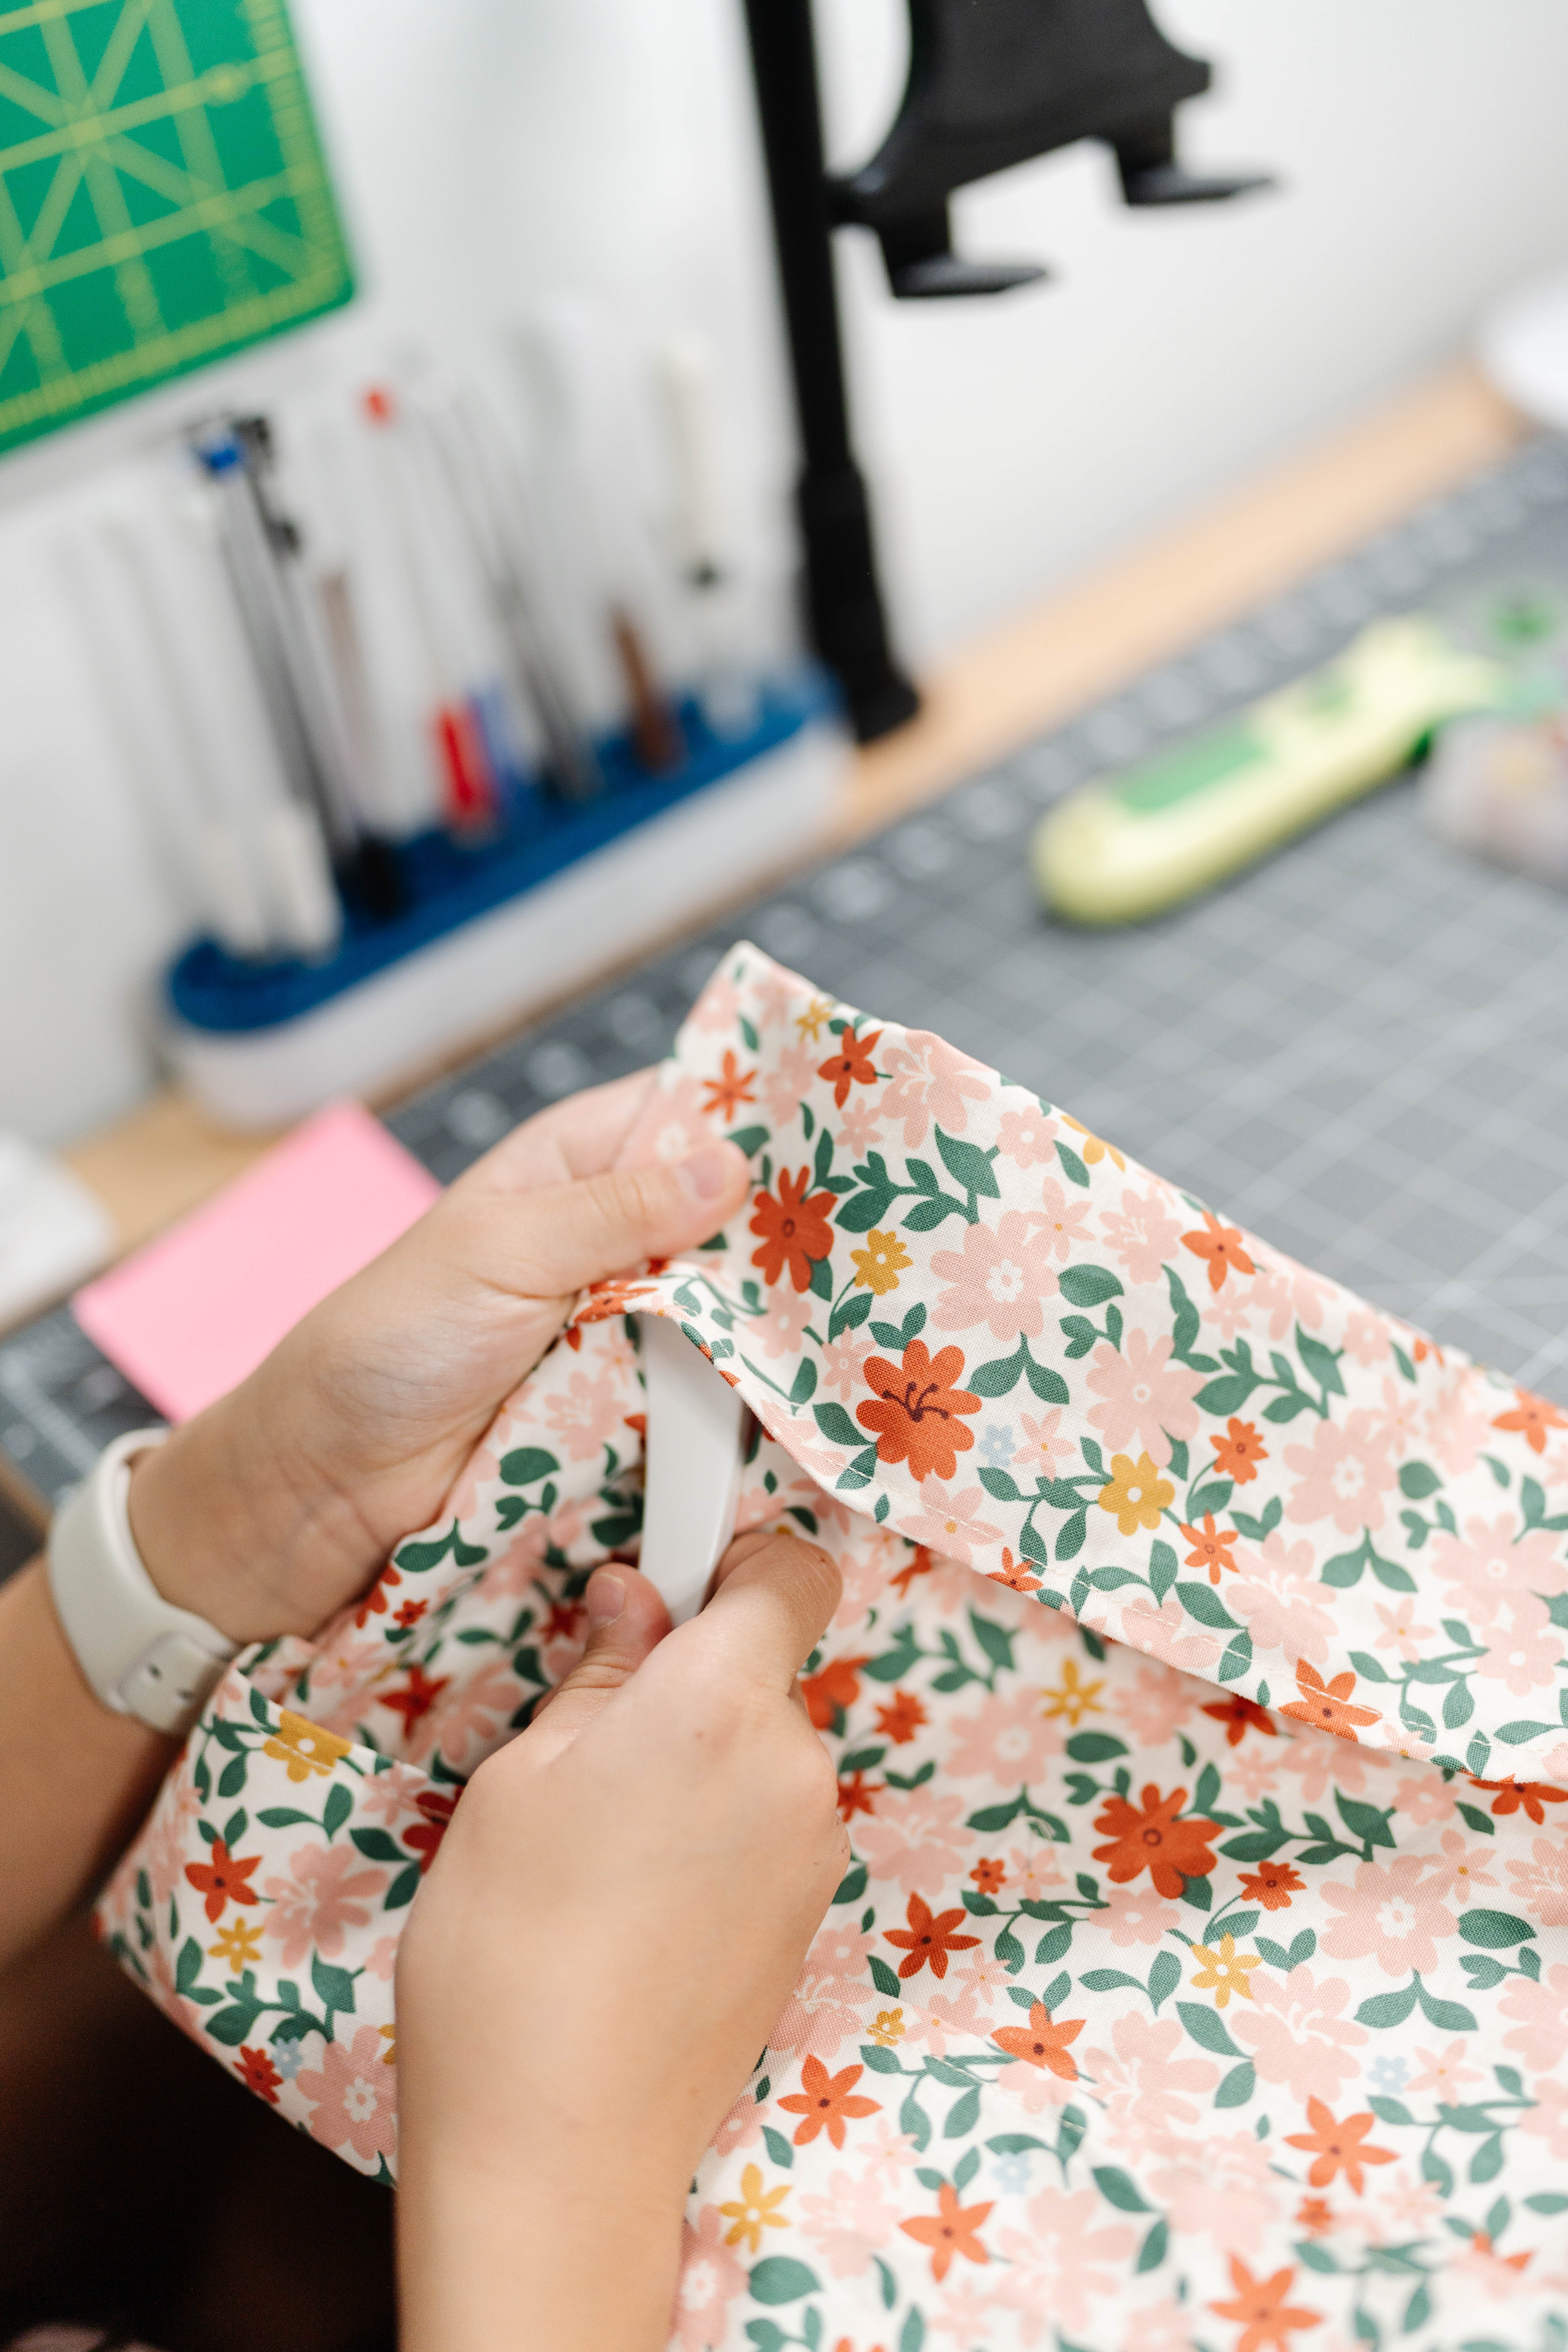
5) Trim & Turn
- I clipped the corners (so they don’t get bulky) and turned it right side out. The Point Turner helped me poke out the corners nice and sharp.
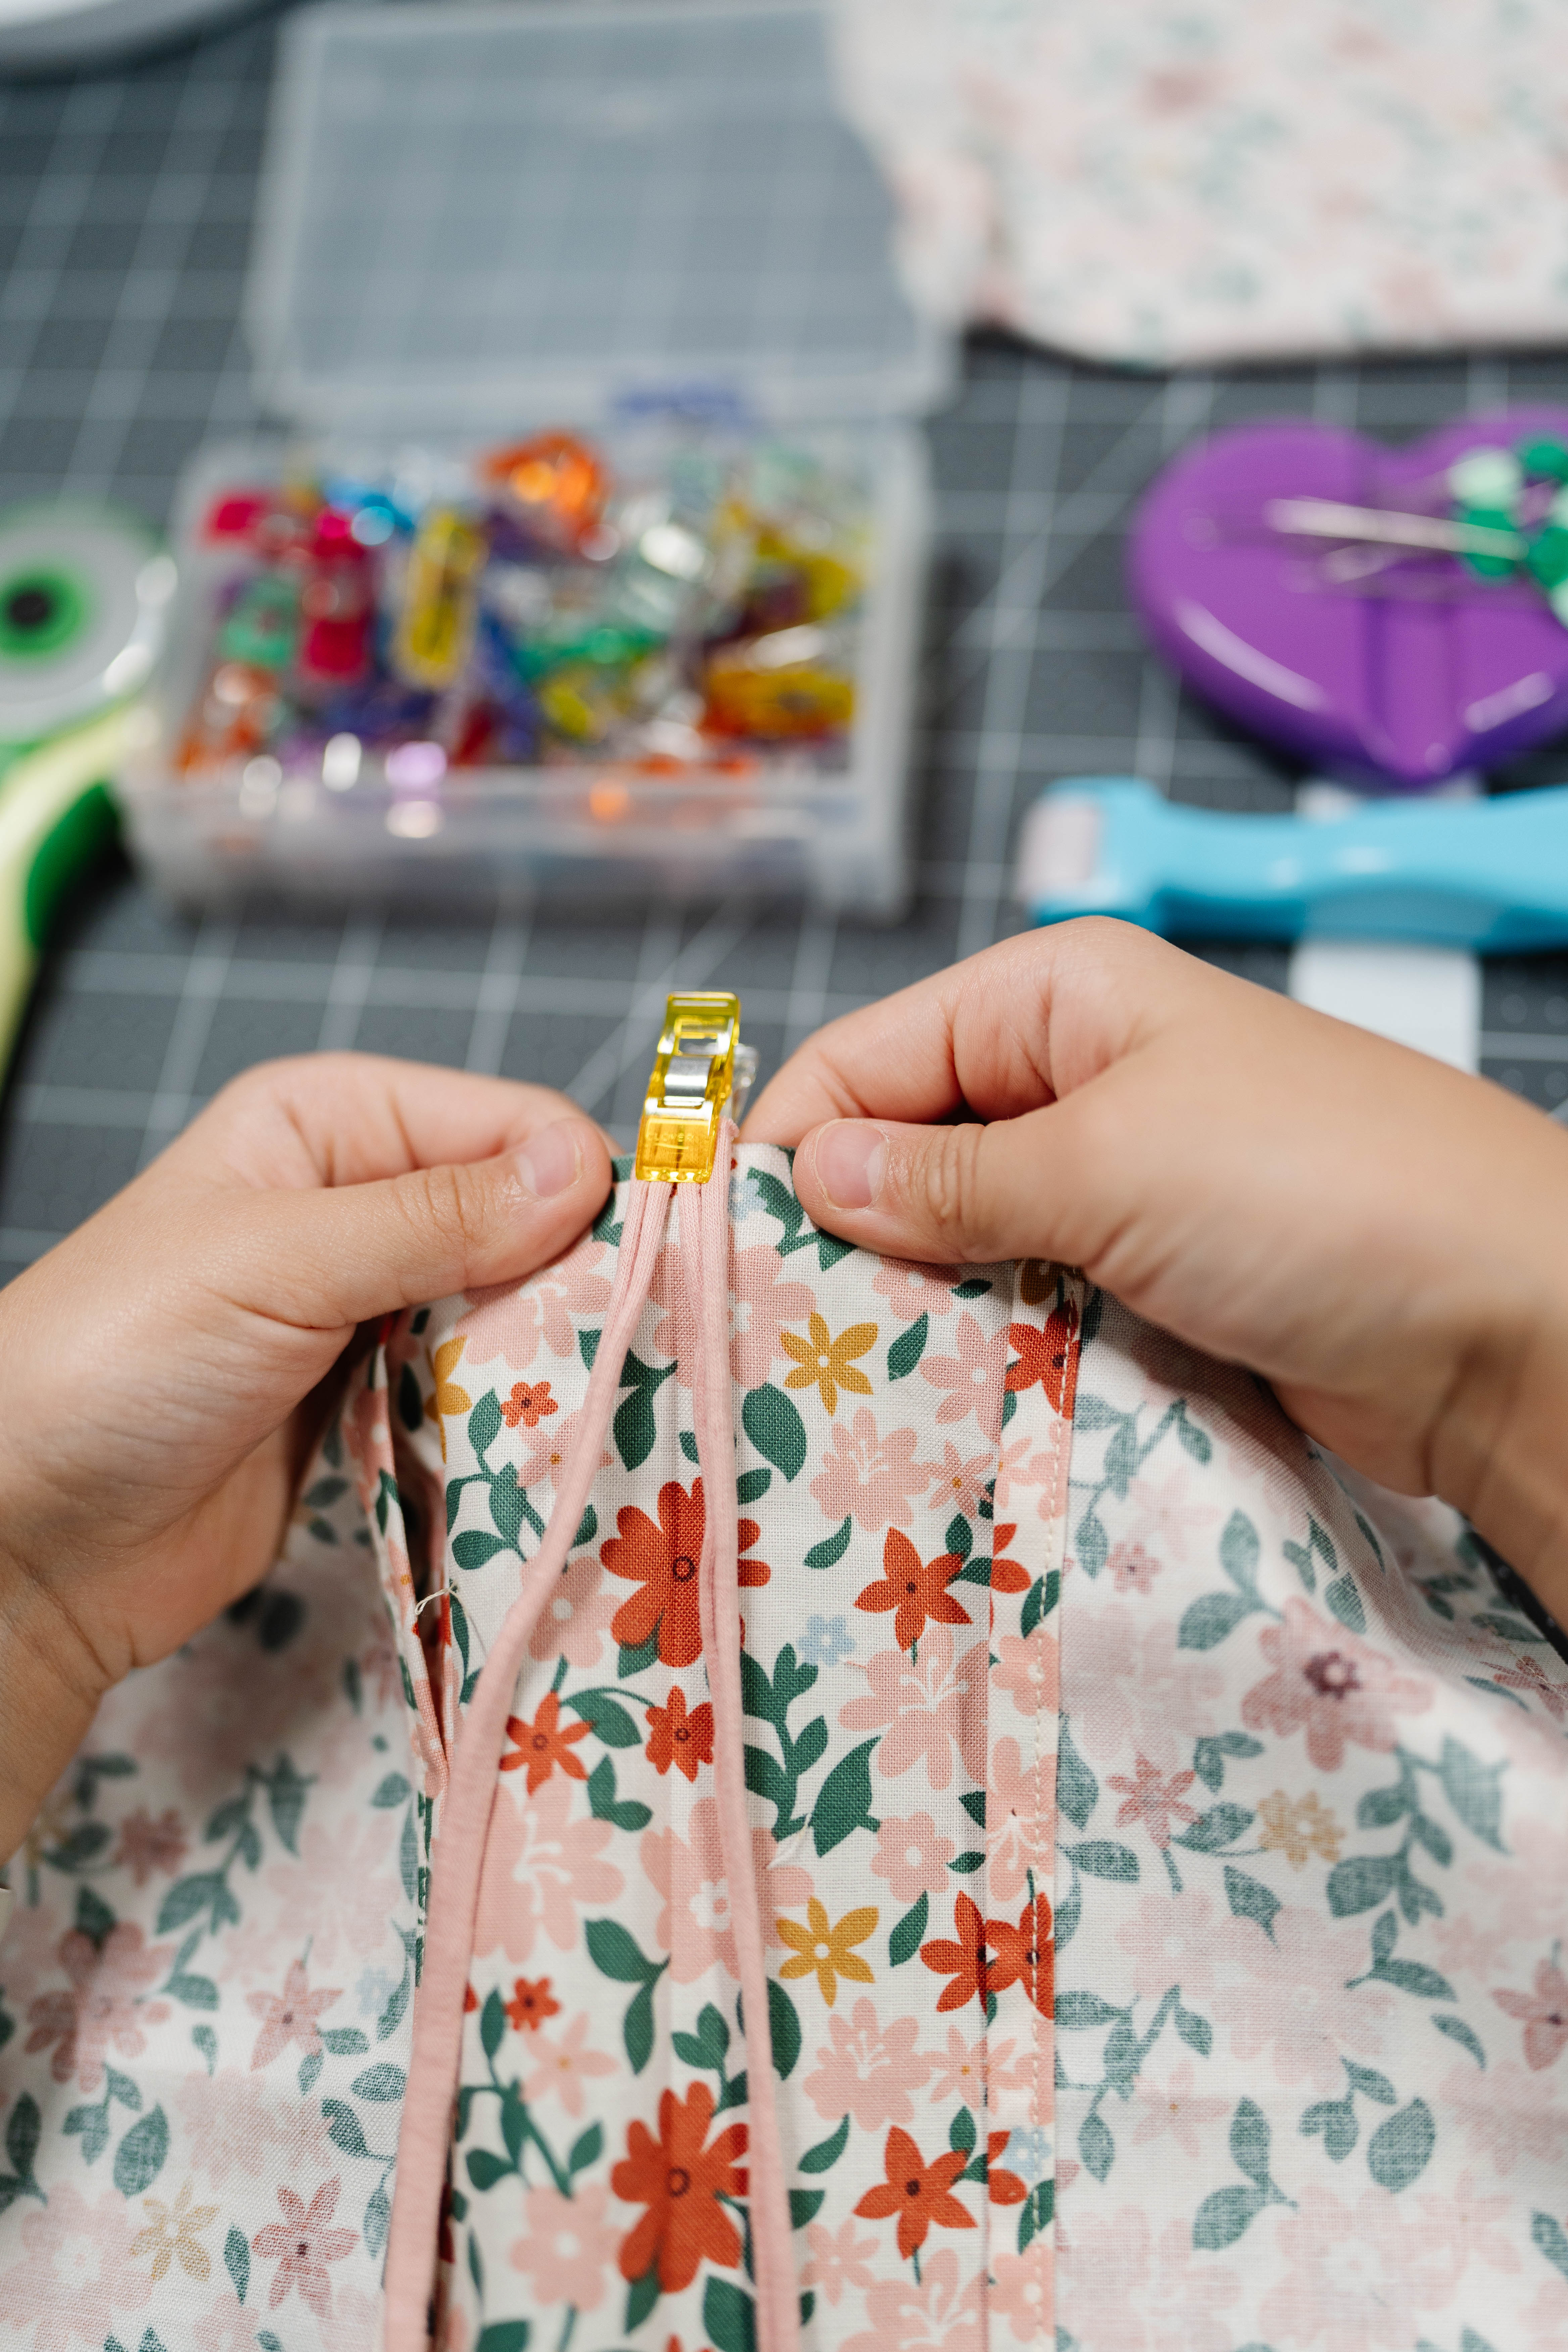
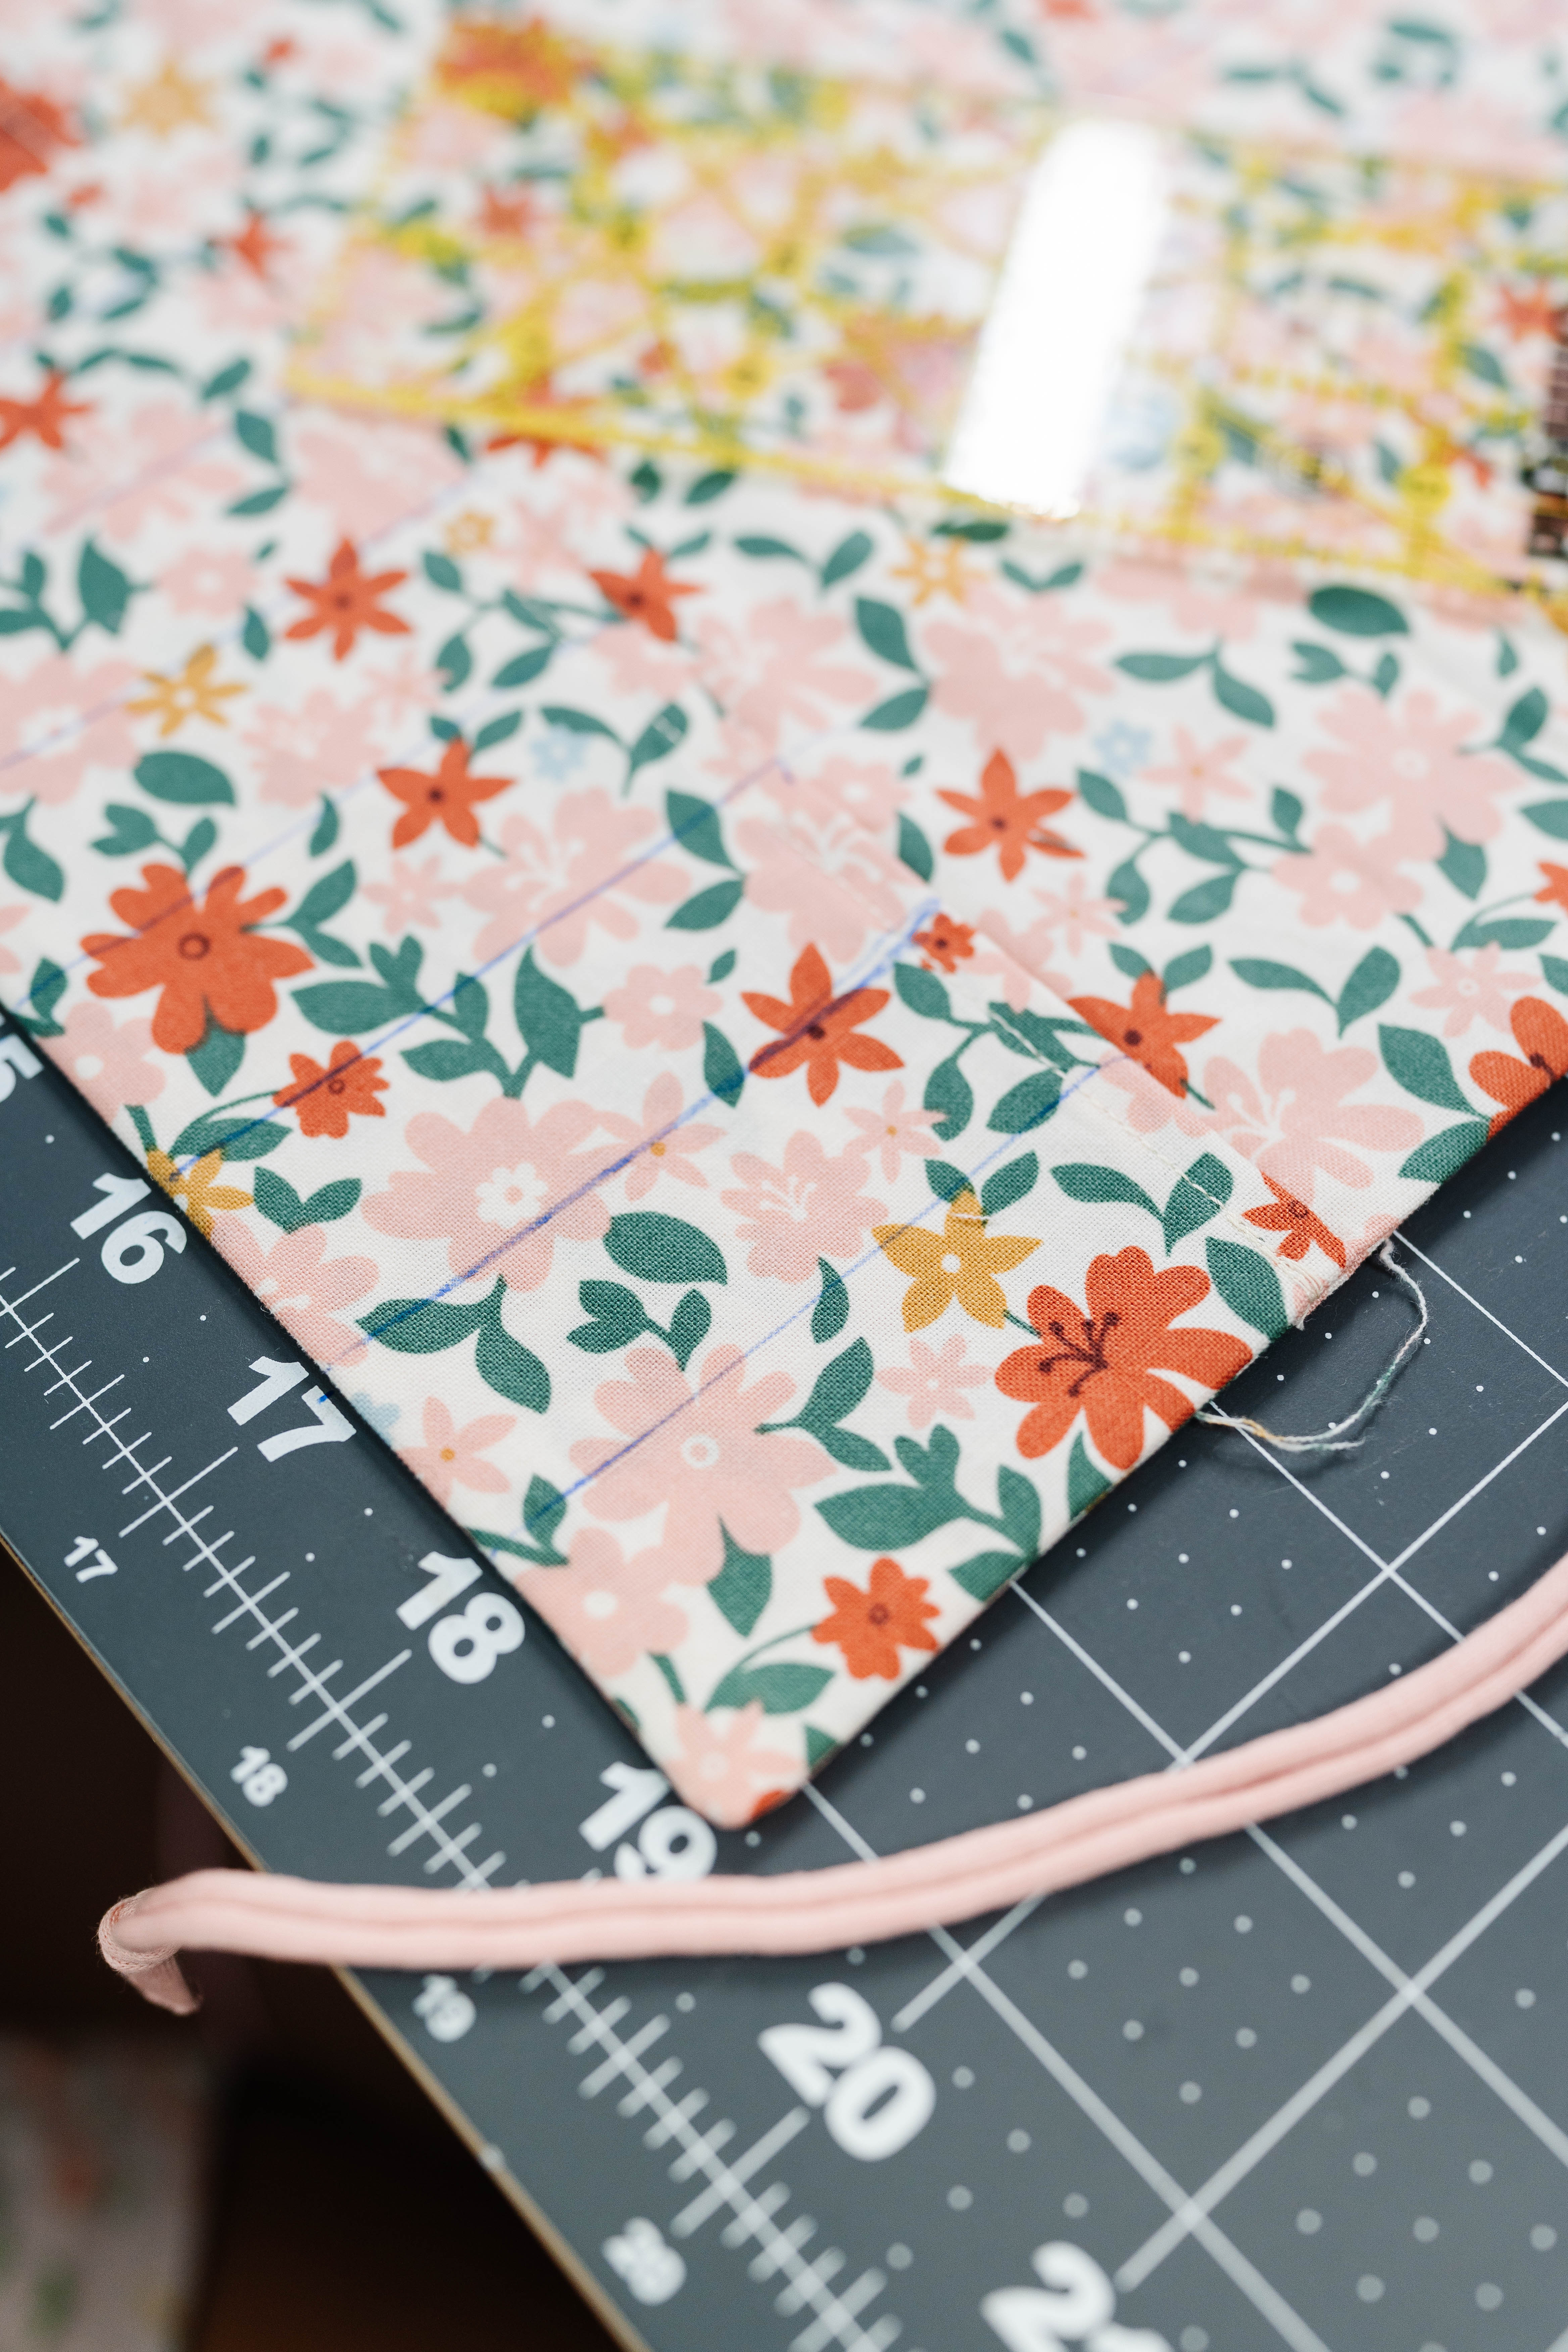
6) Add the Ties
- I folded the piece in half and used the Roll & Press to find the middle. Then I clipped my ties in the center with Wonder Clips.
7) Sew the Sandwich
- I put the other 12″ x 10″ piece right side down on top (like a sandwich with right sides together). Then I clipped all the way around.
- I used my heat pen to mark a 3″ opening, so I remembered not to sew it closed. Then I sewed all around with a ¼” seam allowance, leaving that gap.
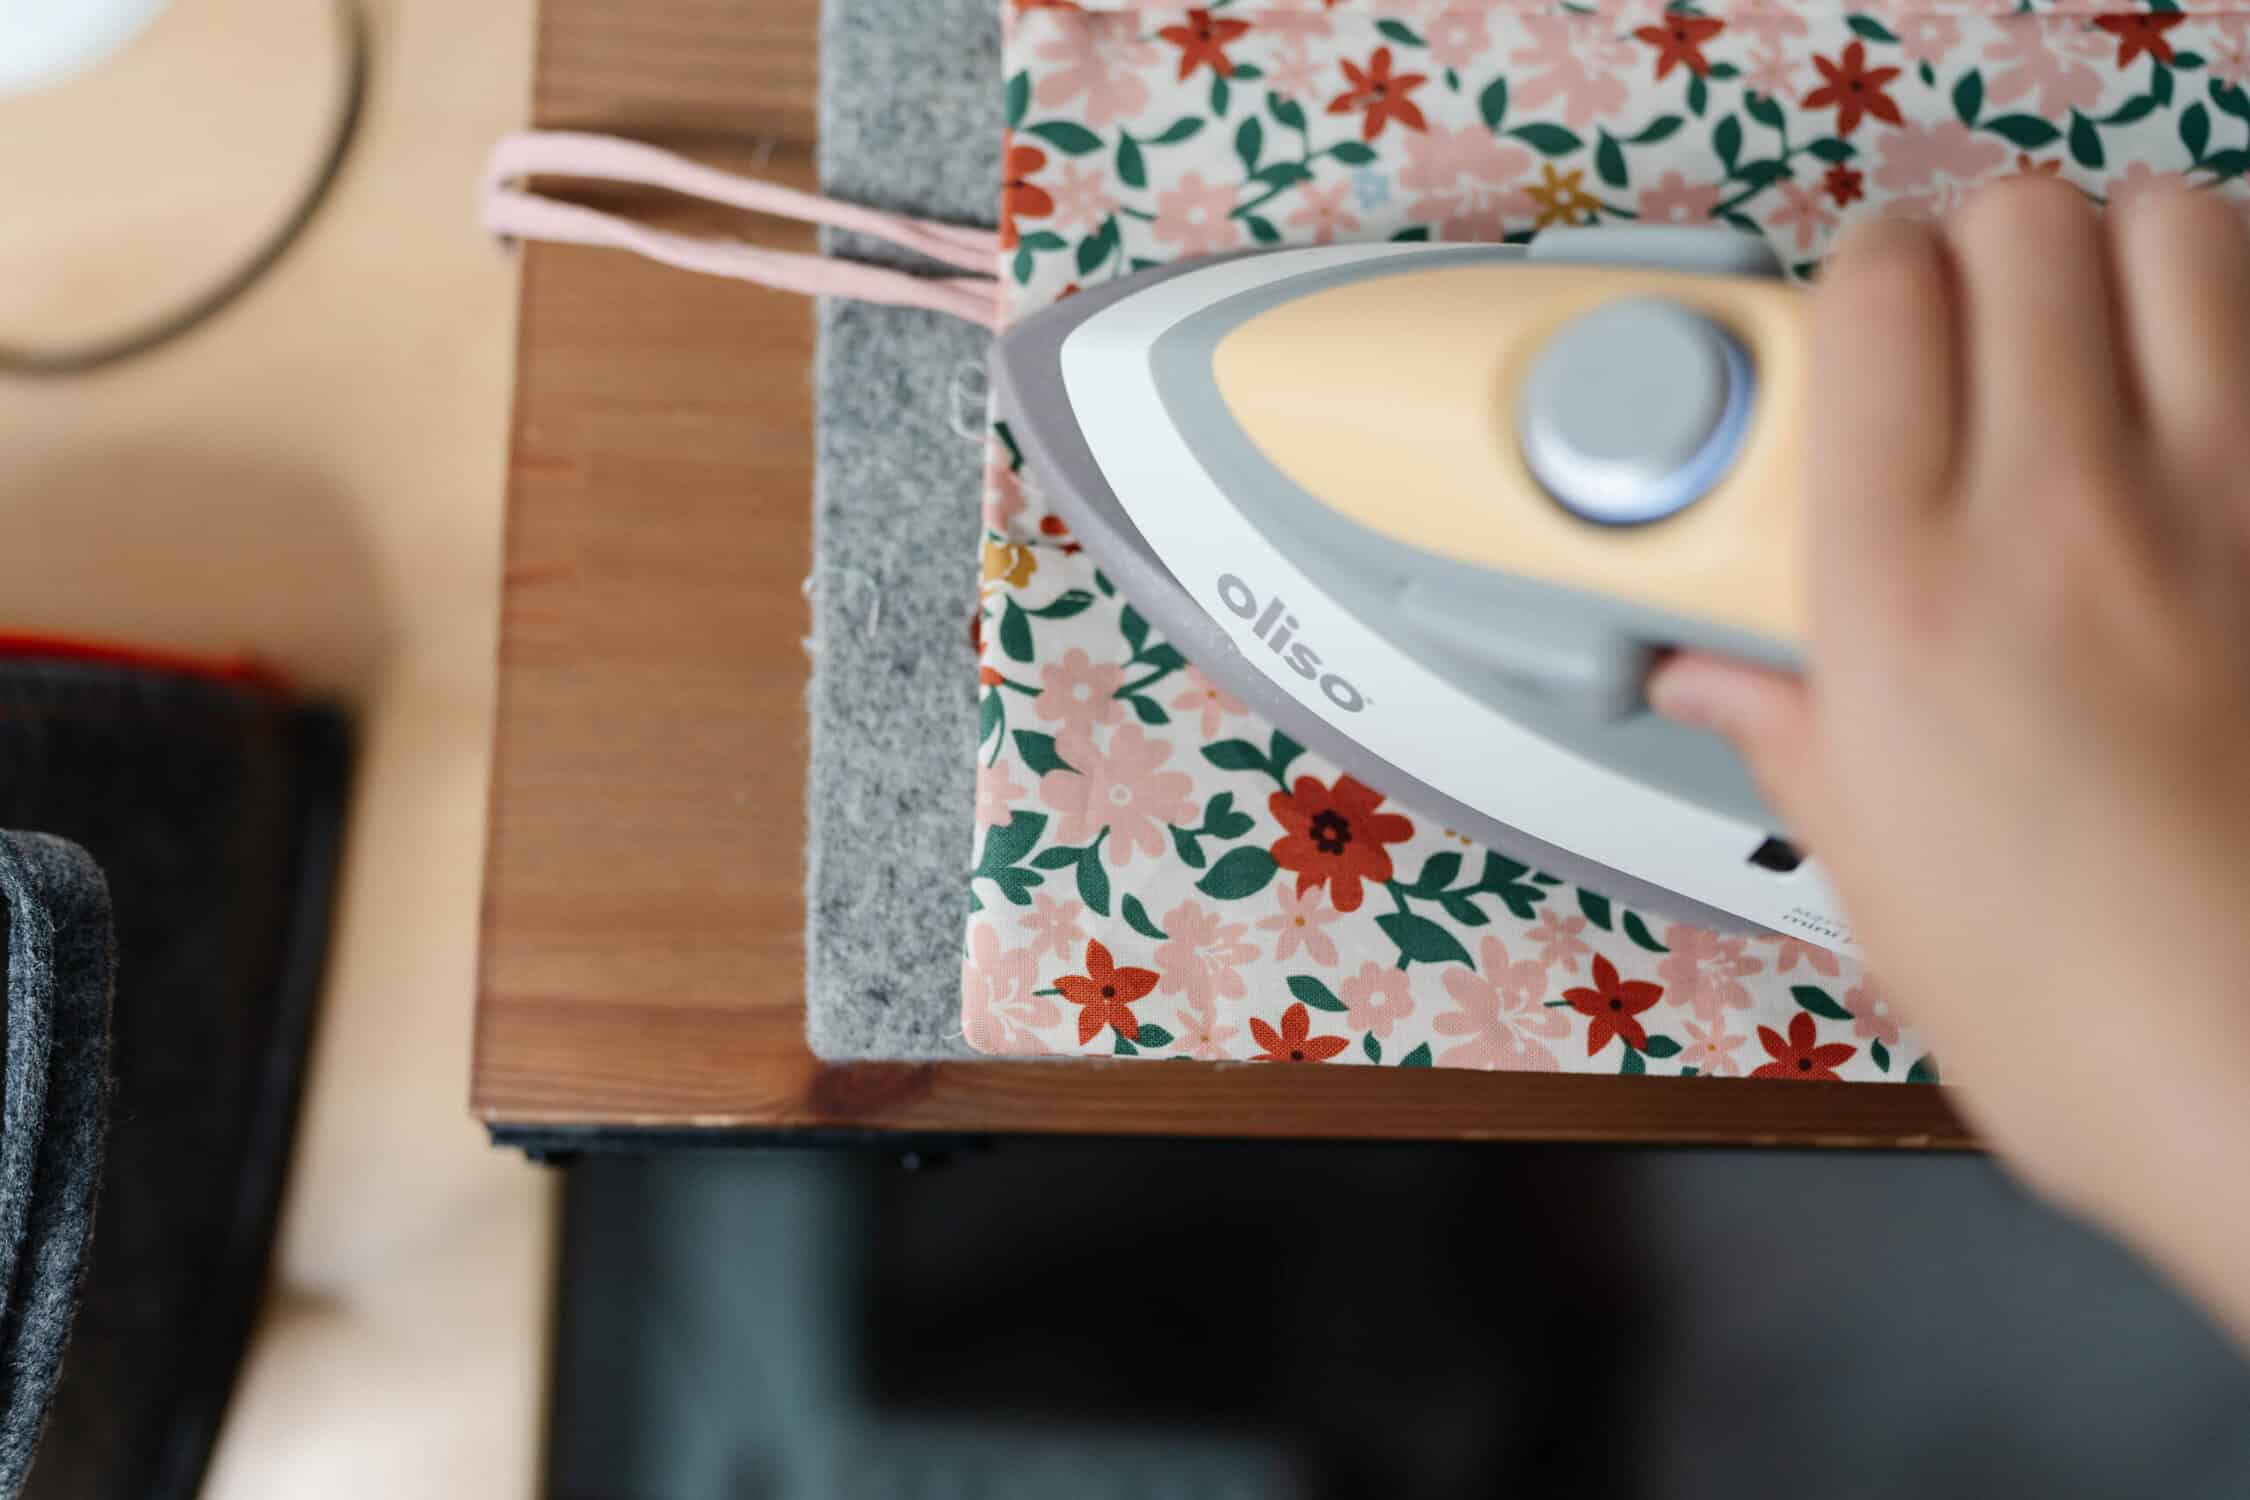
8) Turn + Topstitch
I trimmed the corners, turned it right side out, and used the Point Turner again. Then I ironed the edges flat.
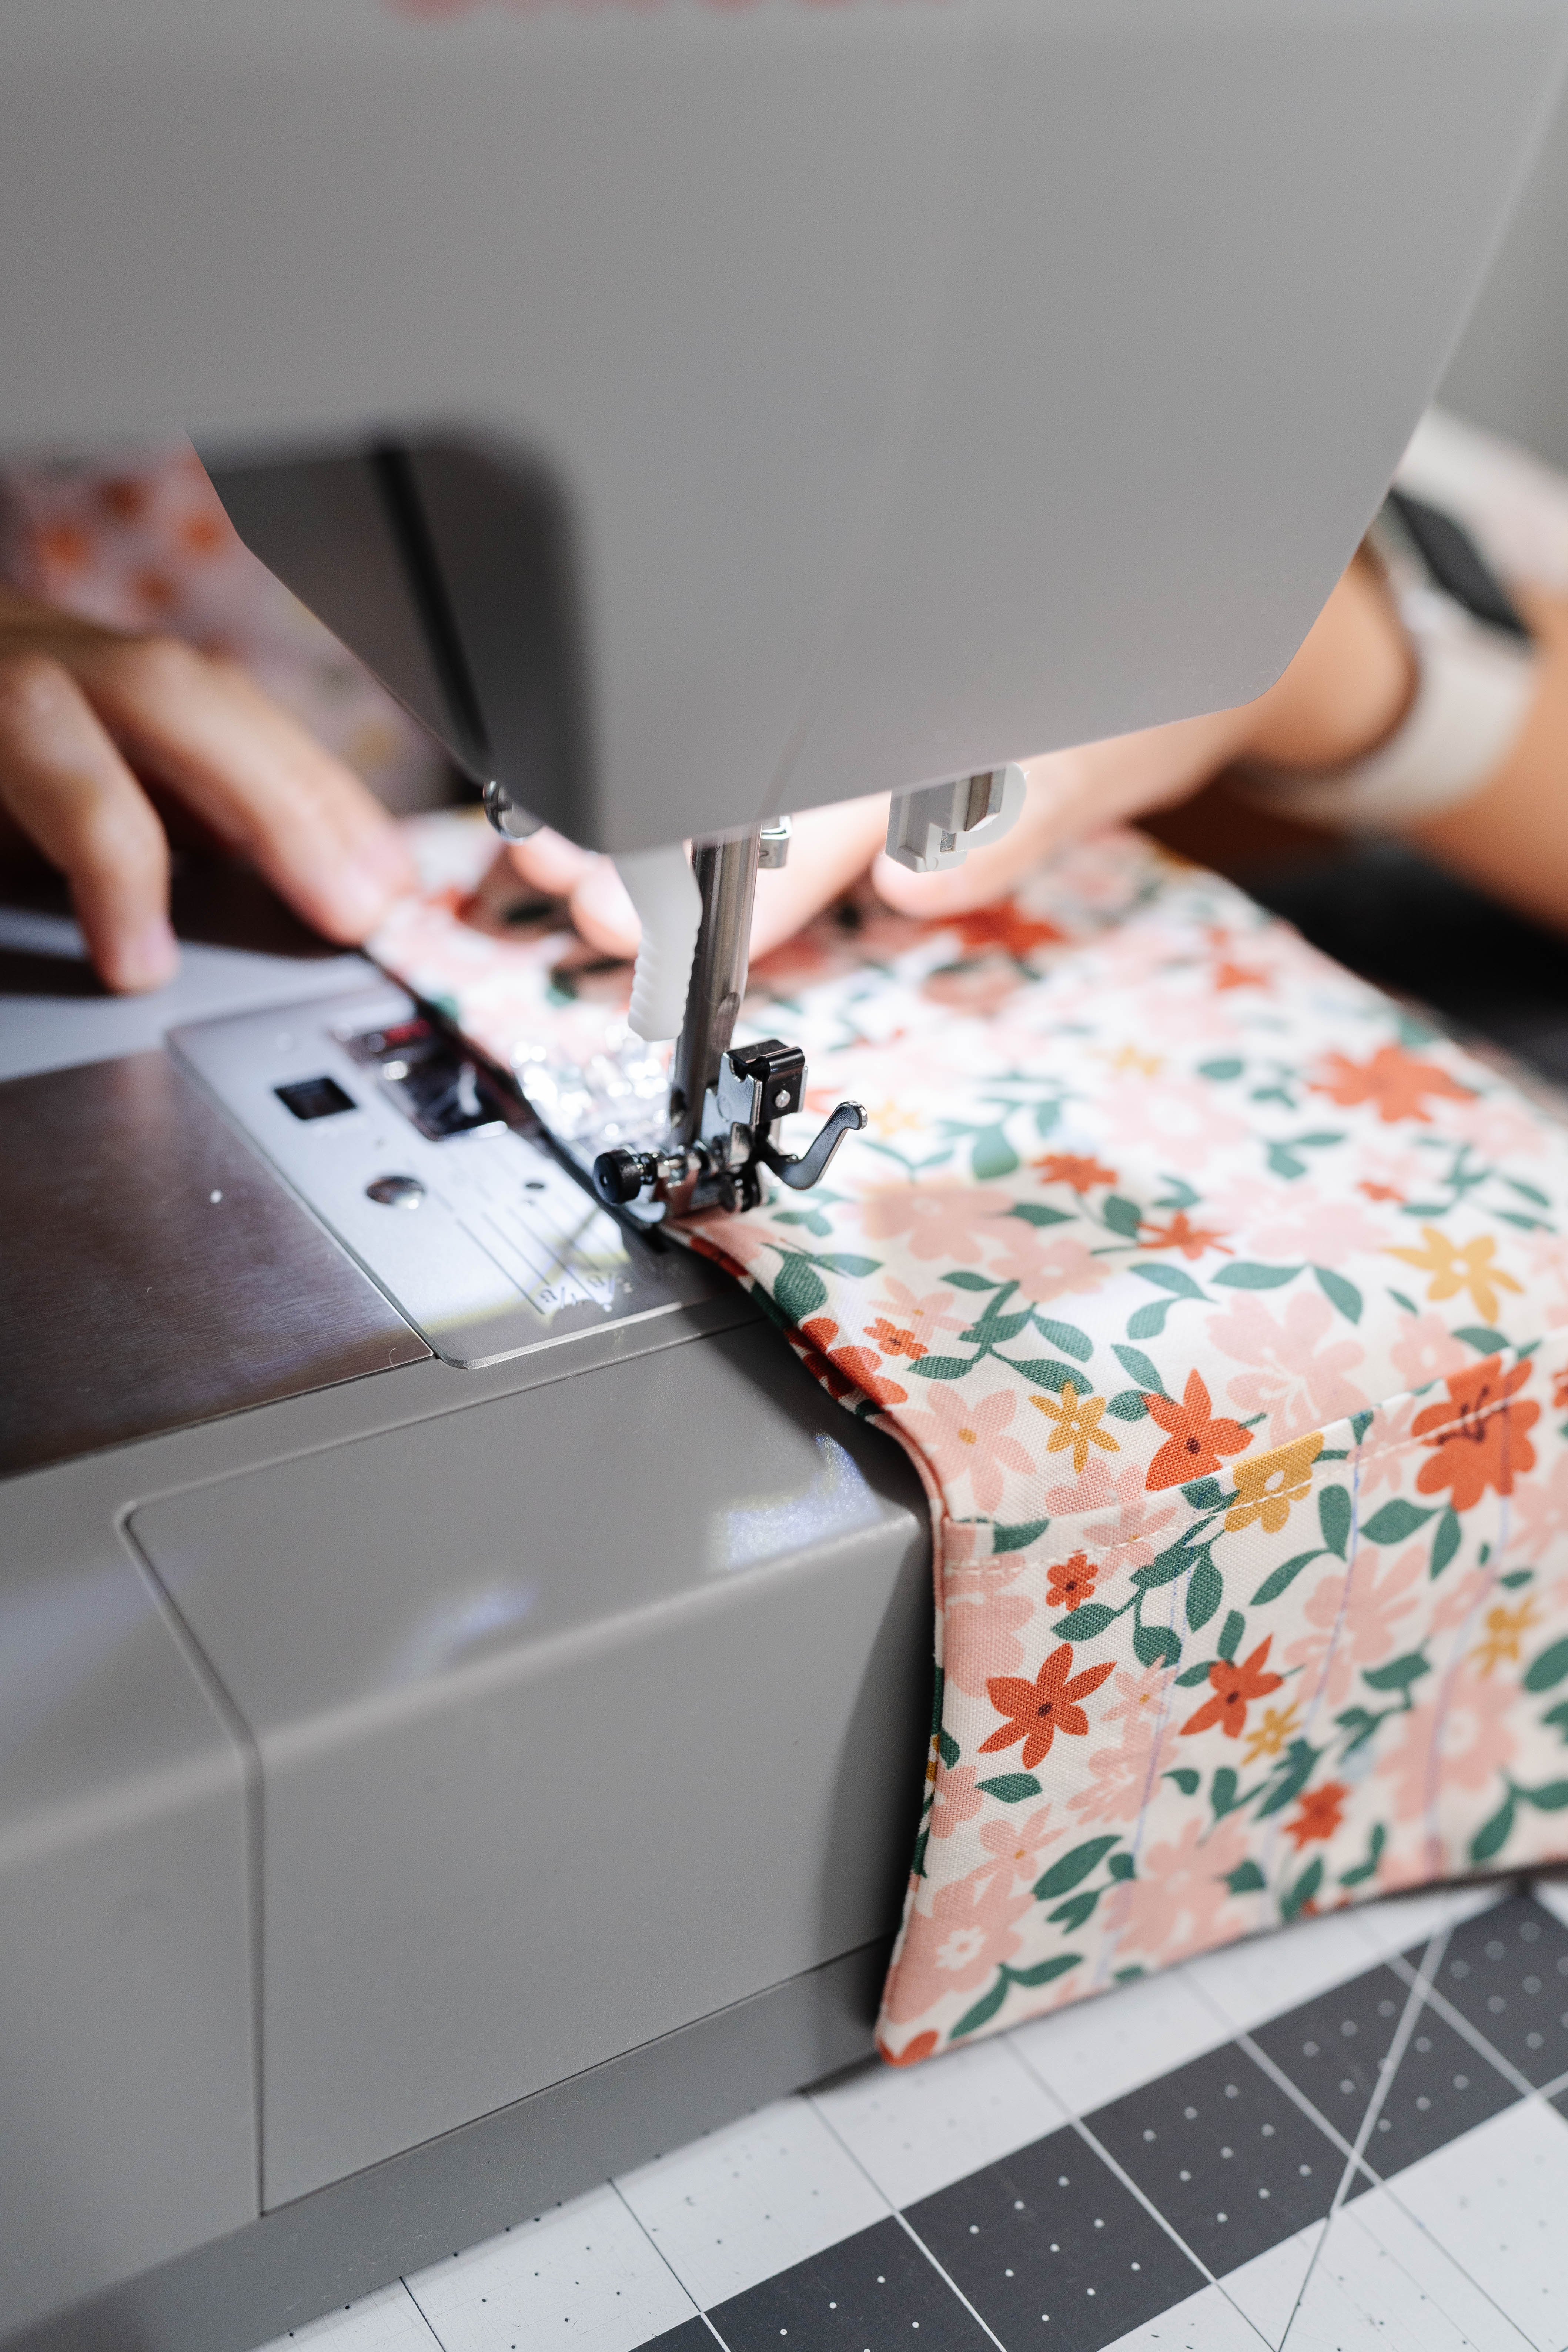
Last step here: I topstitched all the way around with a ¼” seam, which also closed the opening.
9) Crayon Slots!
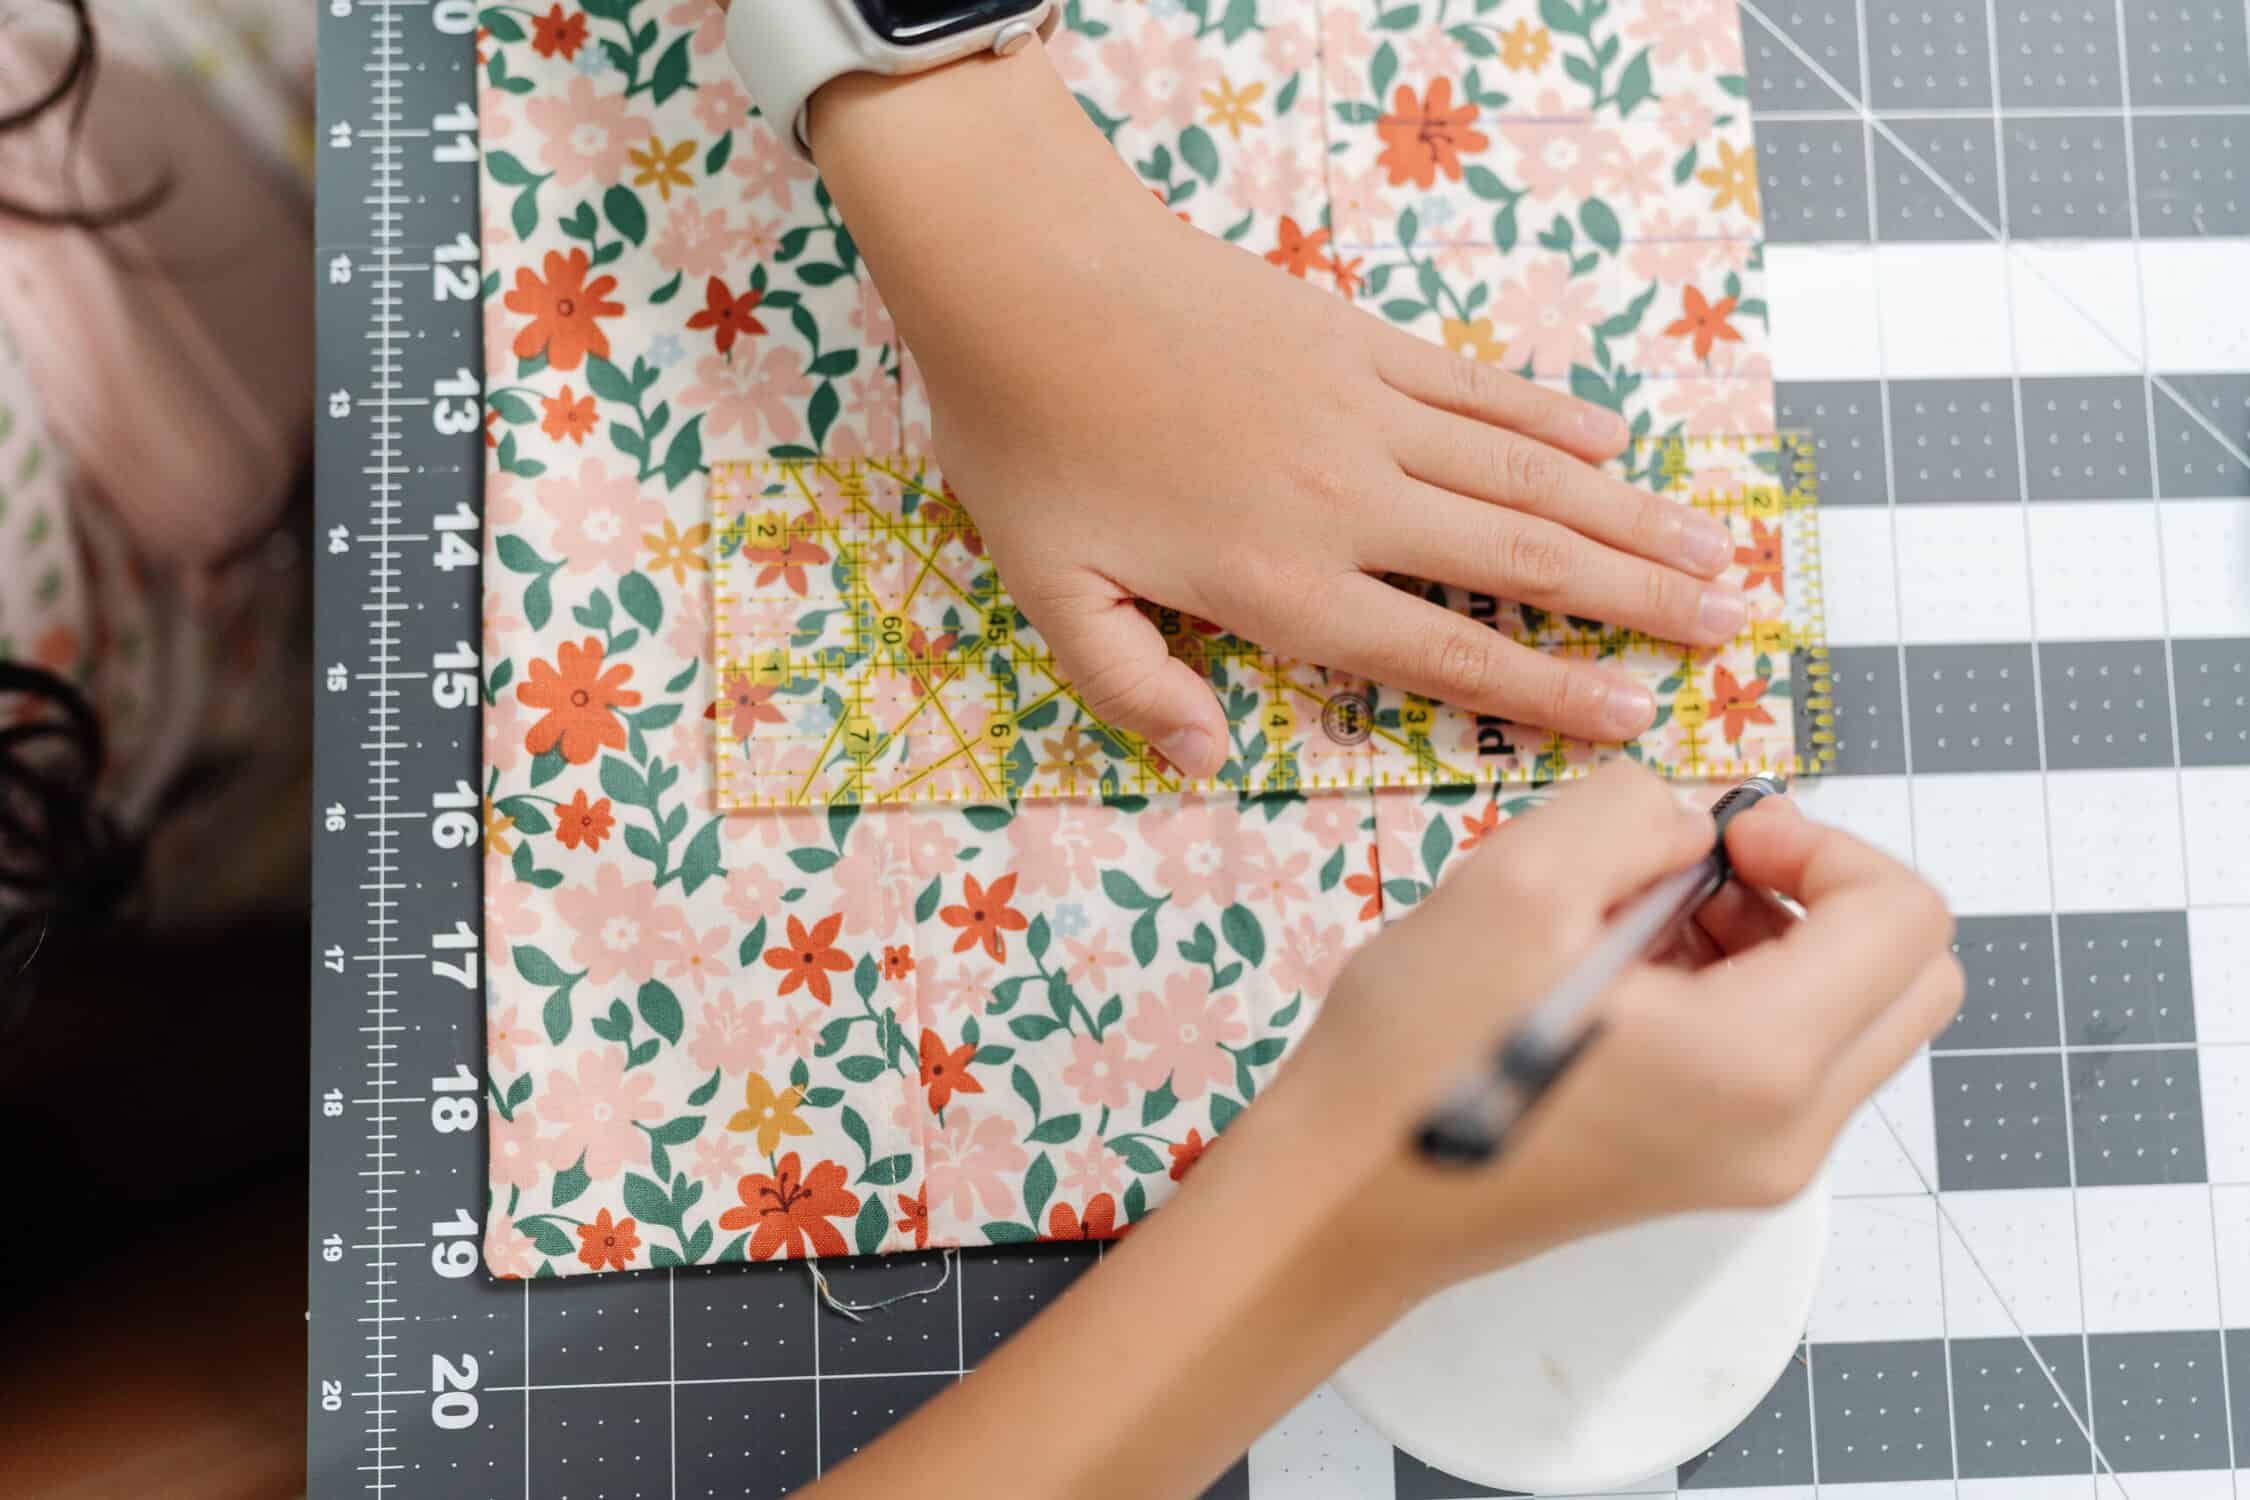
- With my ruler and heat pen, I marked lines 1″ apart across both pocket panels. Then I sewed on each line to make the little crayon “homes.”
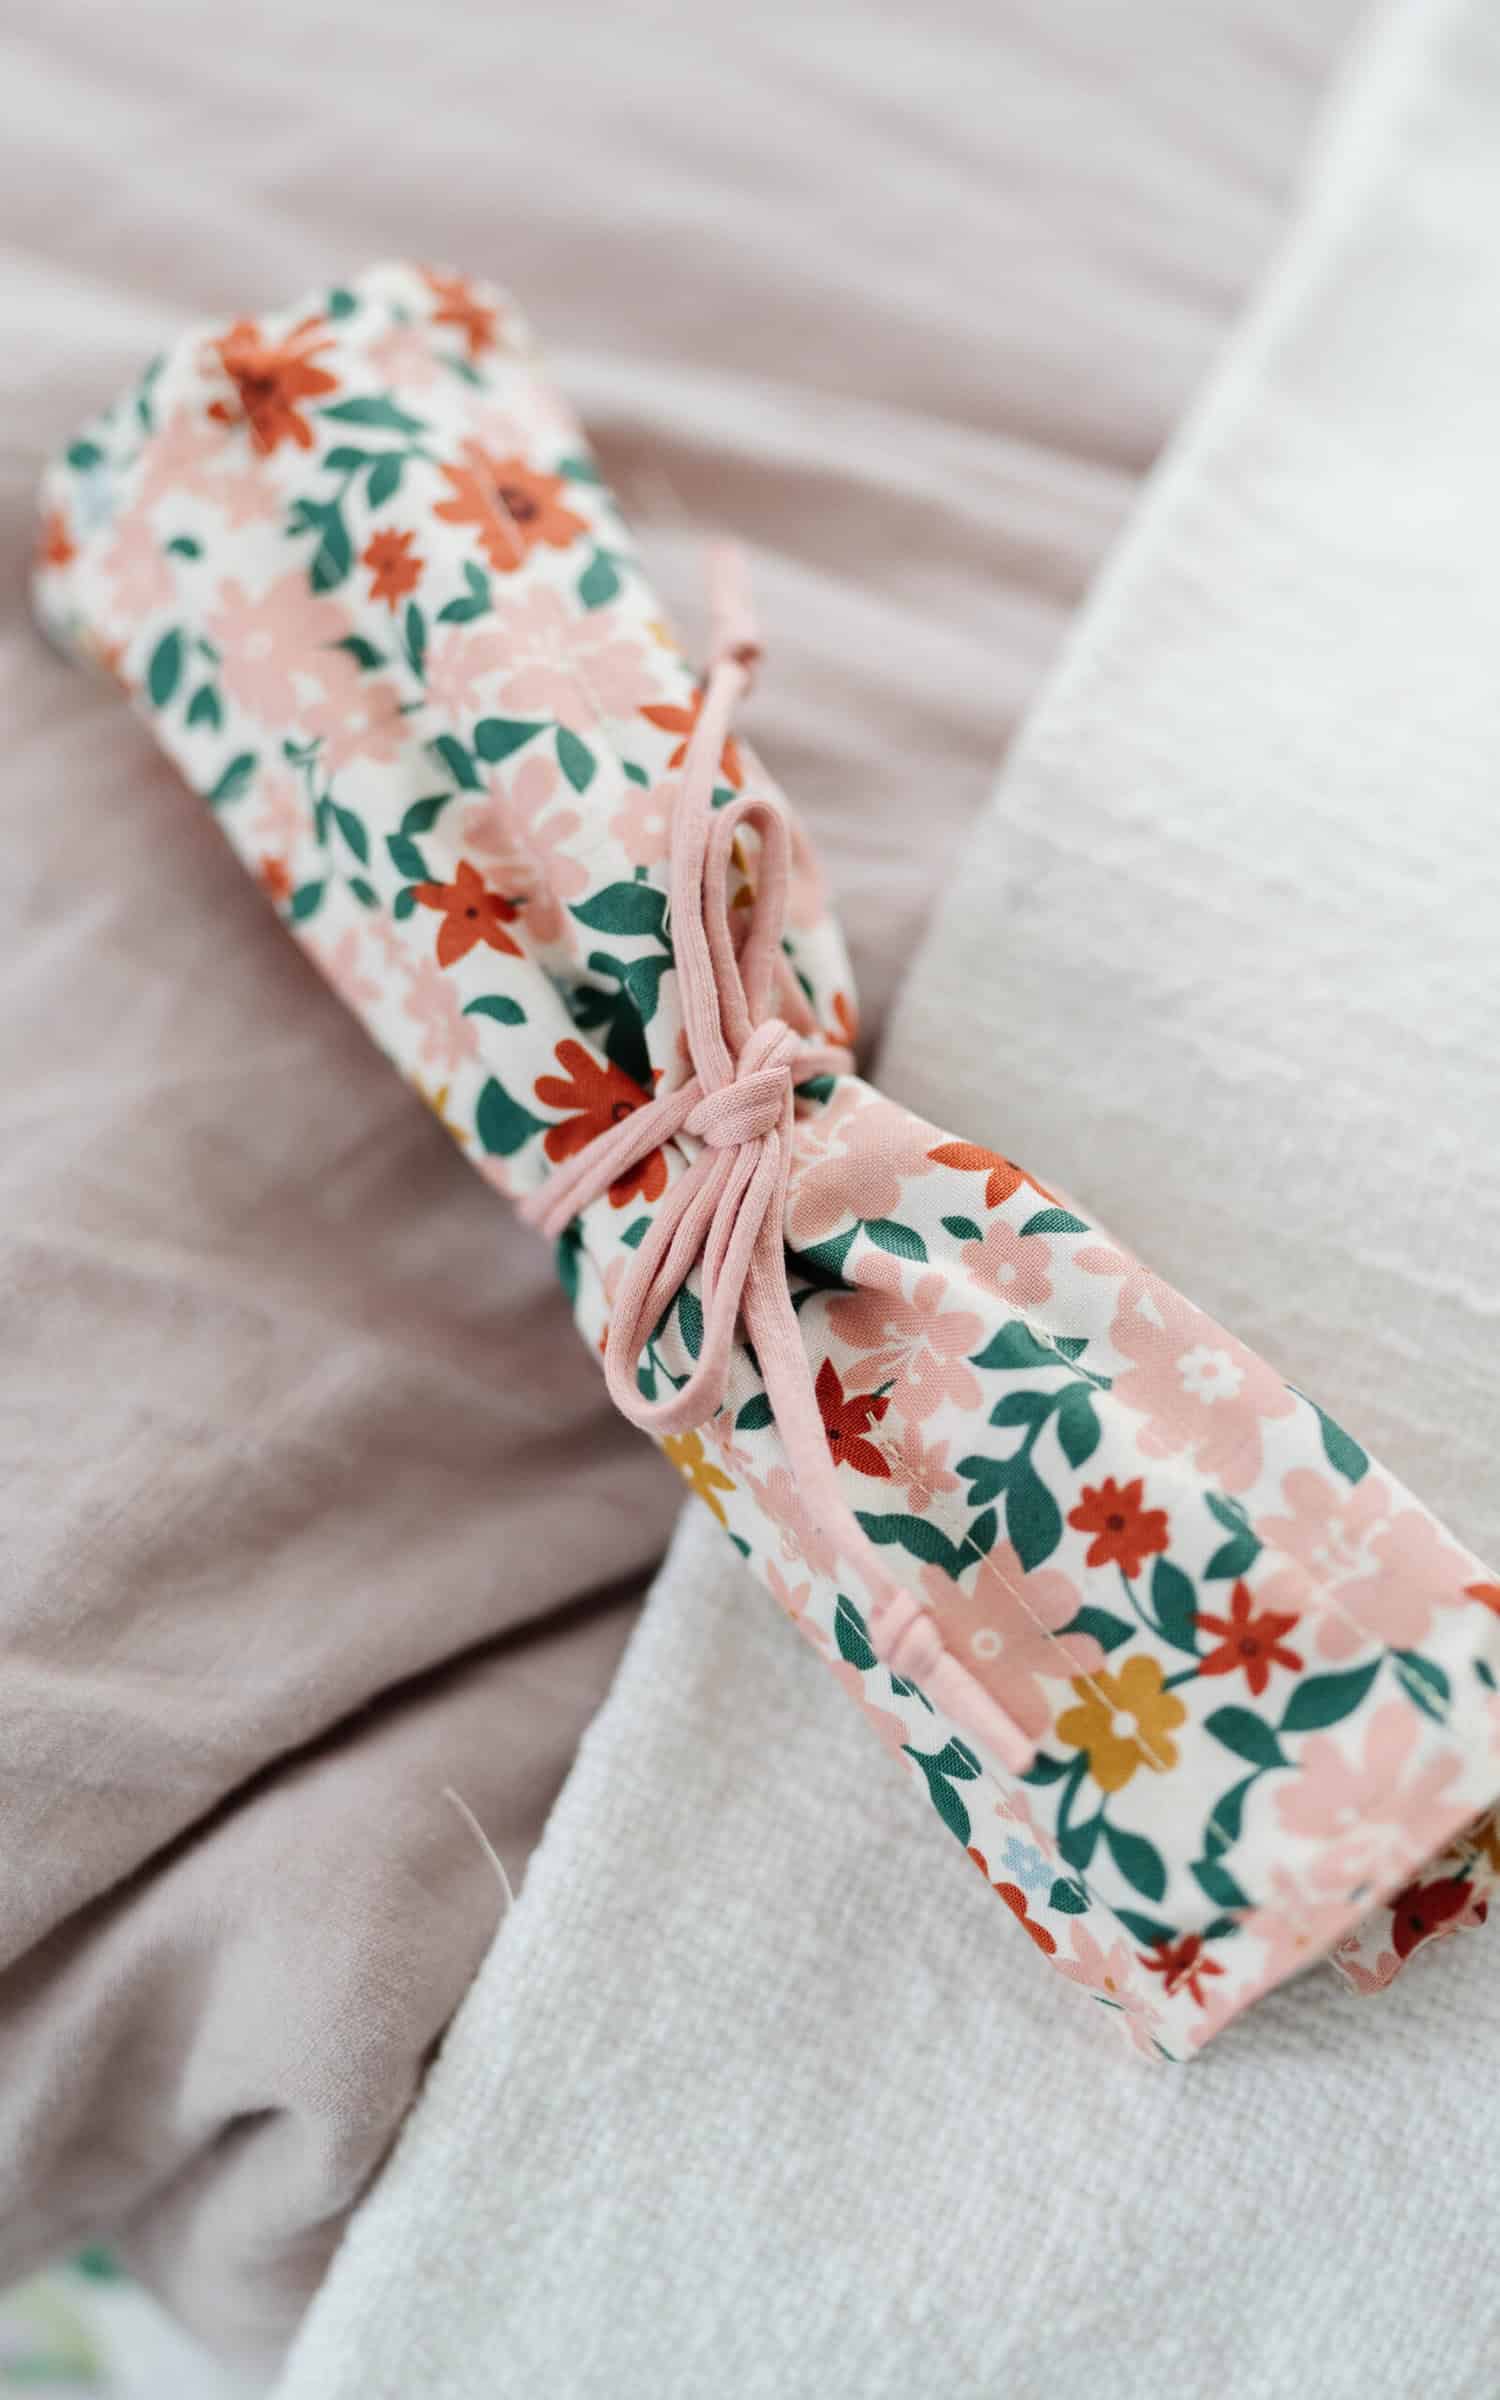
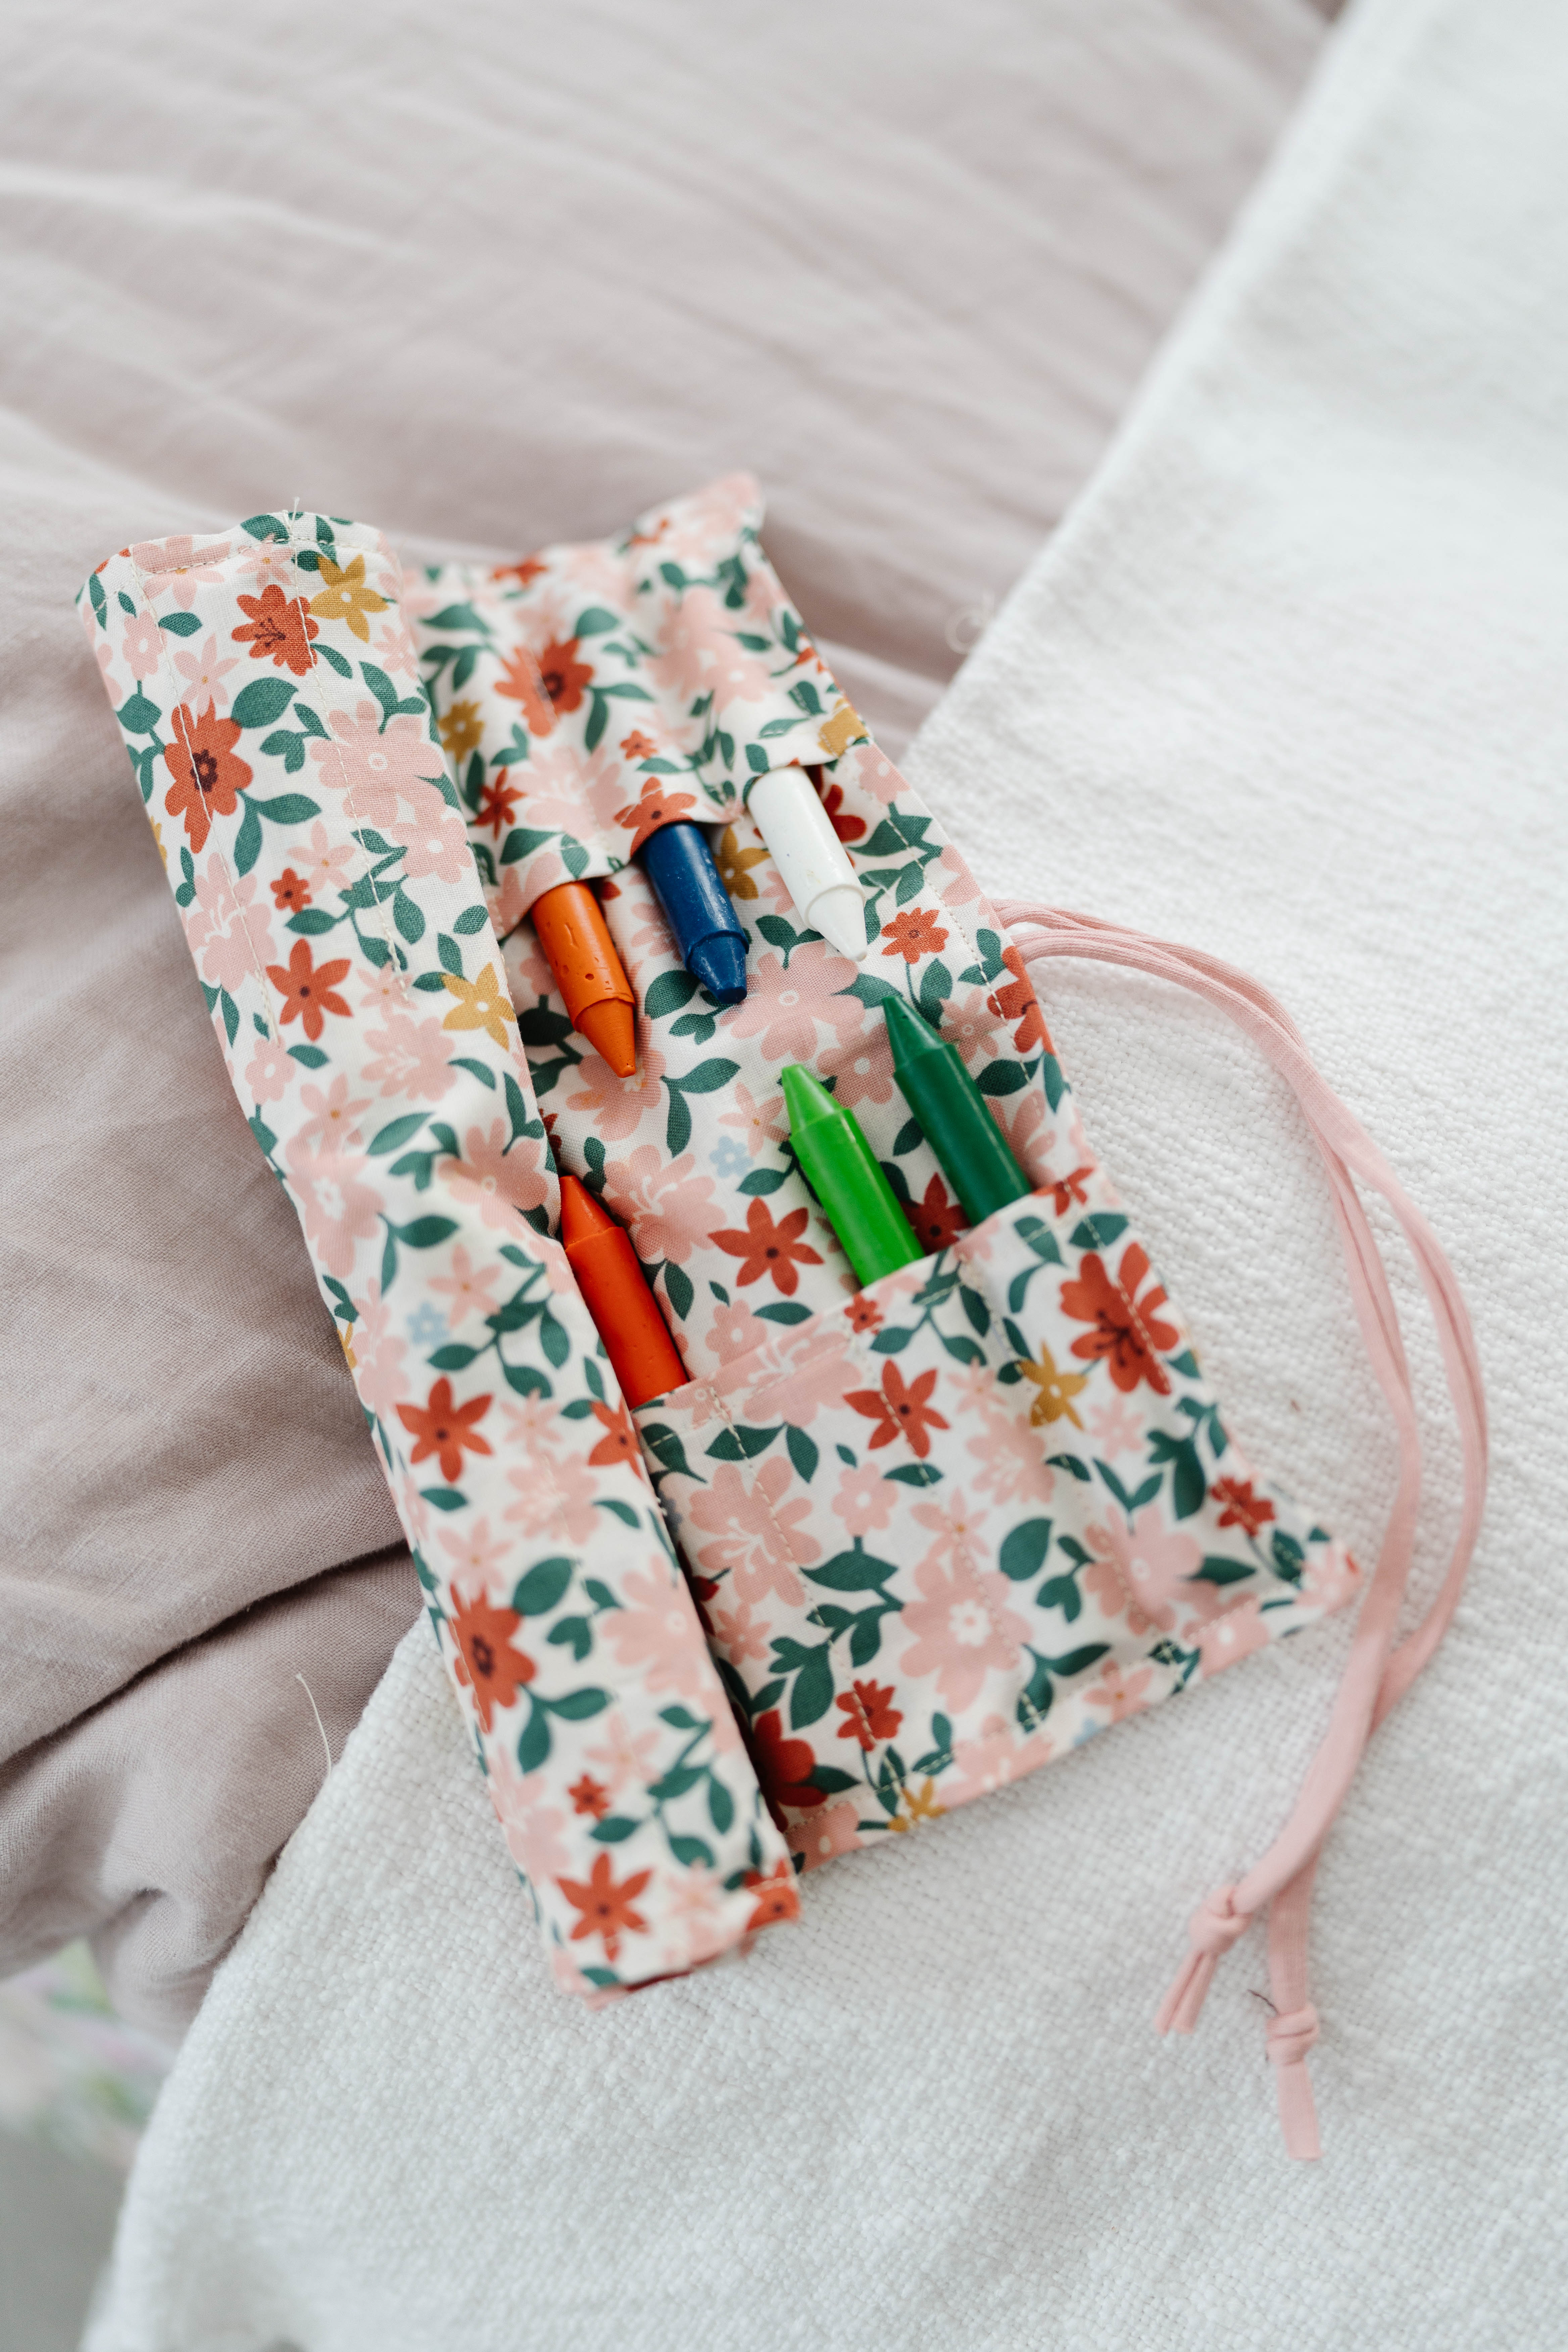
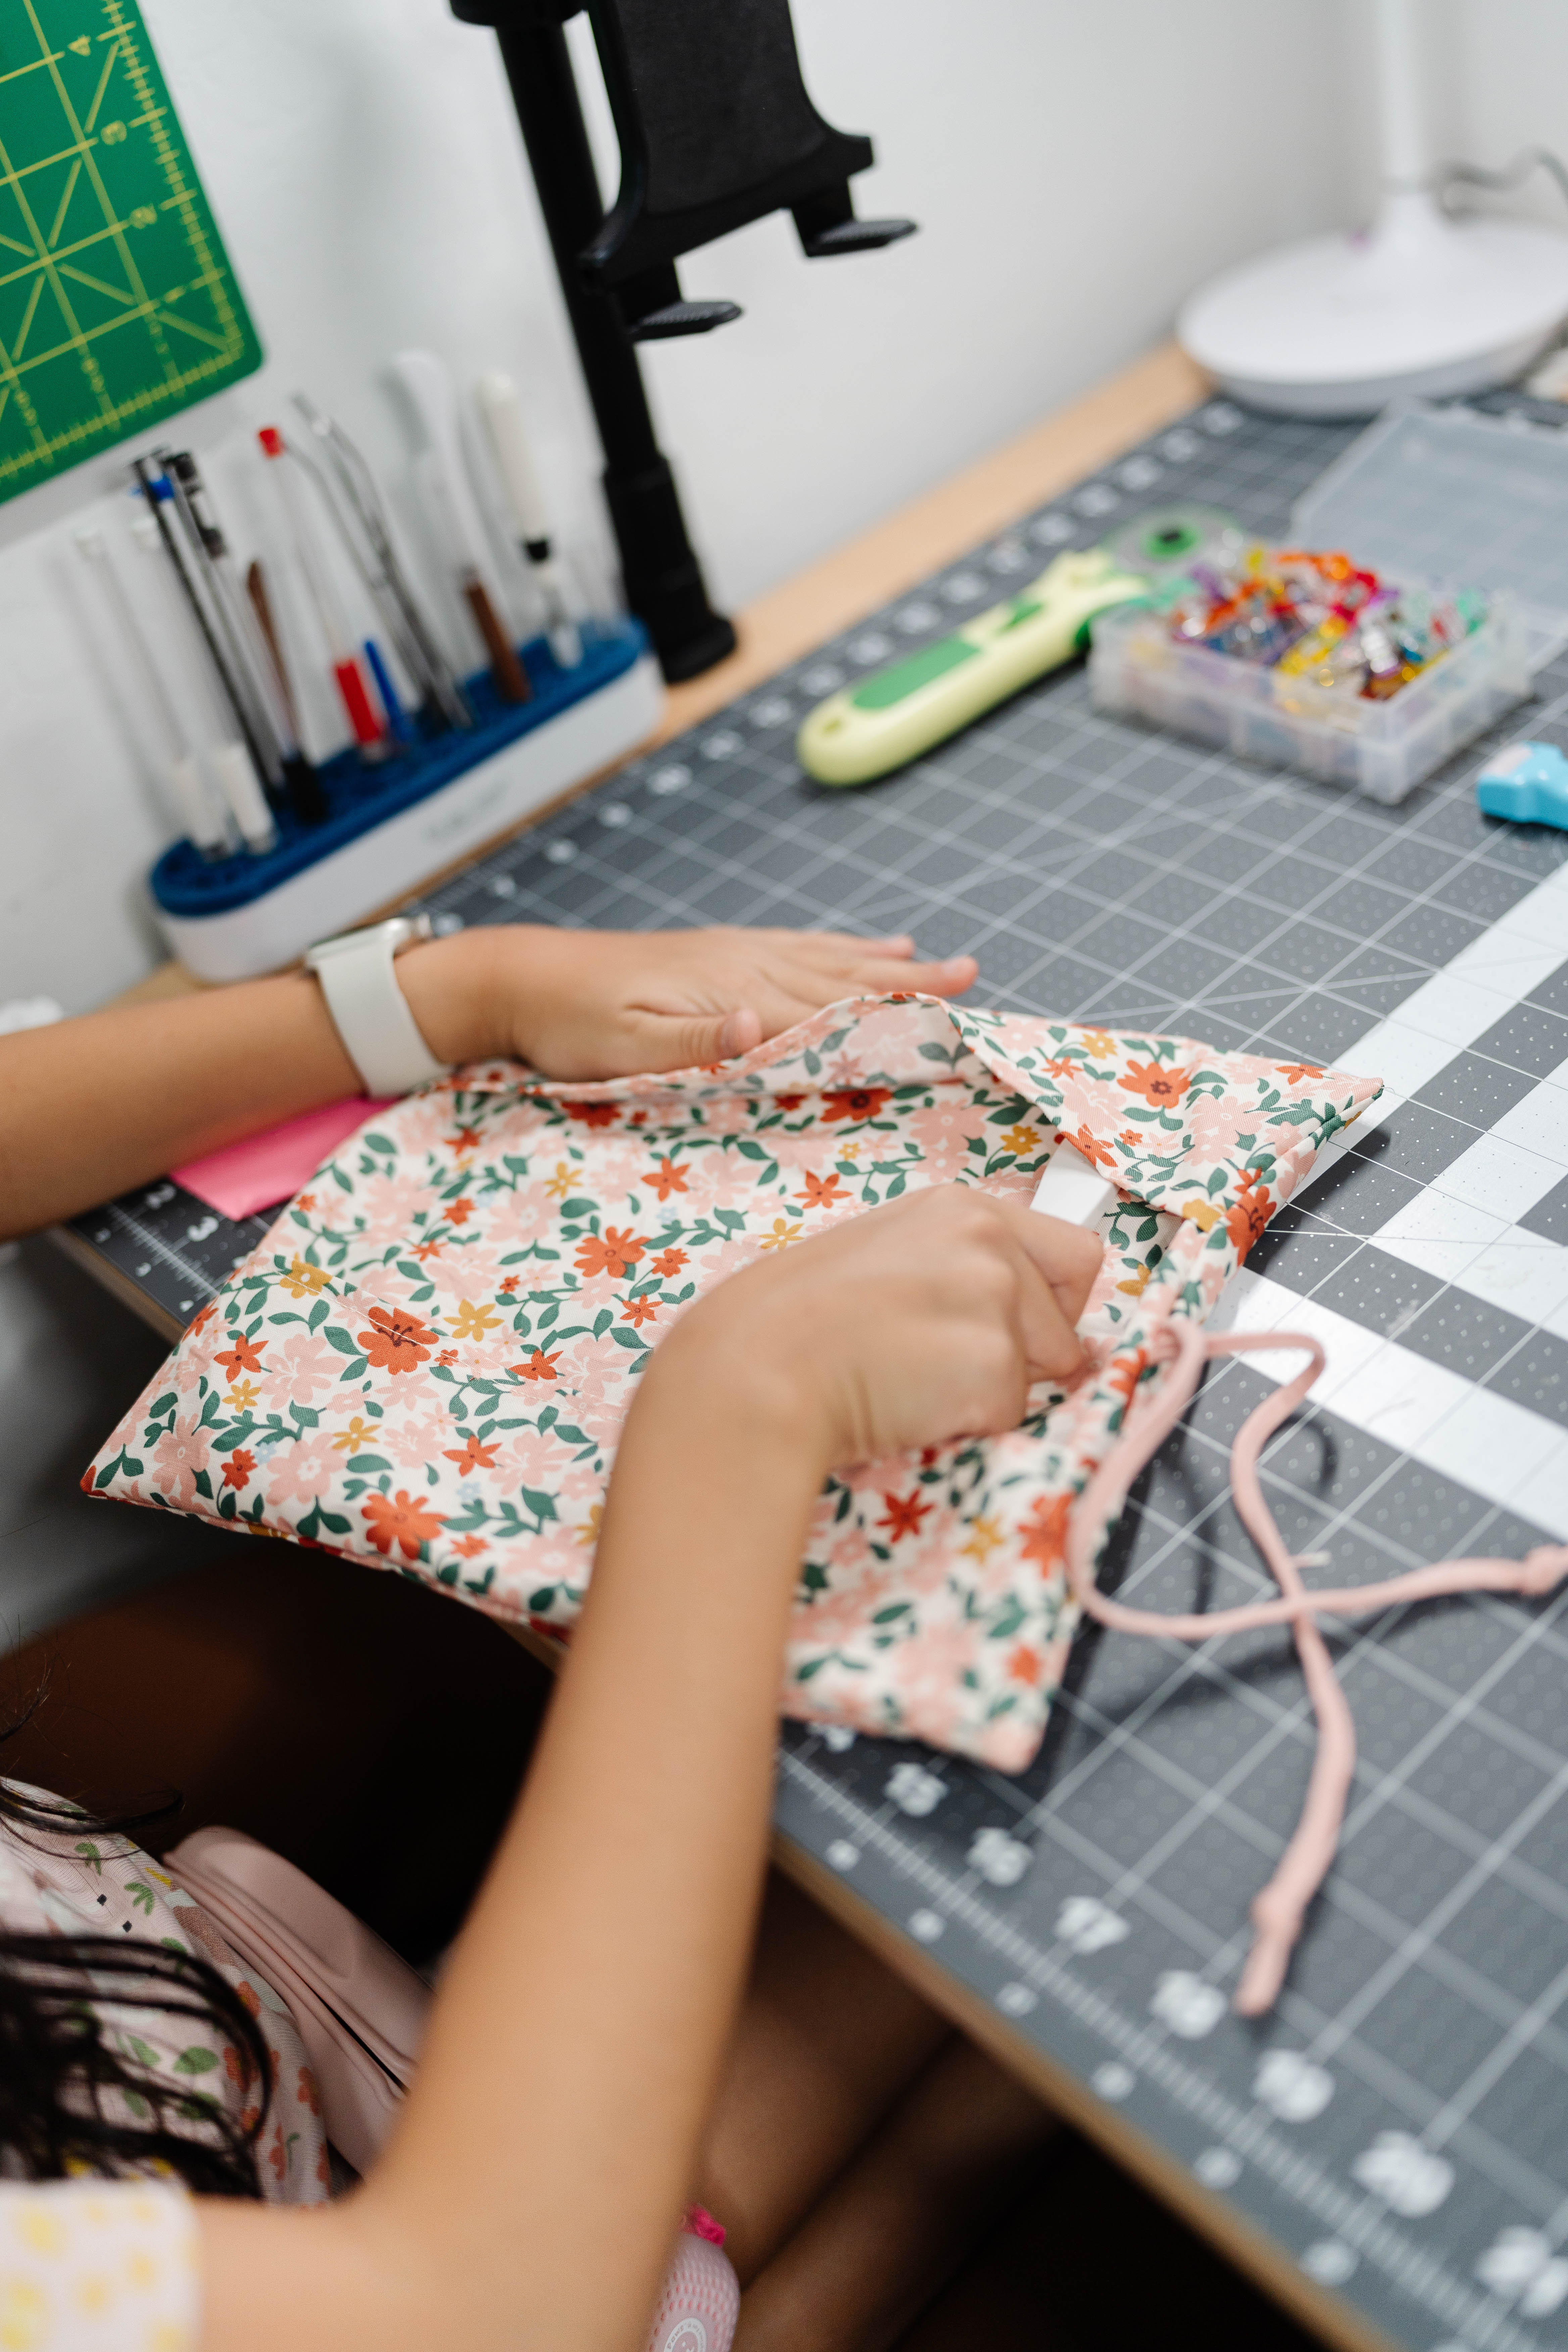
Yay! You’ve completed your project! Now you have a handy roll-up holder for whatever writing utensil you choose 🙂
If you want to keep up with me, Cataleya, on social media, follow me on social media: Instagram
If you want to keep up with all things Clover, follow us on: Facebook | Twitter | Instagram | Pinterest | YouTube | Ravelry