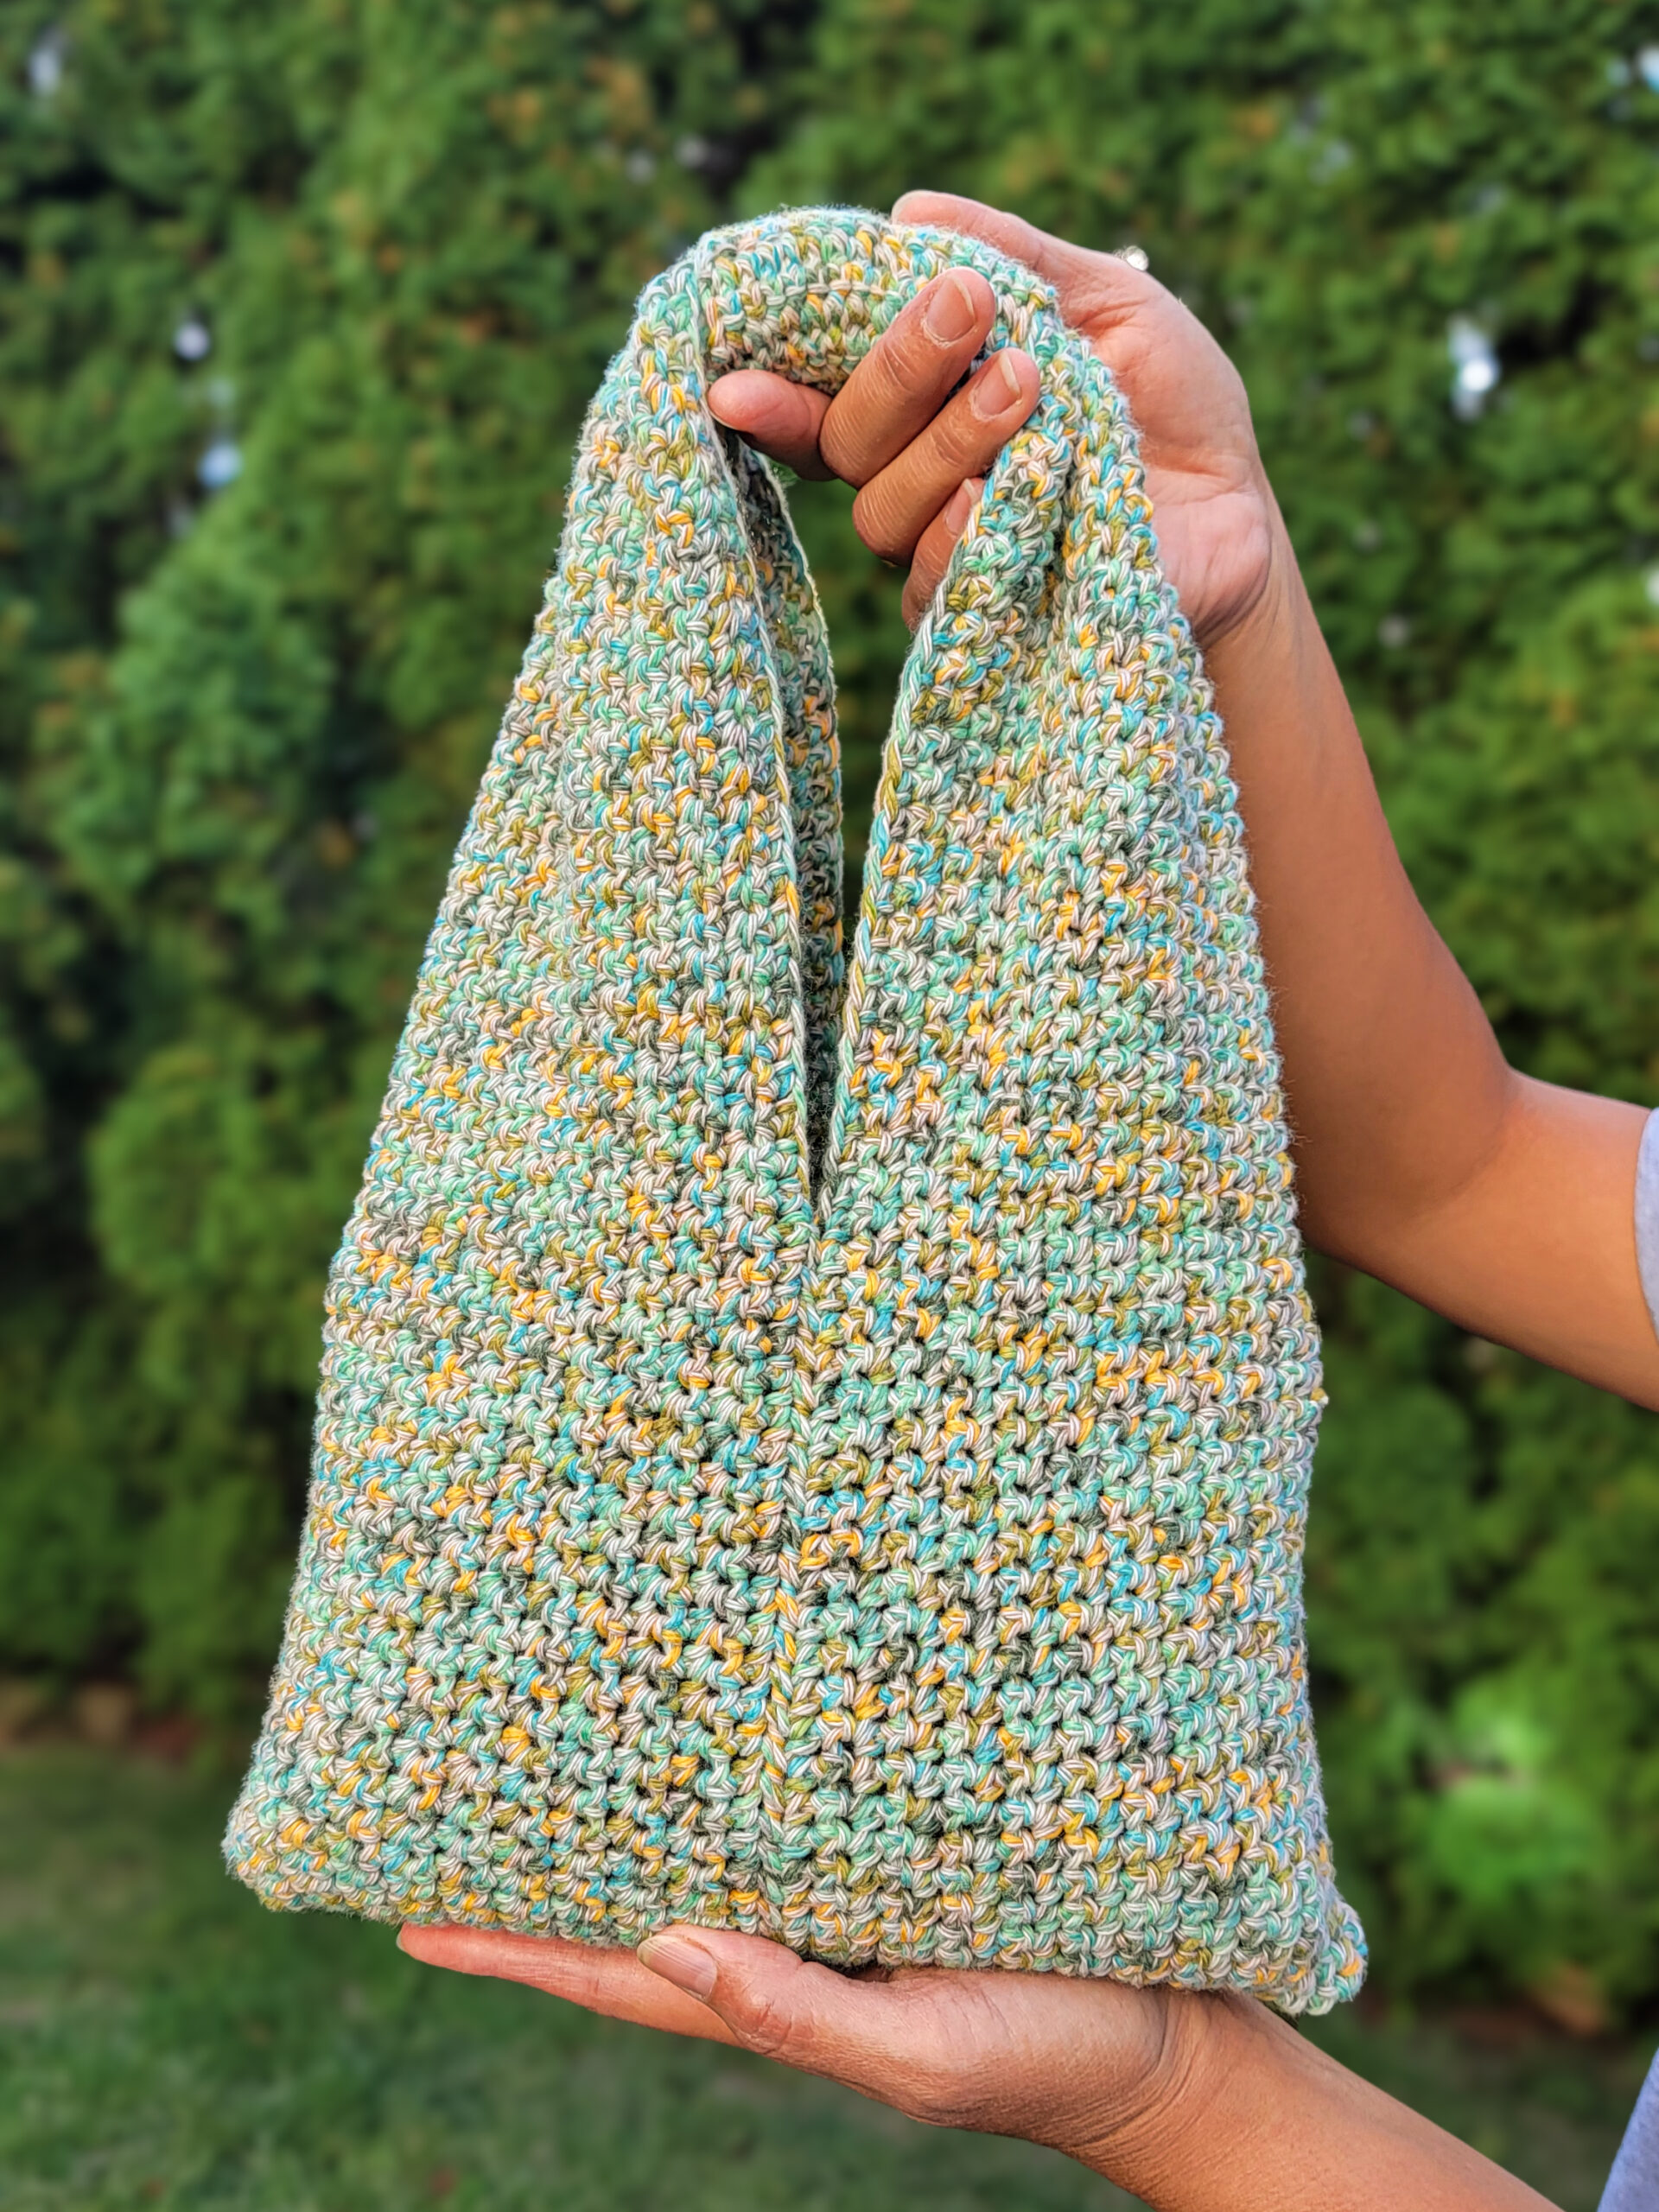
Unique Cozy Handbag! *crochet tutorial*
Today’s crochet pattern design was inspired by my passion for bags. This dainty and lovely purse is exactly what you need! Using the simple single crochet stitch and a whip (or mattress) stitch for seaming makes it quite simple to create. That being said, this project is regarded as beginner-friendly (to advanced beginner). The nice thing about this pattern is that you can customize its size to suit your needs. Come along as I show you how to crochet this cute yet stylish purse!
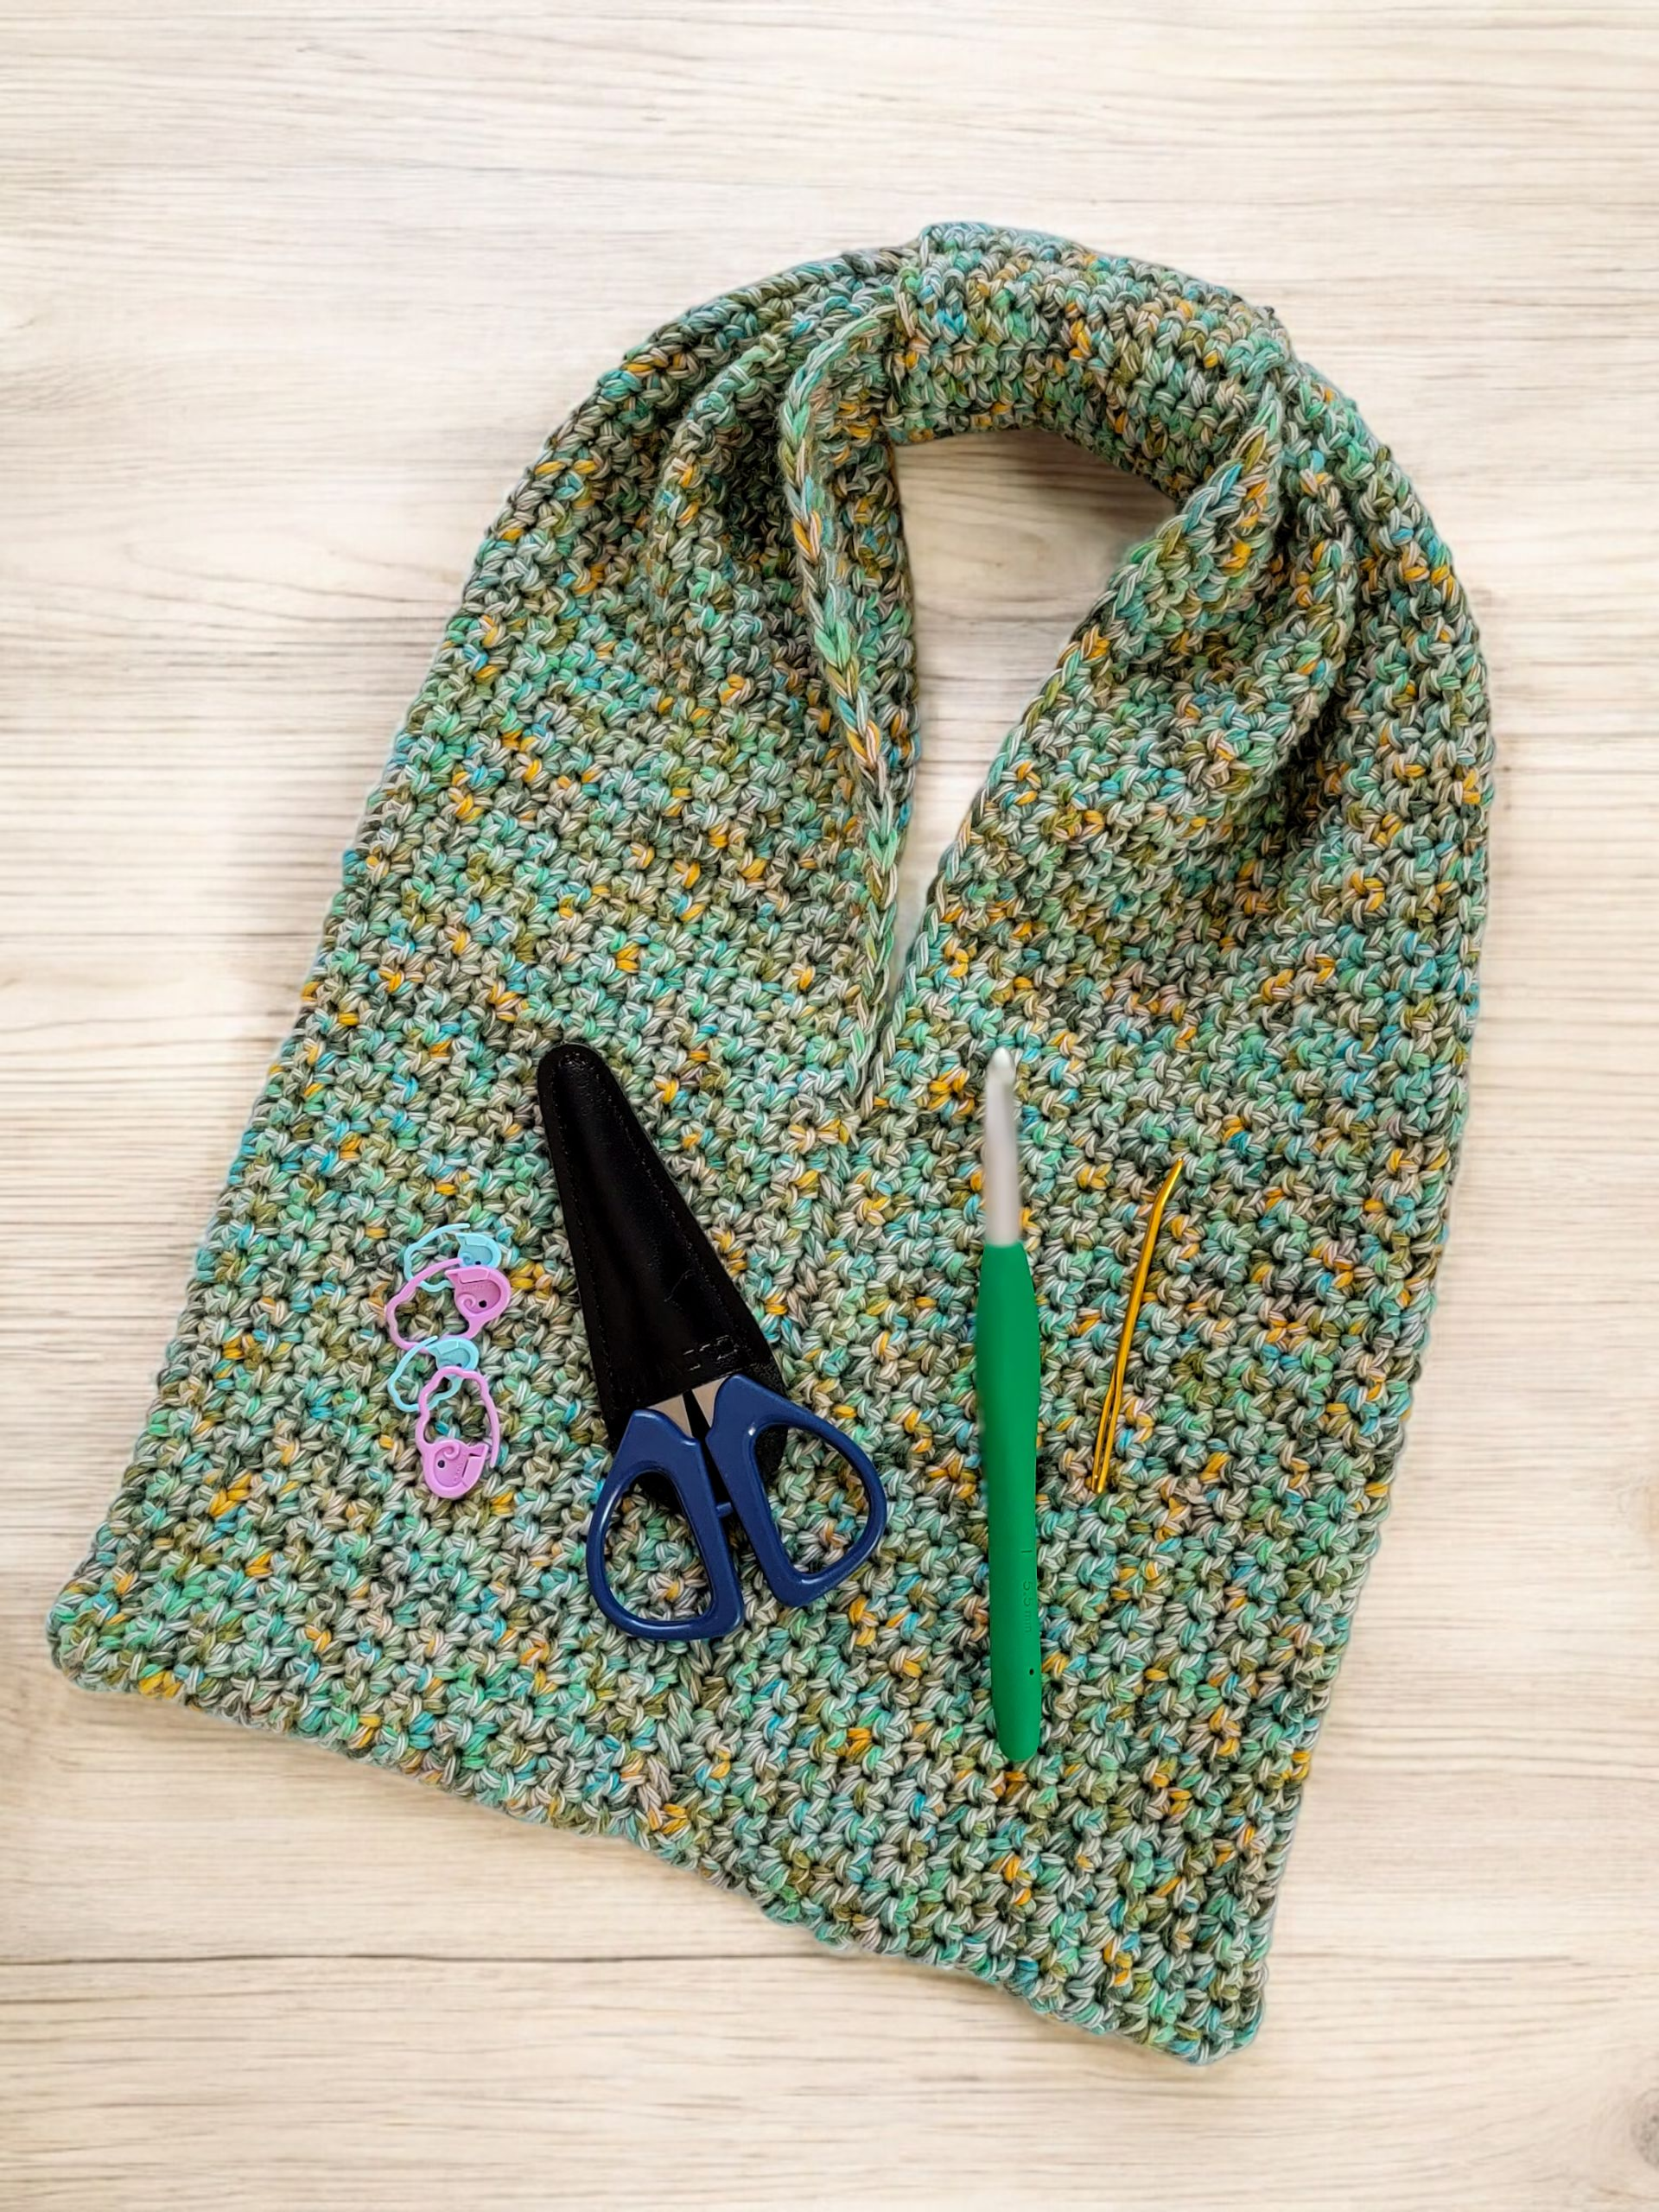
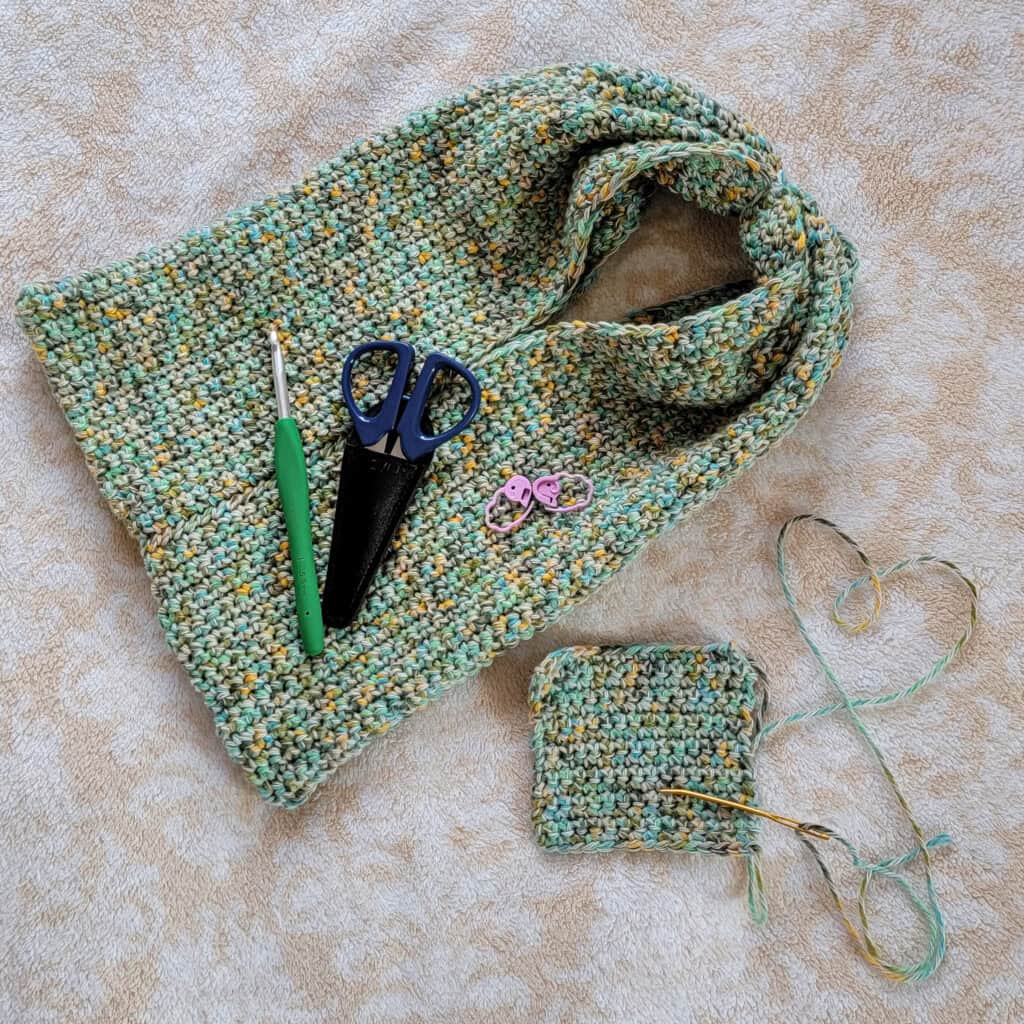
MATERIALS:
- Clover Amour Crochet Hook I (5.5 mm) or size to obtain gauge
- Clover Jumbo Tapestry Needle (Bent Point)
- Clover Patchwork Mini Scissors
- Clover Quick-Locking Stitch Markers
- Tape Measure
- DK Weight Yarn (approximately 300 yards)
NOTES:
- Read the pattern carefully before starting.
- This pattern uses US crochet terms.
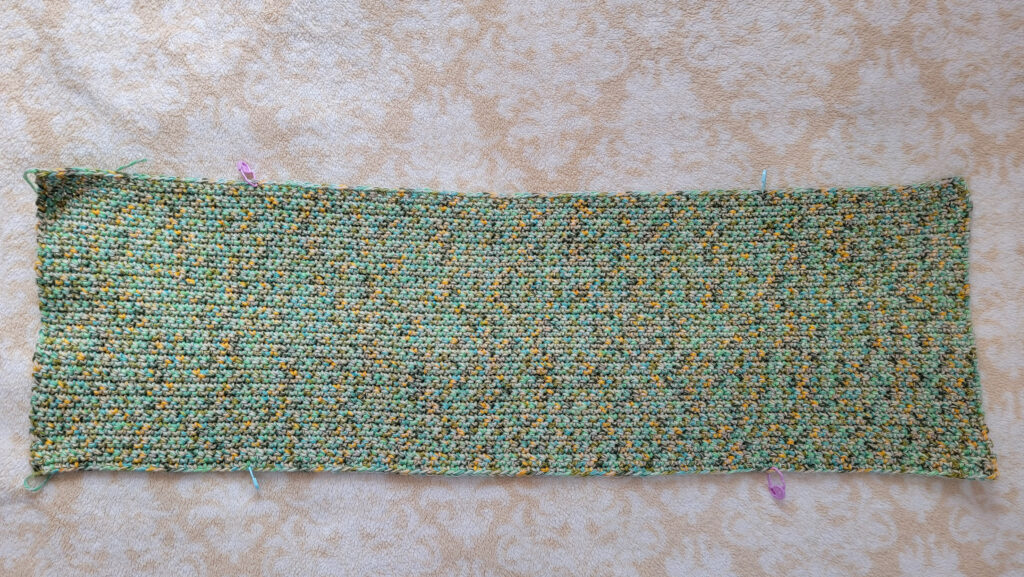
- This pattern is worked in rows in a rectangular panel.
- The number of stitches in each row is indicated by the numbers at the end of each row.
- Gauge: 15 sts X 20 rows = 4 in (unblocked)
- Skill level: beginner-friendly to advanced beginner
- Finished measurement: about 10 in (width) x 14 in (length) – (unblocked)
ABBREVIATIONS:
- ch(s): chain(s)
- pm: place marker
- rep: repeat
- sc: single crochet
- st(s): stitch(es)
DAINTY CROCHET HANDBAG PATTERN:
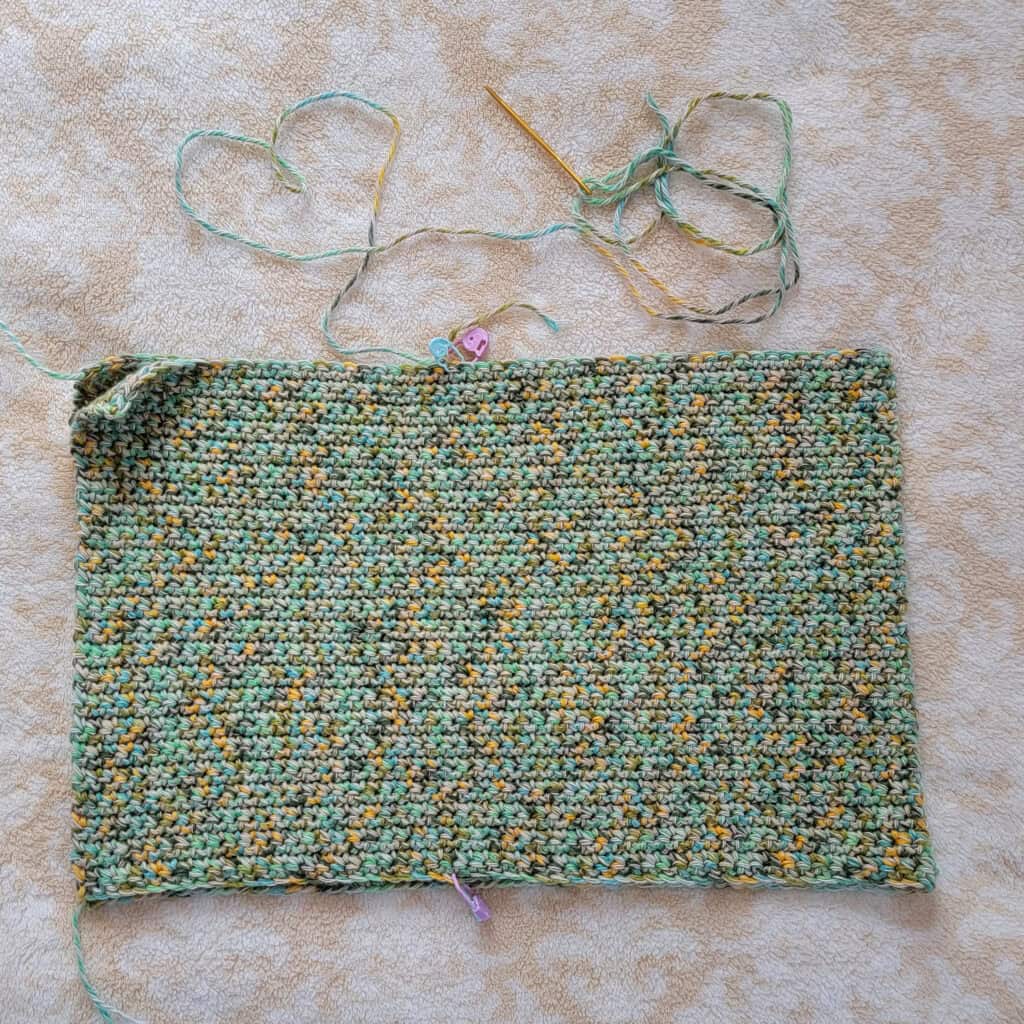
1) Begin with ch 110.
- Row 1: SC in 2nd ch from the hook and in each ch across. Turn. 109 sts
- Row 2: Ch 1, SC in each st across. Turn. 109 sts
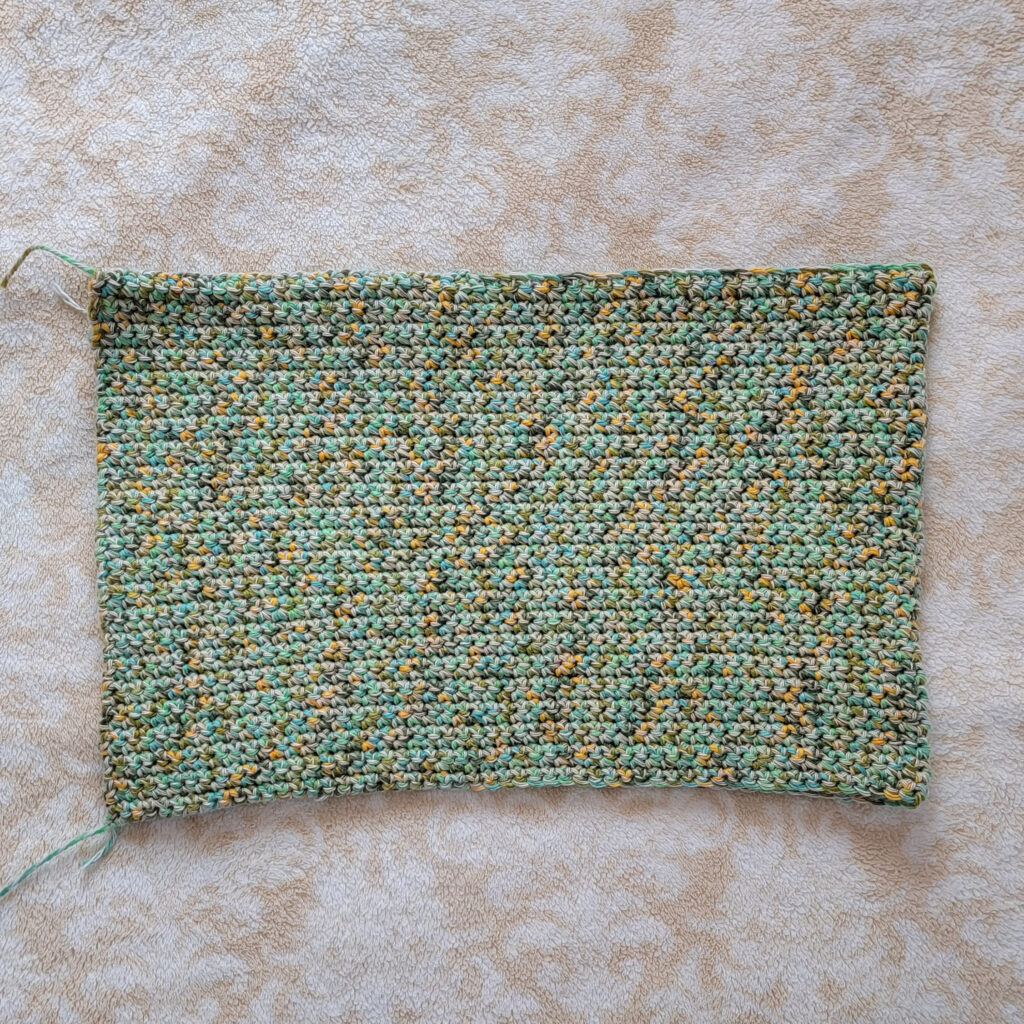
- Rows 3 – 45: Rep Row 2 (or until your panel measures approximately 9 in.).
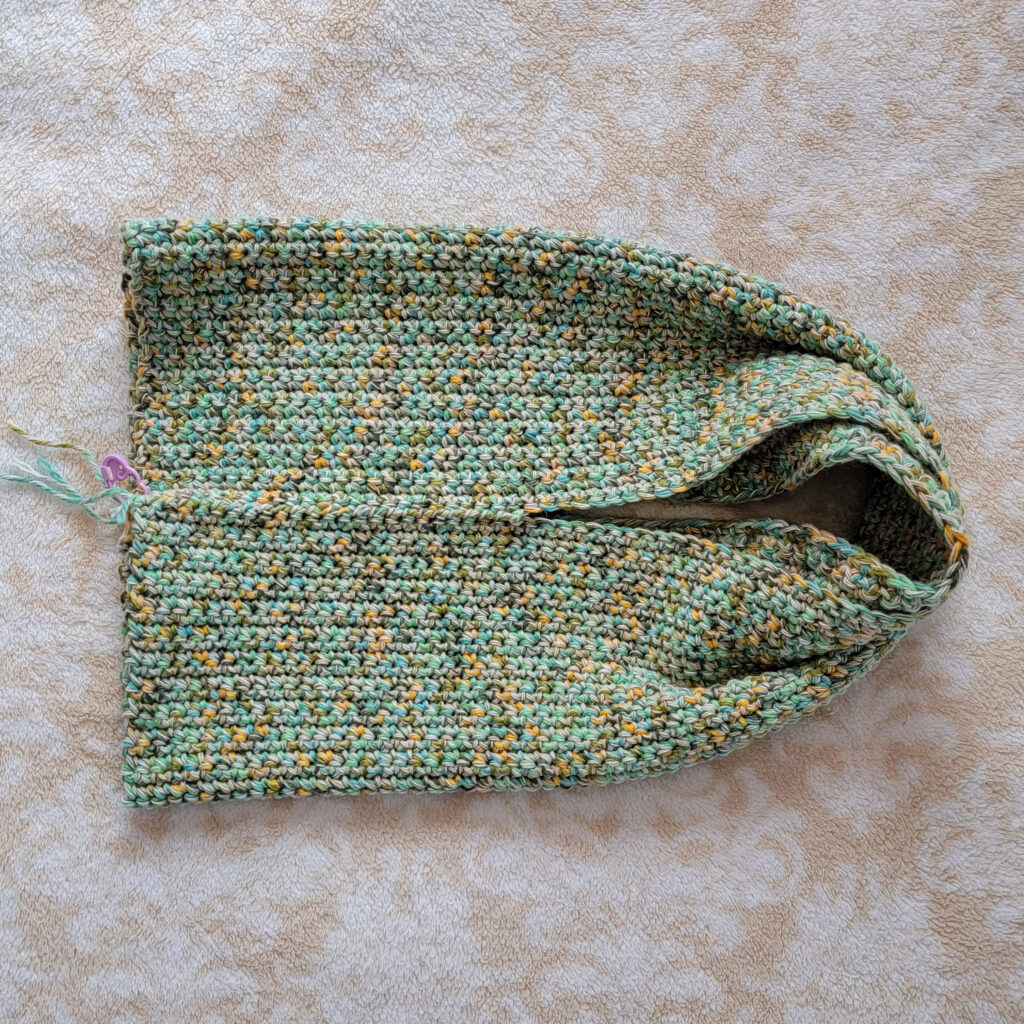
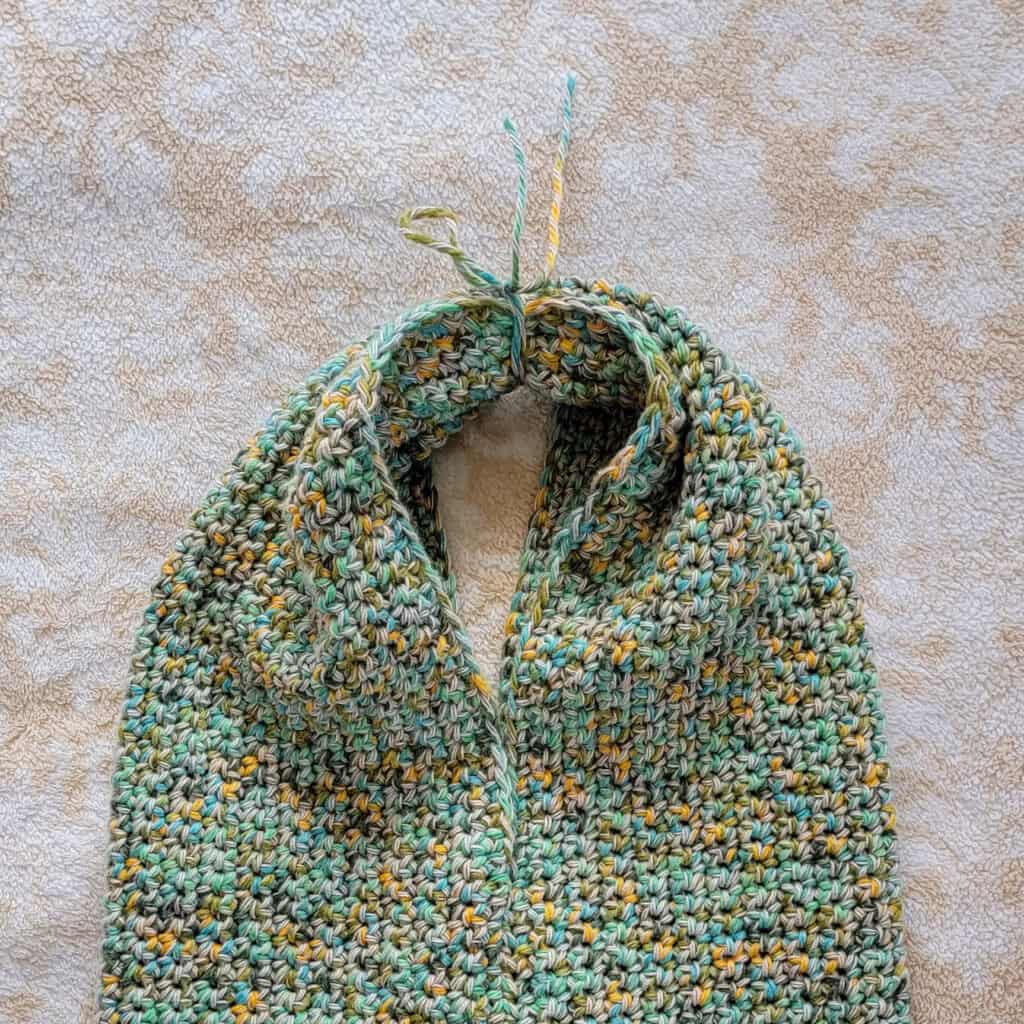
2) Bag Assembly:
- Step 1: PM from each corner in the 25th stitch.
- Step 2: Fold the panel, ensuring the markers line up.
- Step 3: Sew through the folded panel’s side using yarn and a needle, starting at the marked stitches and working your way down. Fasten off and weave in all ends. Follow the same procedure on the other side of the folded panel.
- Note: You can use your favorite way of sewing or joining ends/edges, like whip or mattress stitch.
- Step 4: After bringing the seamed sides together, fold flat. The center will have the seamed portions. PM in the stitches that are sewn. Sew through the bottom of the bag with yarn and a needle.
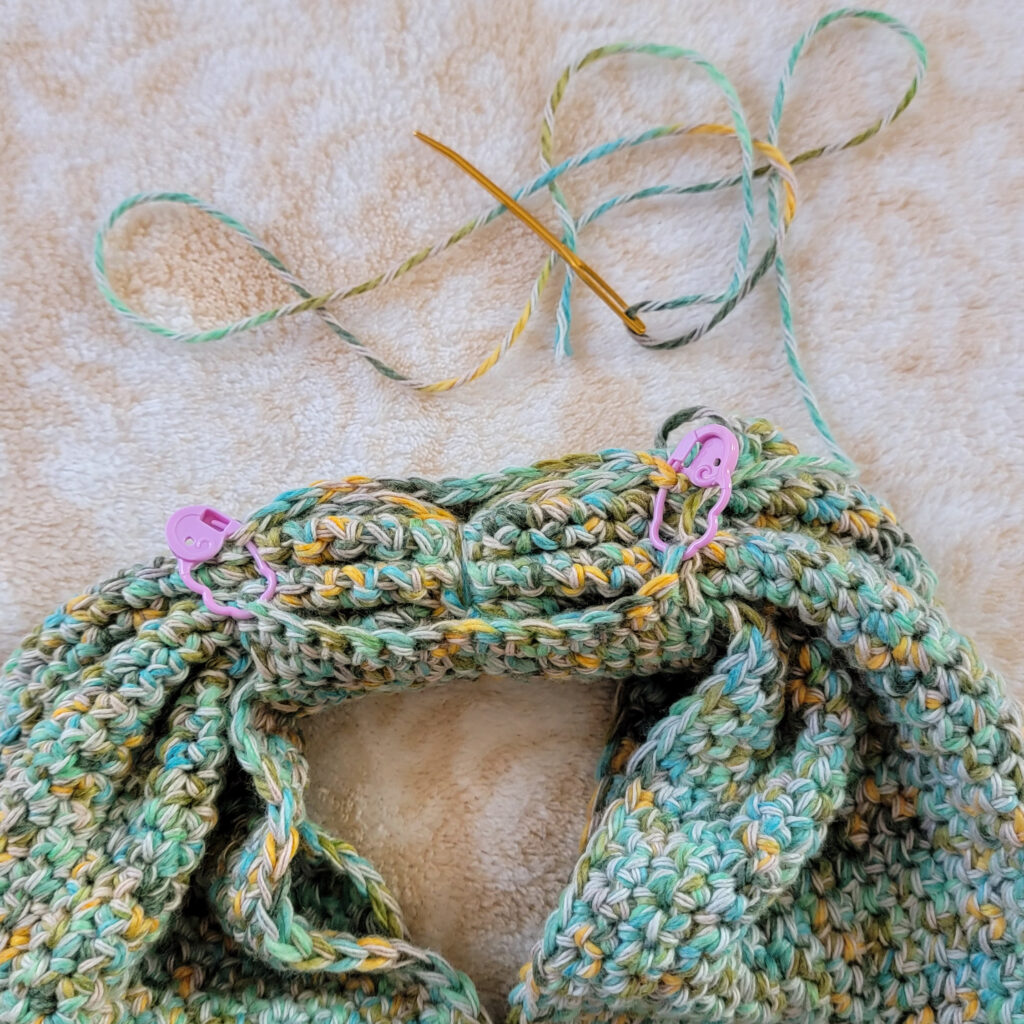
3) Adding a wrap to the bag’s handle:
- Step 1: Nicely gather by compressing the handle of the bag. To keep the handle in place, tie a piece of yarn to it. Set aside.
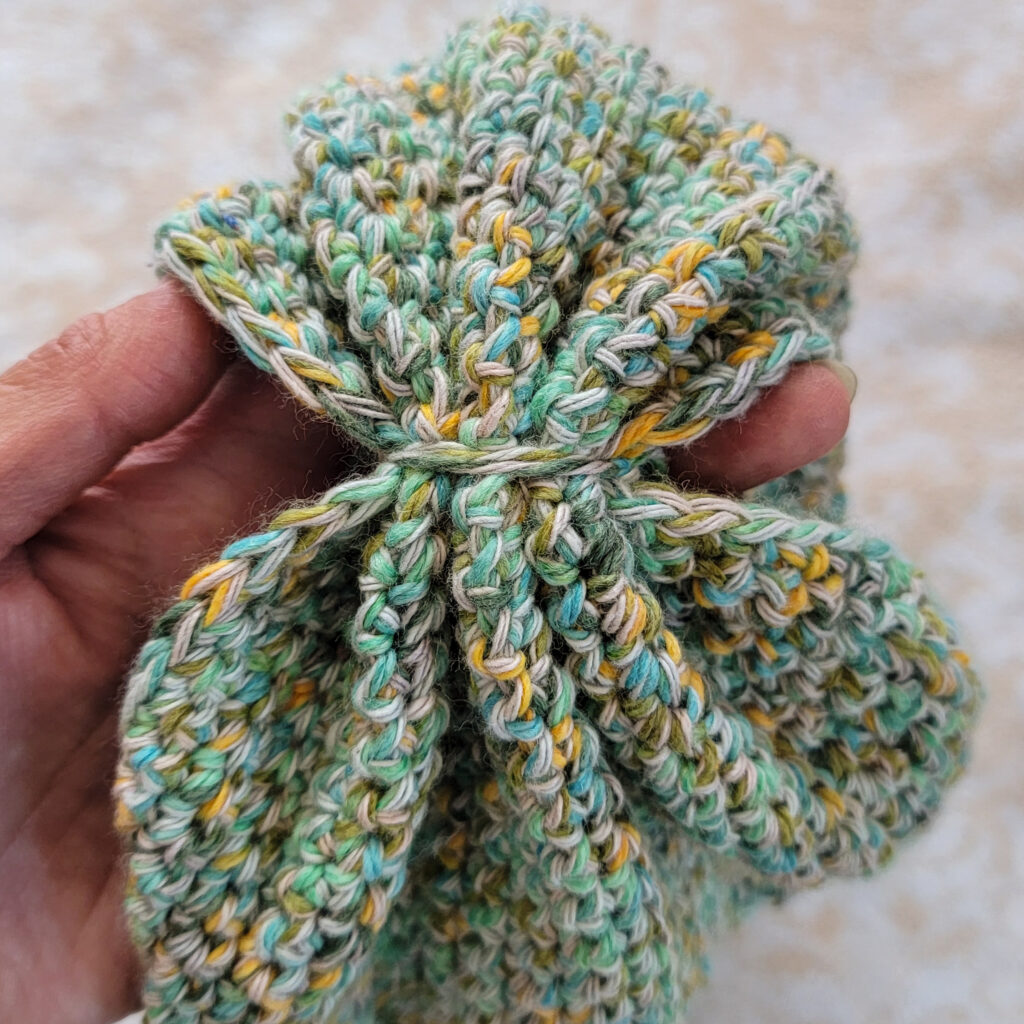
- Step 2: Make a square wrap for the handle. (a) Ch 16, SC in 2nd ch from the hook and in each ch across. Turn. (b) Ch 1, SC in each st across. Turn. (c) Rep (b) until you have 15 rows. Fasten off, leaving a long tail for sewing.
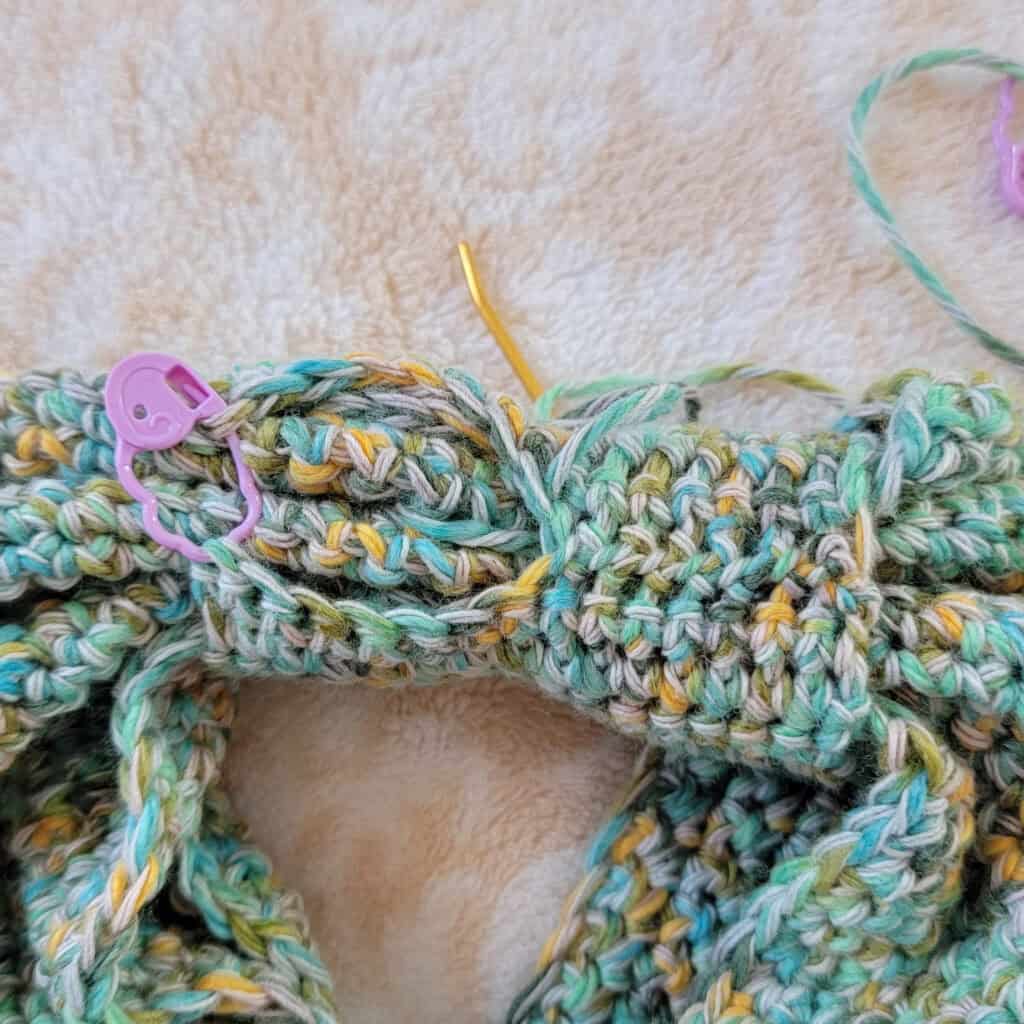
- Step 3: Bring your square and position it beneath the handle that is tightened. To keep them together, wrap the square and PM in the very last stitches around the handle.
- Step 4: Use the long yarn tail and a needle to sew the square’s ends together. Fasten off and weave in the ends.
All done! I hope you like your fancy new handbag 🙂
I would love to see your version of this bag! Please tag me @stringsandcuddles and use these hashtags to share: #stringsandcuddles #stringsandcuddlesdesigns
Also, please don’t hesitate to contact me with questions regarding this pattern. You may also reach out to me on Instagram (@stringsandcuddles)!
If you want to keep up with me, Elisa, on social media for other fun projects, follow me on social media: Instagram | Pinterest | Facebook | Blog | Ravelry
If you want to keep up with all things Clover, follow us on: Facebook | Twitter | Instagram | Pinterest | YouTube | Ravelry