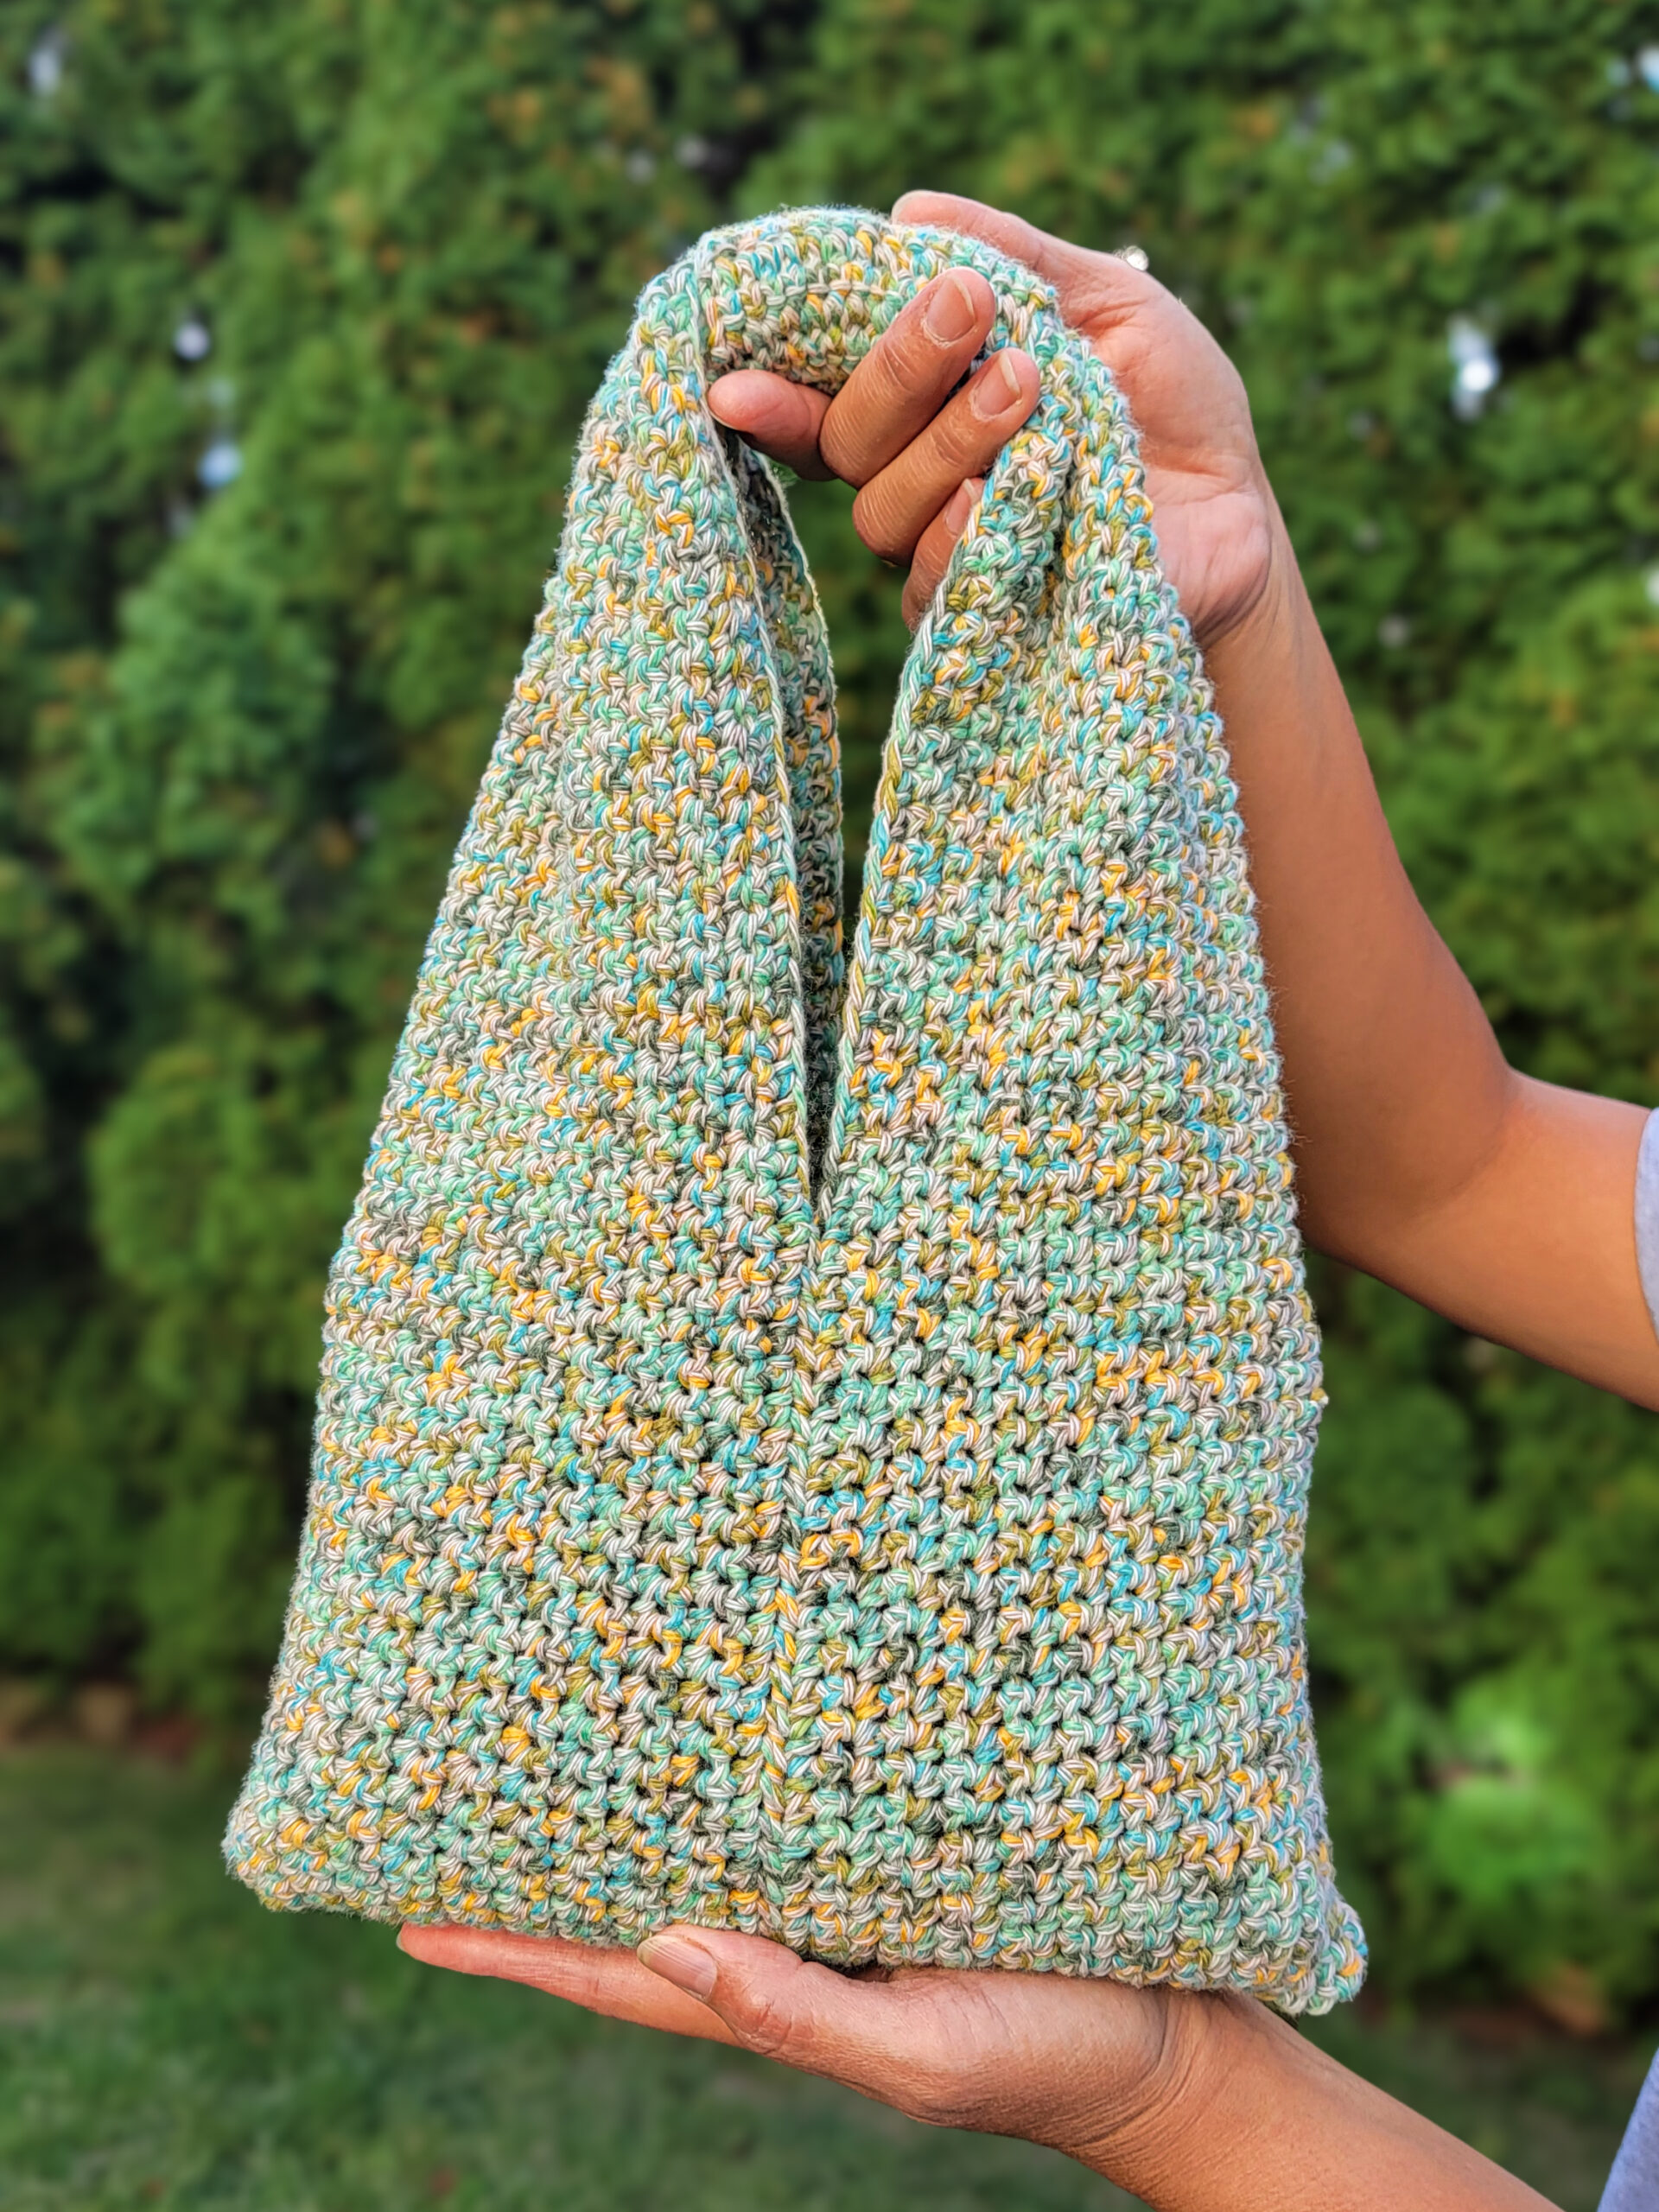
Wildflower Wine Bottle Cozy
Sometimes it’s the little details that make everyday moments feel special. The Wildflower Wine Bottle Cozy is more than just a pretty gift wrap – it’s a way to dress up your table, add charm to a picnic, or keep your favorite bottle of wine ready for a cozy night in. Made from colorful flower granny squares, this crochet project combines beauty and function, turning an ordinary bottle into a centerpiece-worthy accent. Whether you’re giving it as a hostess gift or using it to brighten your own kitchen, this cozy is as practical as it is delightful.
MATERIALS:
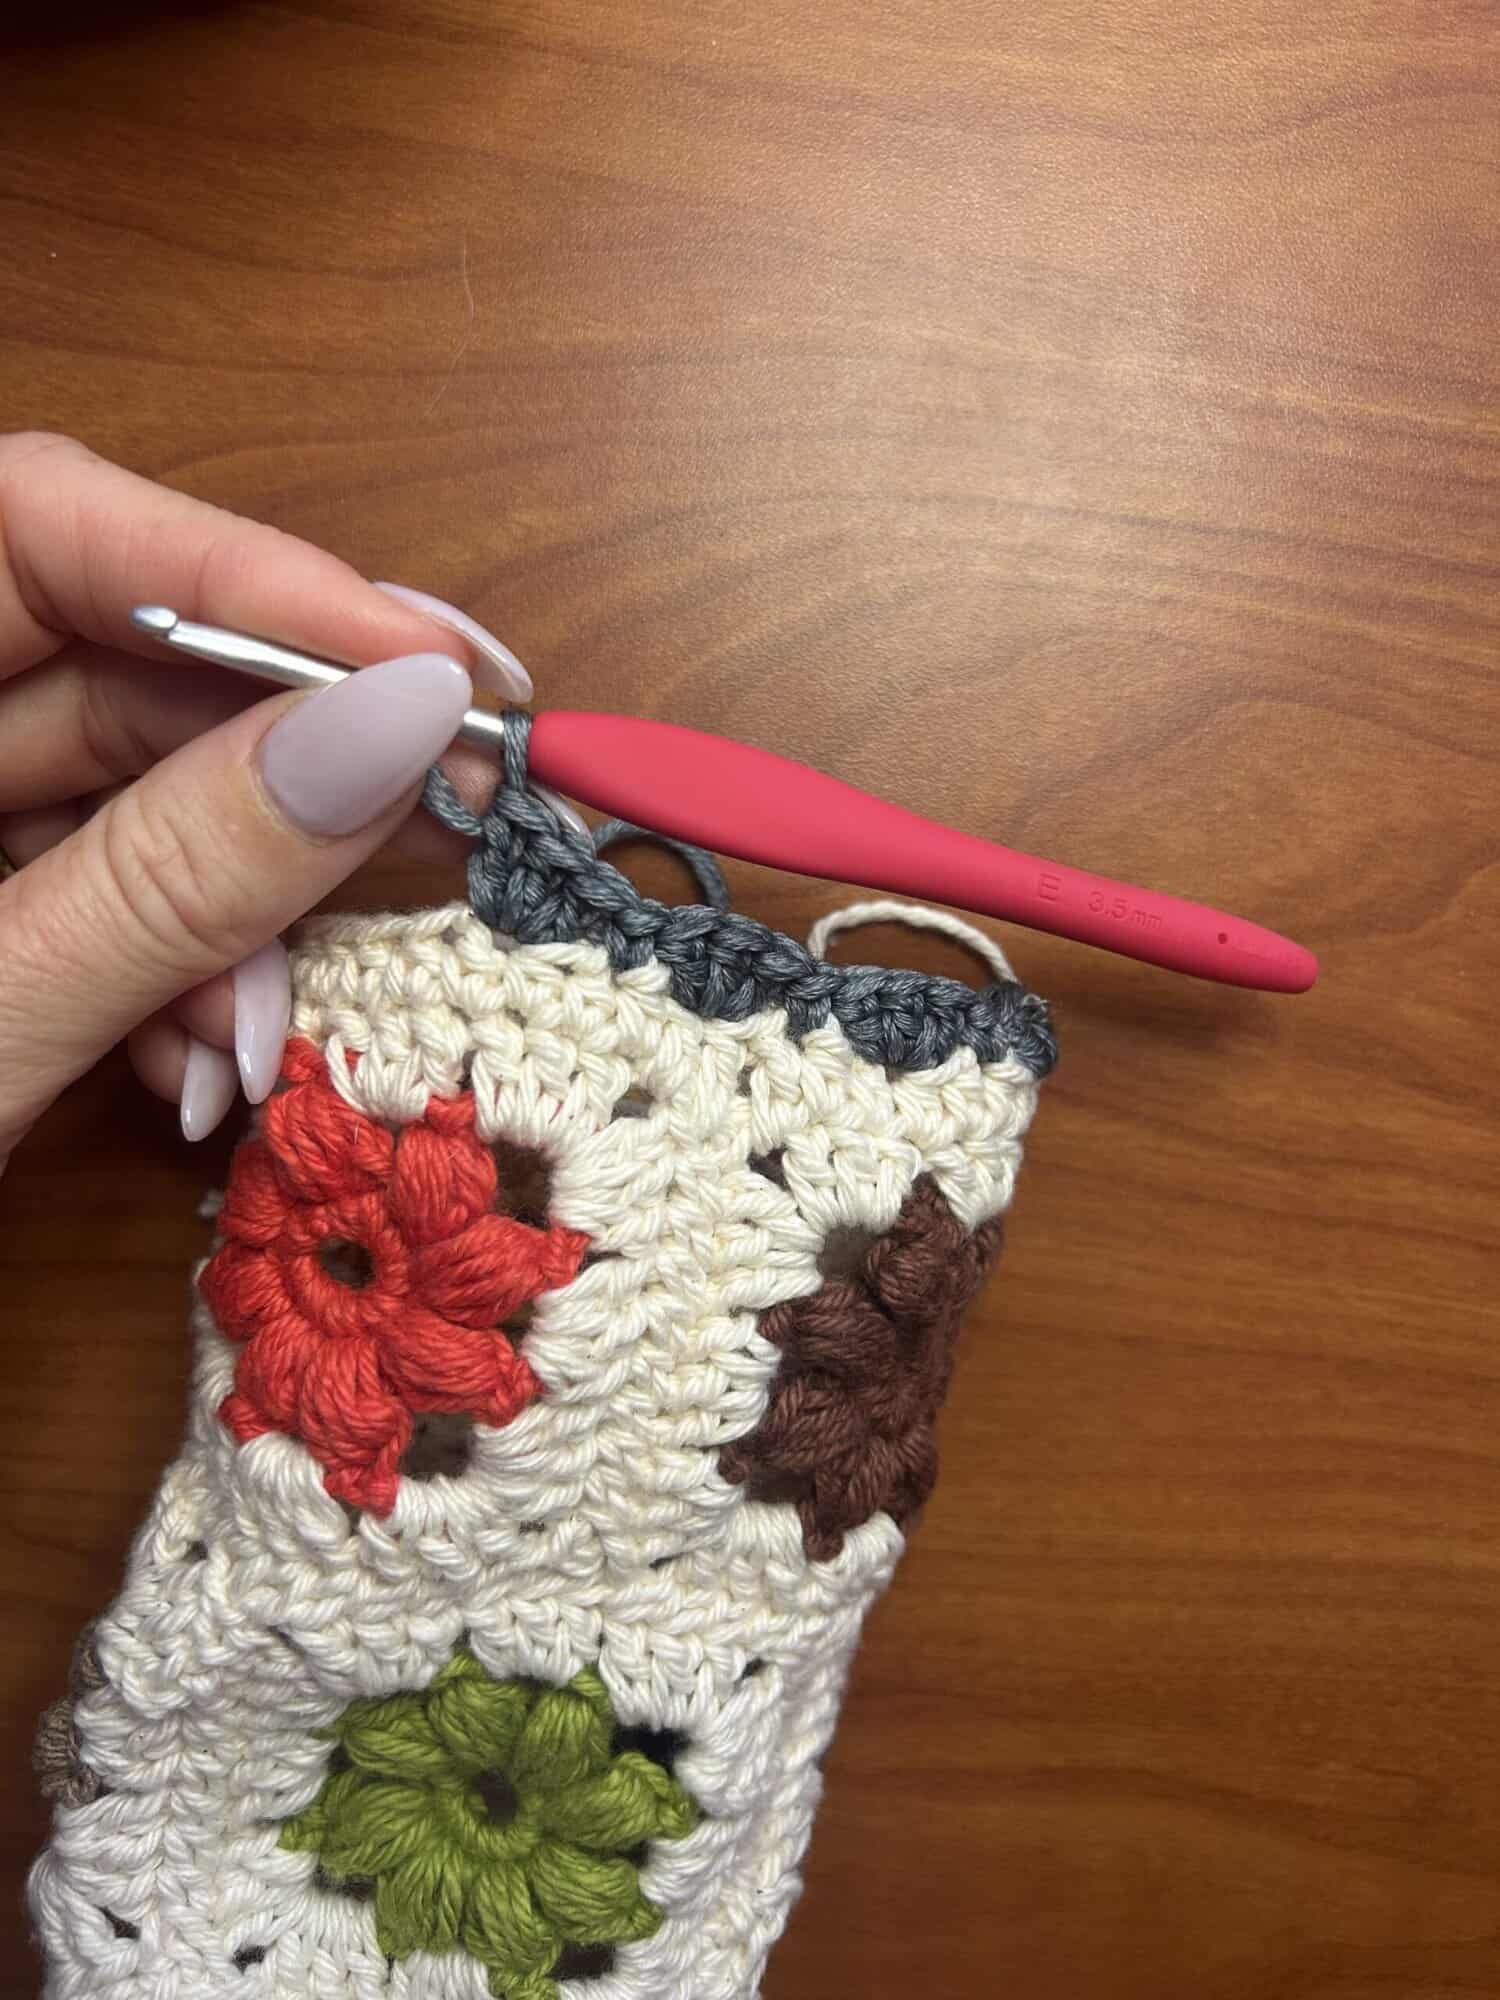
- Clover Amour Crochet Hook E (3.5mm)
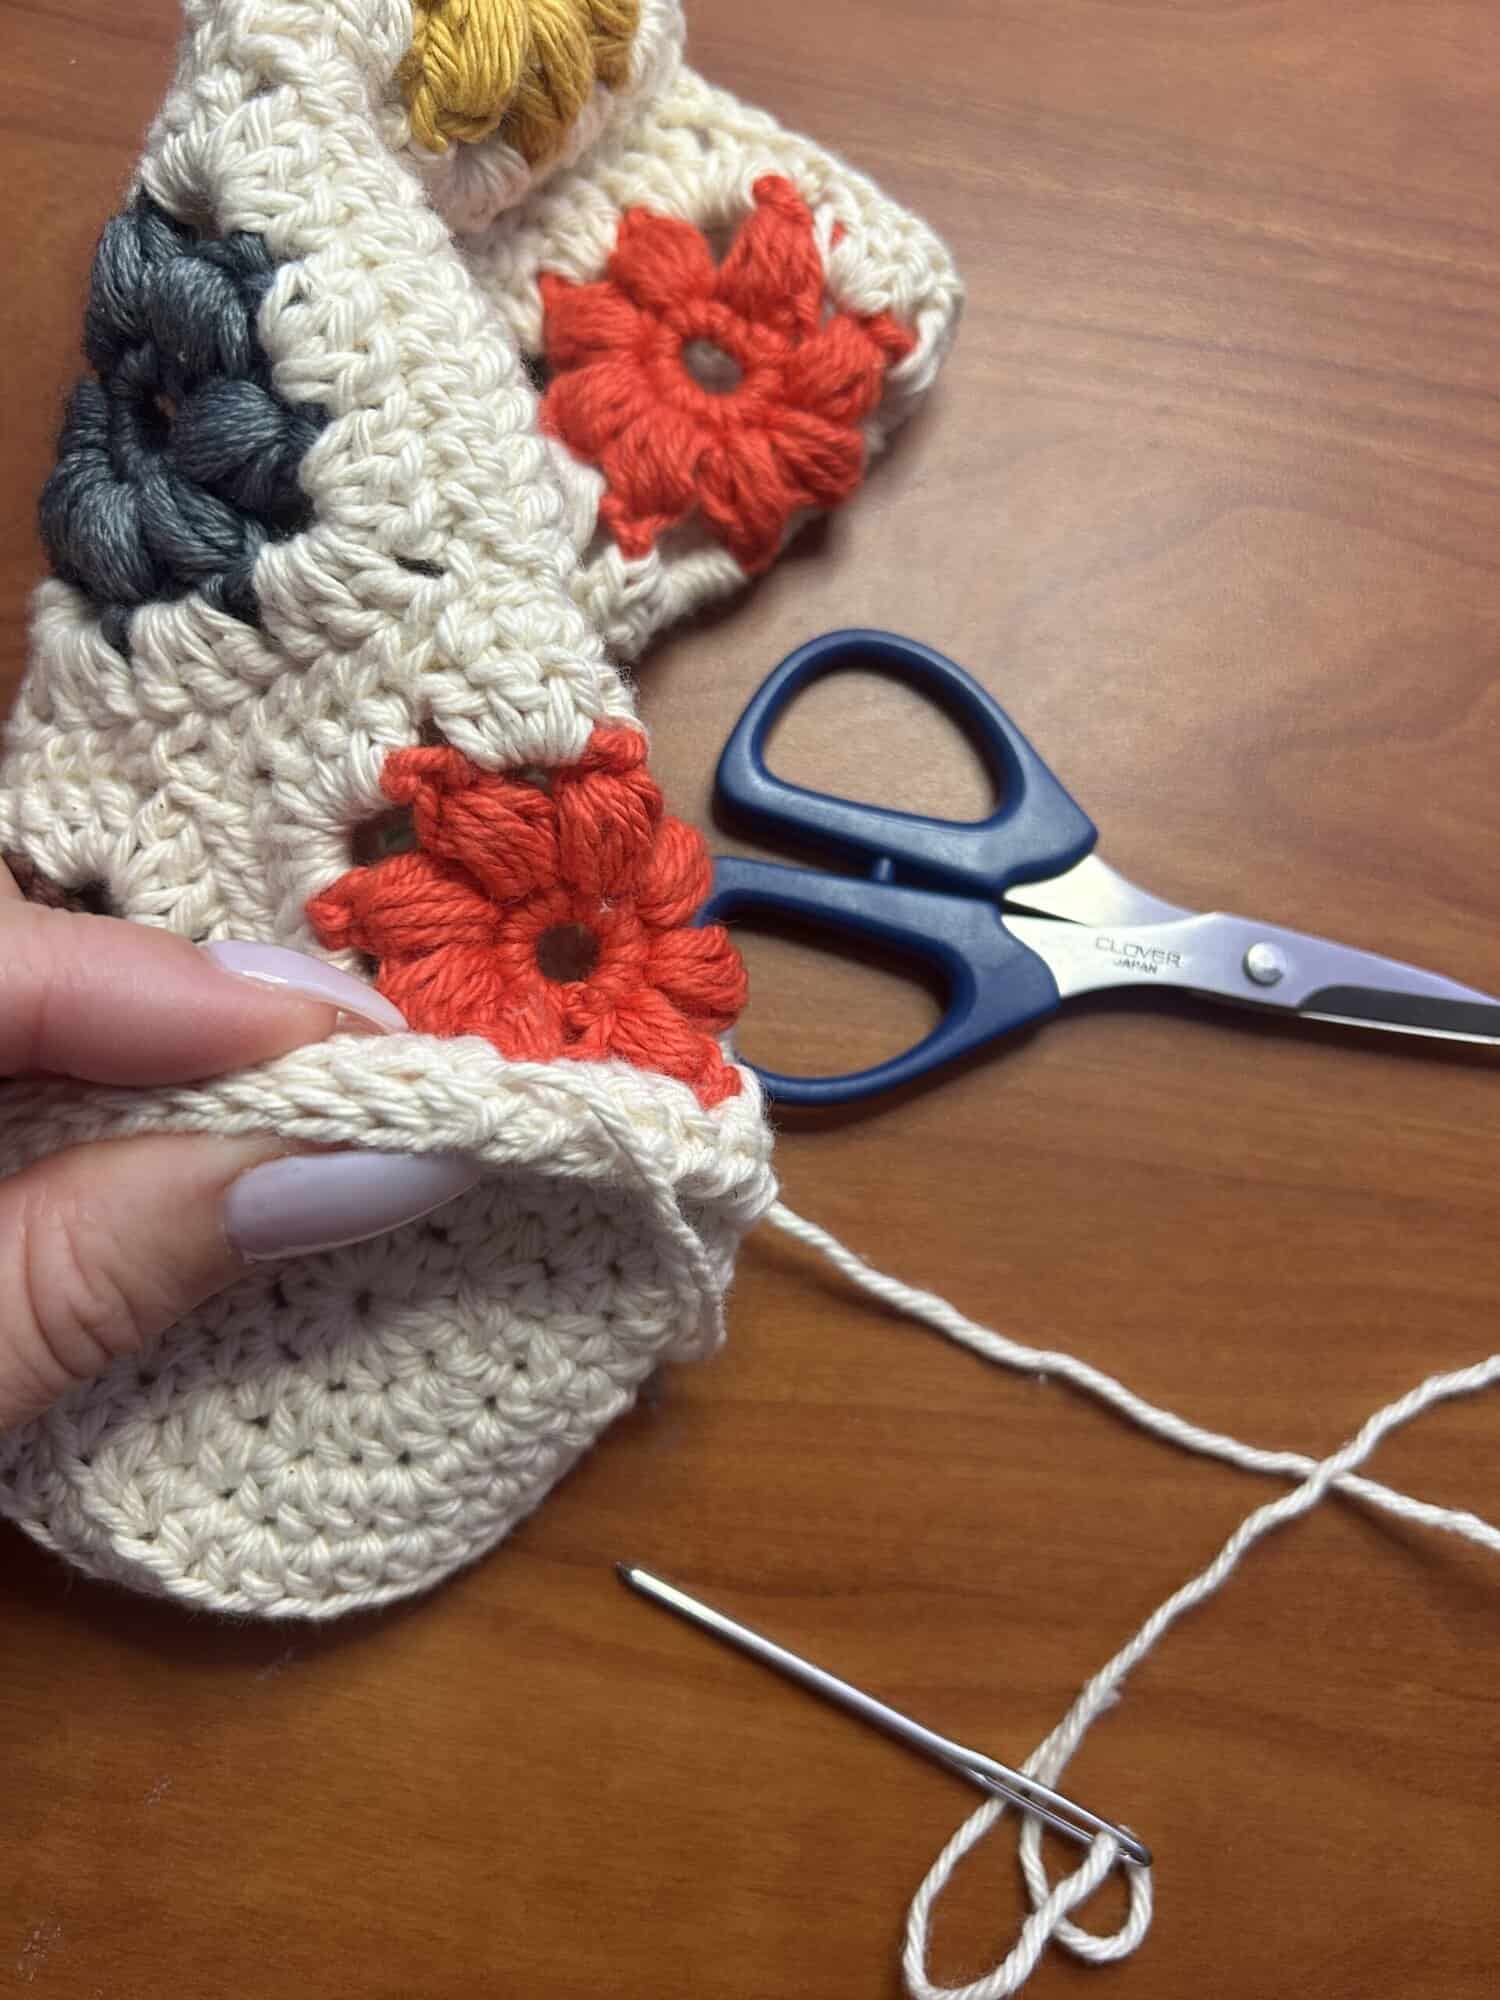
- Clover Patchwork Scissors (mini)
- yarn needle
- worsted weight yarn in colors of your choice
PATTERN INSTRUCTIONS:
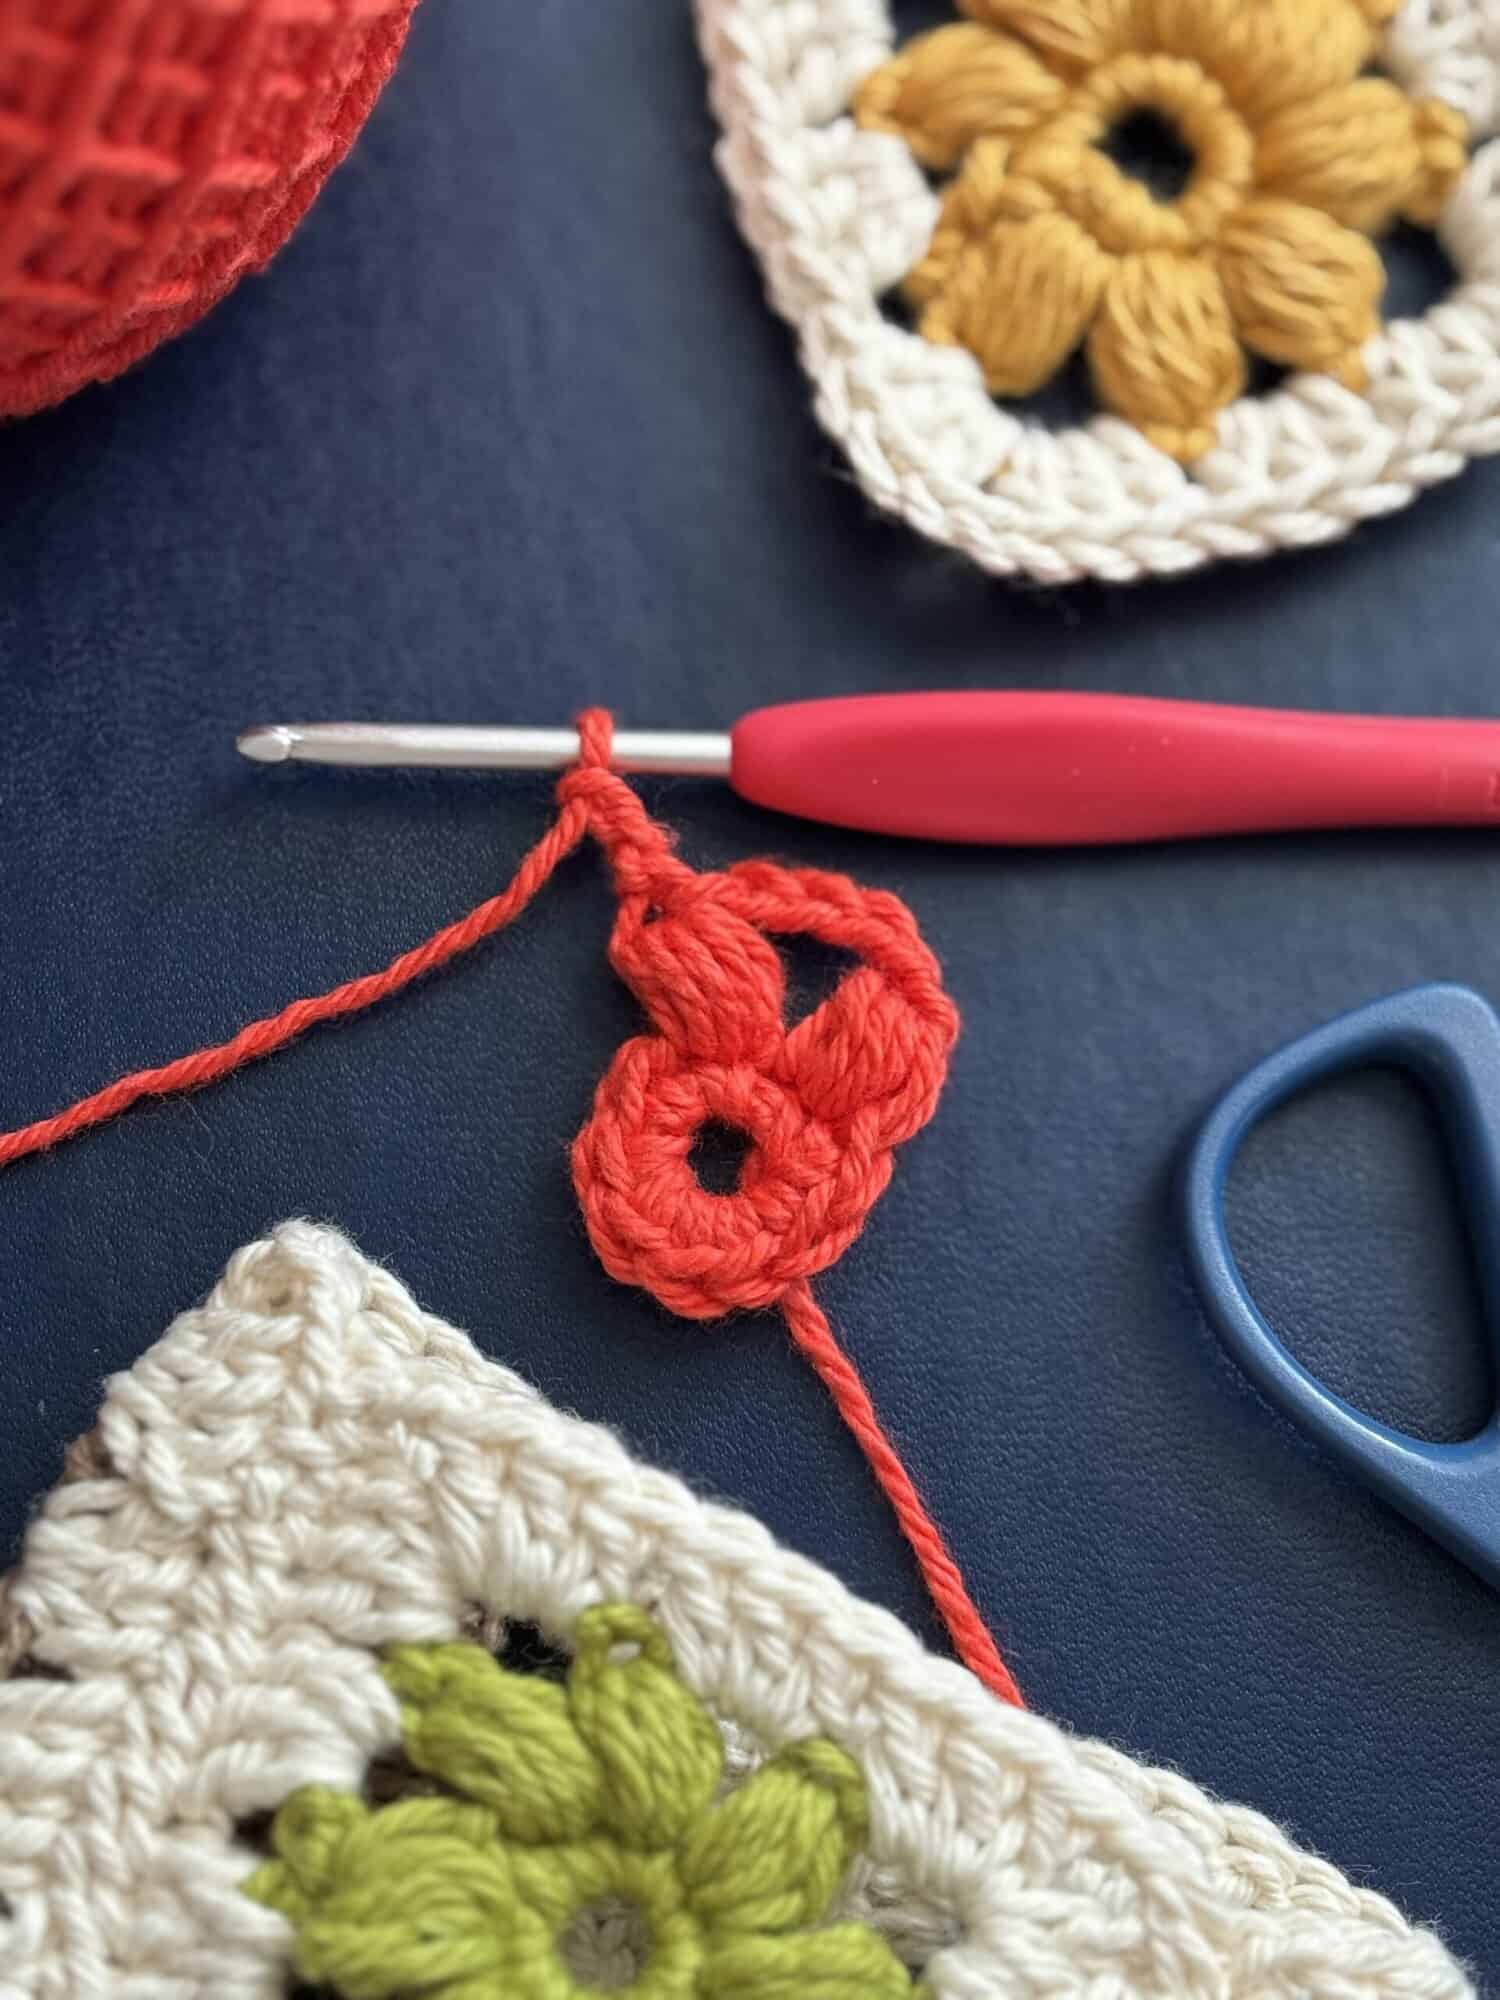
GRANNY SQUARES (make 9):
Start with flower color.
- Round 1: Ch 6, sl st in the first ch to form a ring, ch 1, 8 sc into the ring. Sl st in the first sc.
- Round 2: Pull up and loosen your yarn a bit (to about a half inch), yarn over and insert your hook into the same st, pull up a loop to the same height, repeat 3 more times giving you a total of 9 loops on your hook, ch 1 tightly to fasten st (one puff st completed), ch 4, *(yo, pull up loop in next sc to ½”) 4 times, yo and pull through all 9 loops, ch 1 tightly, ch 2, puff st in the next st, ch 4; repeat from * 2 more times, making a puff st in the last sc, ch 2, sl st to the top of the first puff st. (8 flower petals, 4 ch 5 spaces, 4 ch 3 spaces).
- Finish off flower color.
- Attach main color in any ch 5 corner.
- Round 3: Ch 3, (2 dc, ch 2, 3 dc) in the same sp, *3 dc in the next sp, (3 dc, ch 2, 3 dc) in the next corner ch 5 sp; repeat from * 2 times, 3 dc in the last sp. Sl st to the third ch of ch 3.

Finish off. Weave in ends.
- Sew the squares together in strips of 3. Then sew the ends of the strips together making them into a circle. Then attach the 3 circles of strips together by using the whip stitch method or method of choice. You can either line the flowers up or have them staggered.
BOTTOM OF BOTTLE COZY:
With main color, start with a magic circle.
- Round 1: Ch 2, 10 hdc in the magic circle. Pull tight to close. Join with sl st to the first hdc. (10 hdc)
- Round 2: Ch 2, 2 hdc in each st around. Join with sl st to the first hdc. (20 hdc)
- Round 3: Ch 2, 1 hdc in the first st, 2 hdc in the next st, *1 hdc in the next st, 2 hdc in the next st,* repeat from * around. Join with a sl st to the first hdc. (30 hdc)
- Round 4: Ch 2, 1 hdc in the first 2 sts, 2 hdc in the next st, *1 hdc in the next 2 sts, 2 hdc in the next st,* repeat from * around. Join with a sl st to the first hdc. (40 hdc)
- Round 5: 1 hdc in the BLO of each st around. (40 hdc)
- Sew piece onto the bottom of the sleeve you made with the squares.
TOP BORDER:
- With main color, attach yarn in any dc st around.
- Round 1: Ch 2, 1 hdc in each dc, place 1 dc in the corner space of the square, 1 dc in between the squares, 1 dc in the next corner sp, 1 hdc in the next 9 dc. Repeat around. Join with a sl st in the first hdc.
- Finish off main color. Add final border color.
- Round 2: Ch 2, *sk 1, 3 dc in the next st, sk 1, 1 sc in the next st,* repeat around, ending with a sl st in the beginning ch.
There you have it! You’ve successfullly created your own bottle cozy. Perfect for picnics, wine nights, or any other fun events you can think of!
If you want to keep up with me, Julie, on social media for other fun projects, follow me on: Instagram
If you want to keep up with all things Clover, follow us on: Facebook | Twitter | Instagram | Pinterest | YouTube | Ravelry