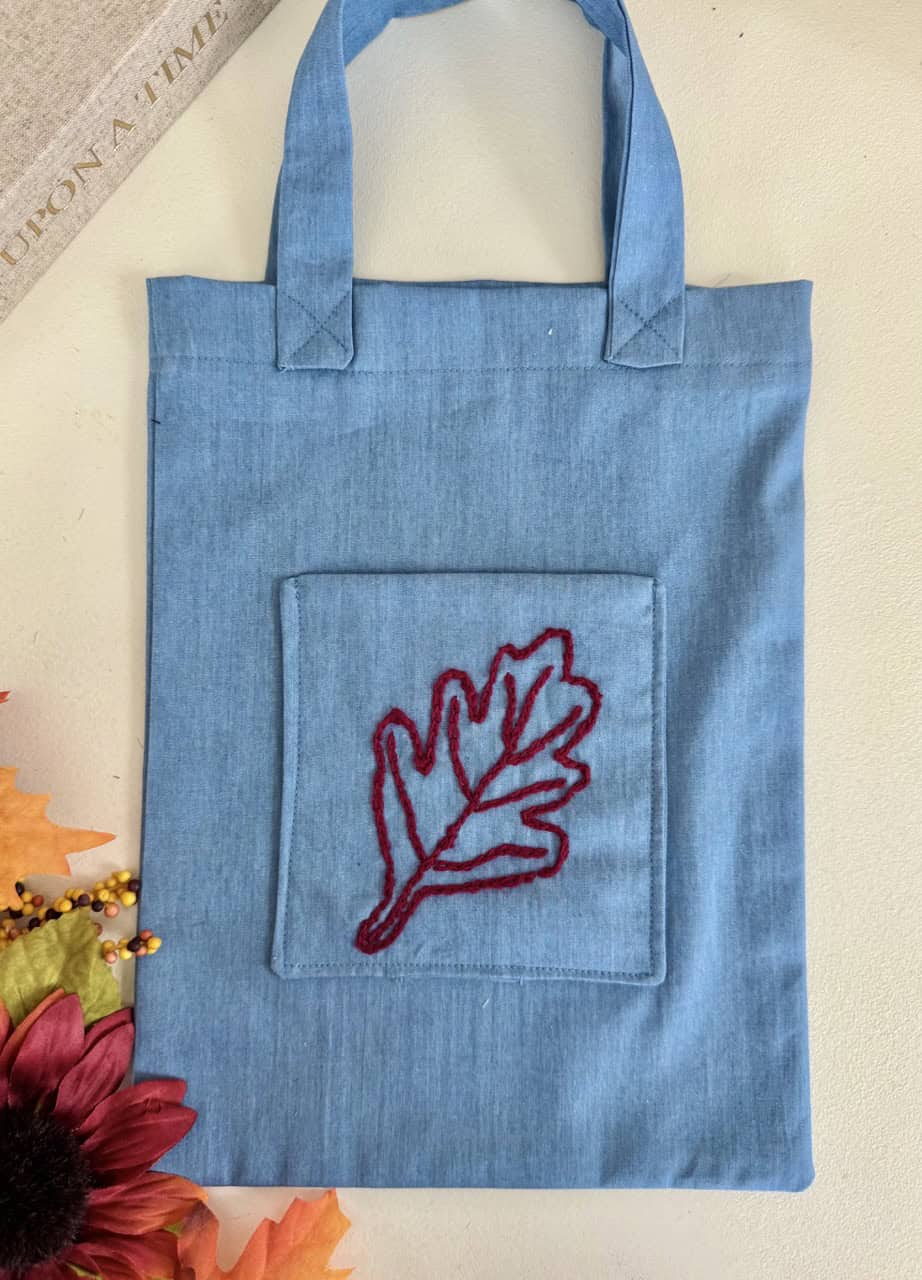
Embroidered Leaf Mini Tote Bag
Hello everybody! I’m excited to say that fall is FINALLY here, bringing along all the little adventures we look forward to every year. And this mini tote bag feels just right for the season….perfect for strolling through pumpkin patches, heading out for apple picking, or carrying home a box of warm cider donuts. It’s big enough for farmers’ market finds, yet small enough to use everyday without carrying too much. The embroidered leaf also adds that personal touch, making it a sweet reminder of the season’s memories 🙂
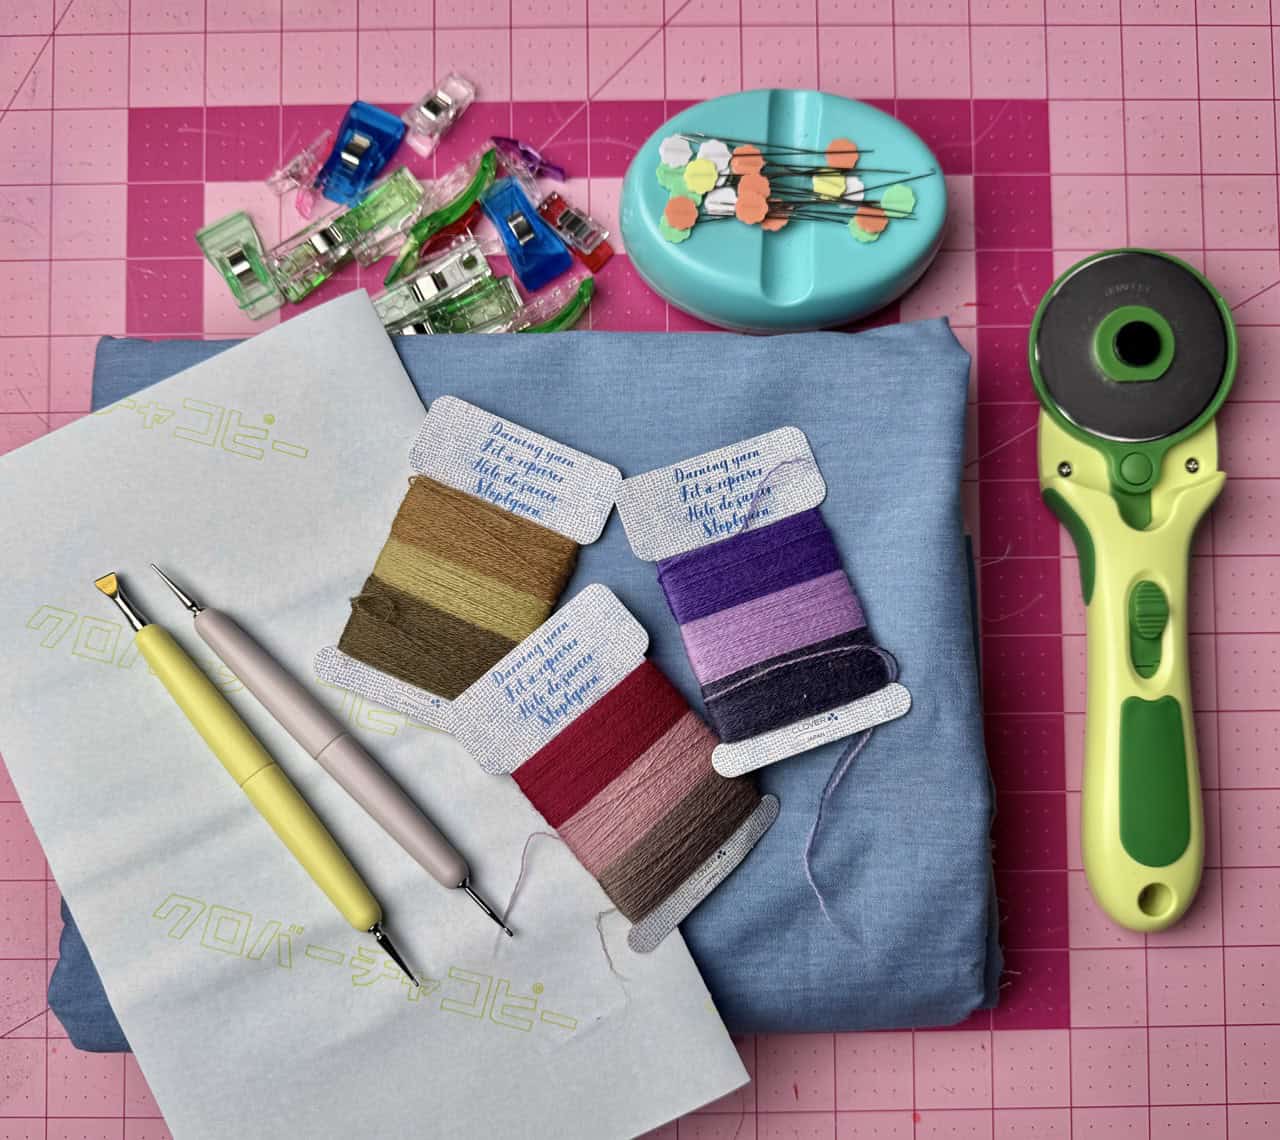
Materials
- Clover Water Erasable Tracing Paper
- Clover Double Tracing Tool
- Clover Metal Hera with Stylus
- Clover Darning Yarn (Red)
- Clover Rotary Cutter (60 mm)
- Clover Flower Pins
- Clover Wonder Clips
- 1/2 yard fabric
- projector or tracing paper
- pen/pencil and paper
BAG TUTORIAL:
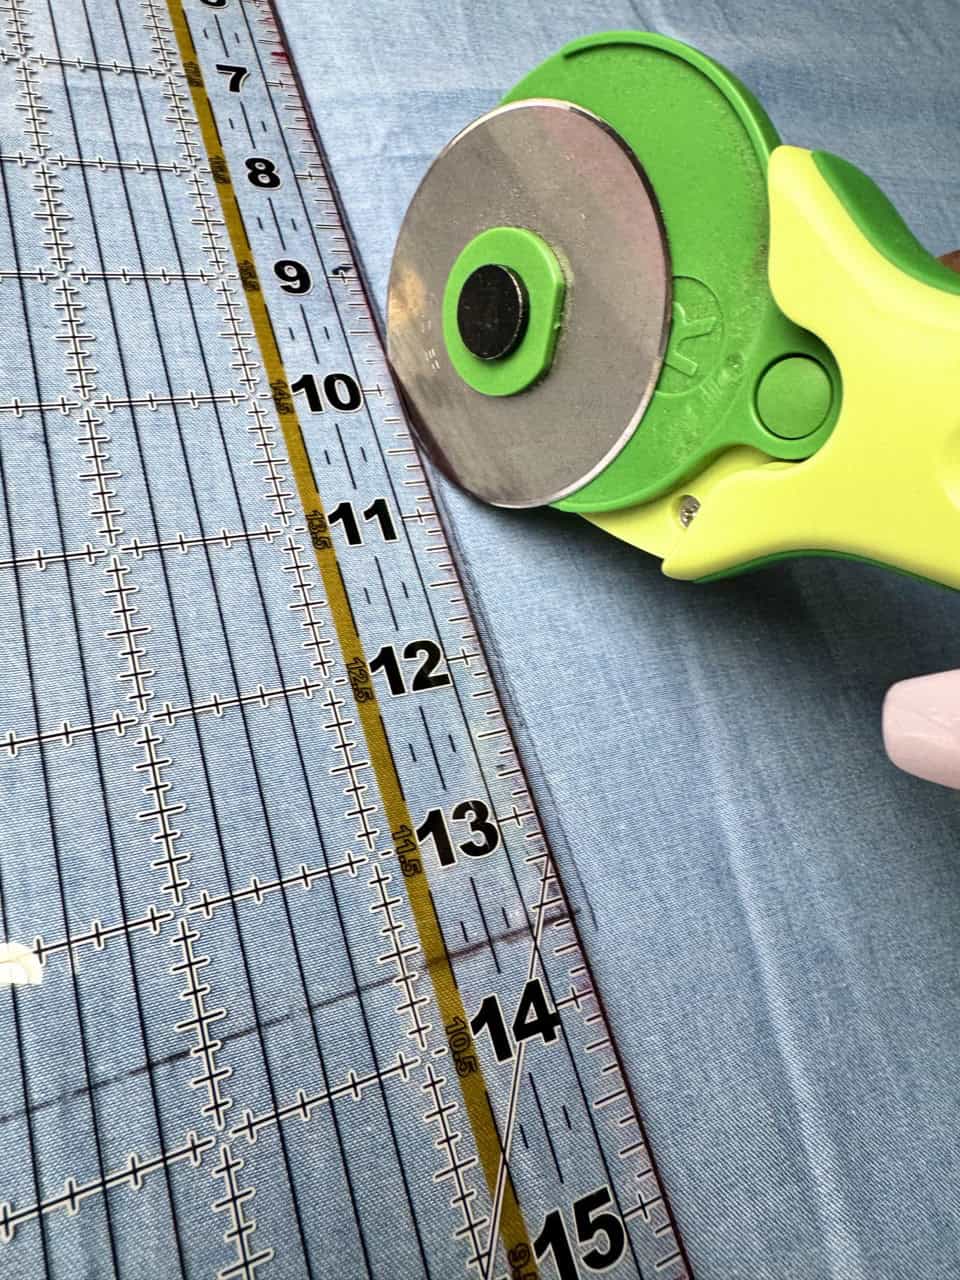
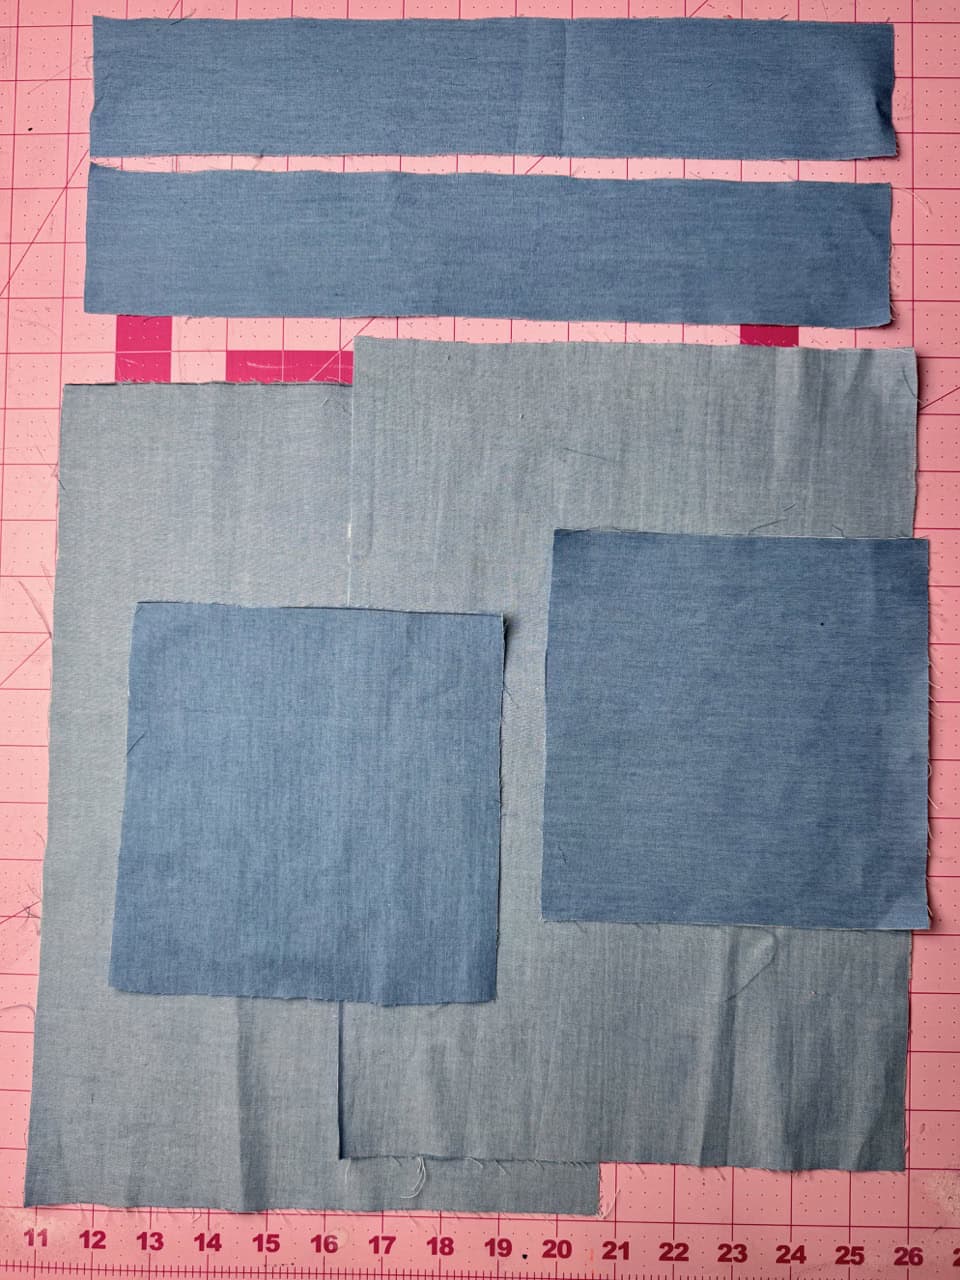
1. Cut the fabric out for the tote bag using the Clover Rotary Cutter (60 mm).The measurements are: two 10″ x 14″ pieces of fabric for the tote body, two 7″ x 7″ of fabric for the pocket, and two 2.5″ x 15″ of fabric for the straps. Set aside the fabric pieces, except for pocket pieces.
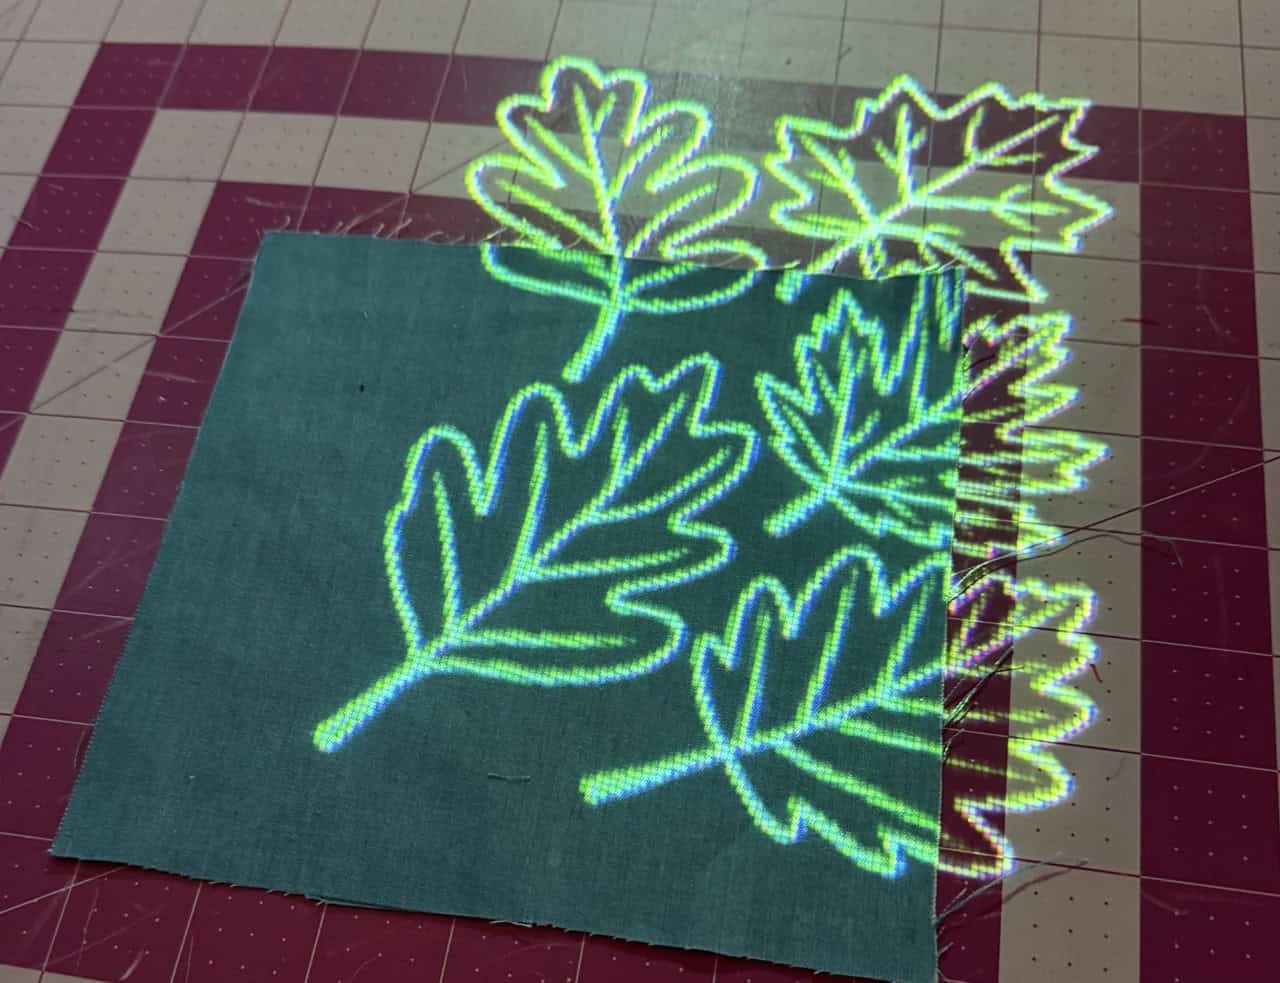
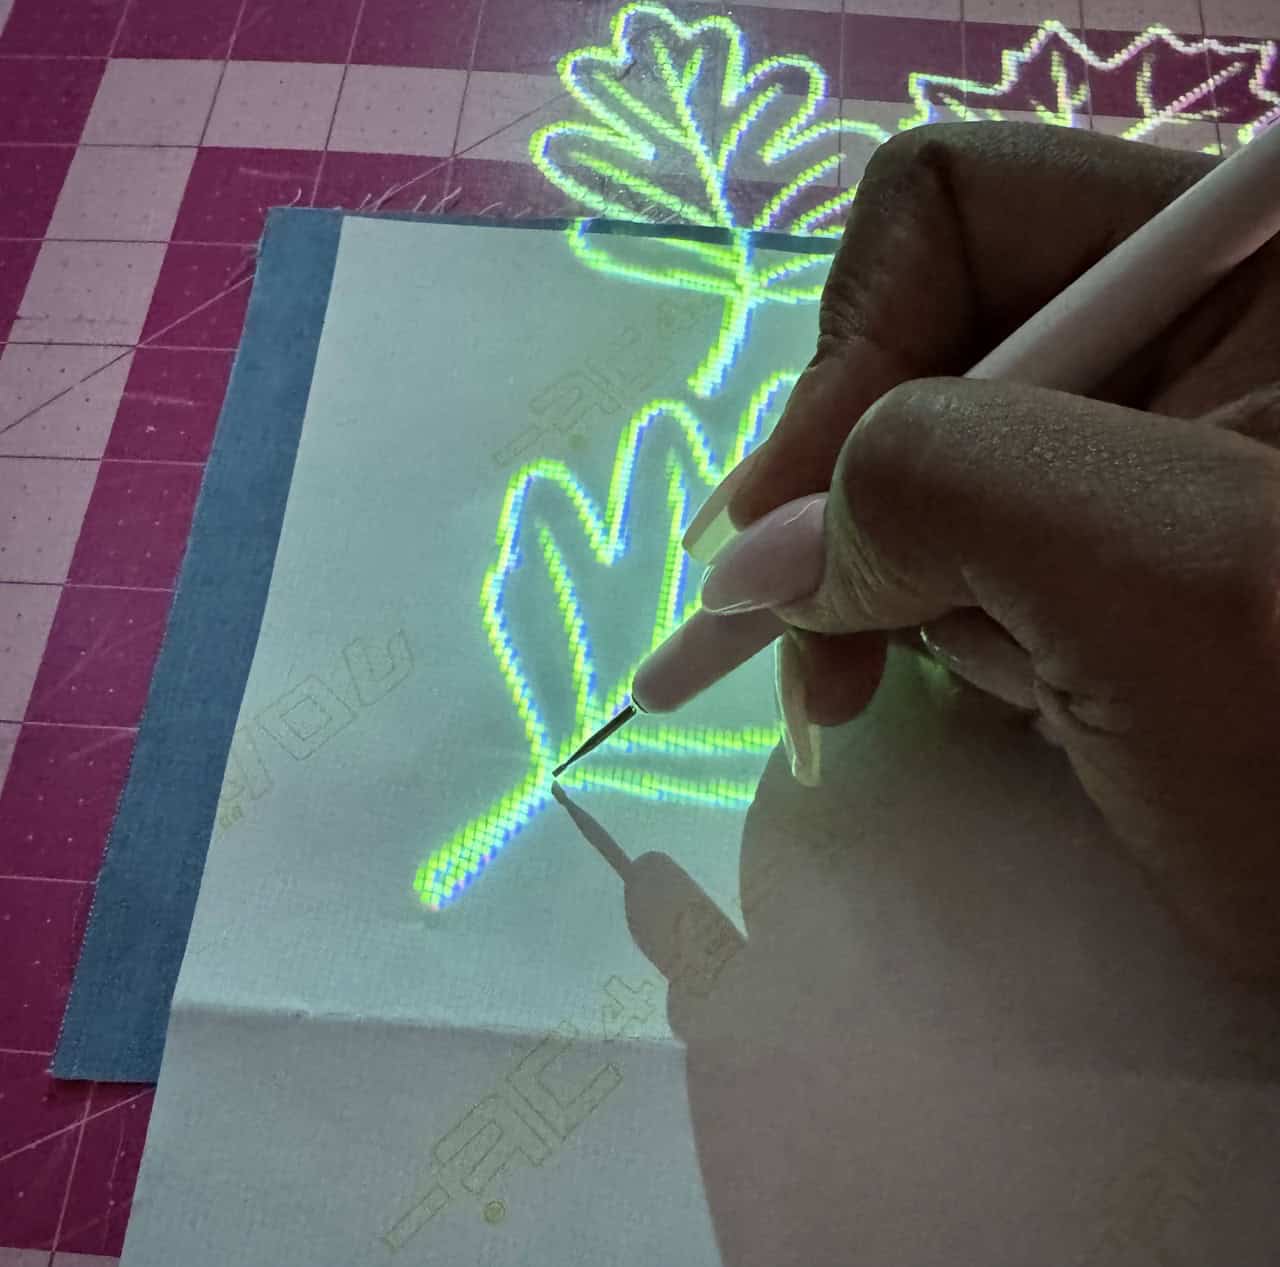
2. Place the design on one of the pocket pieces. To save paper, I use a projector to trace out my design, which makes the process easier and faster! If you want to use this method too, you can upload the file you want to use onto patternprojector.com like I did. When using the Clover Water Erasable Tracing Paper, place your fabric first, then your tracing paper with the ink face down onto the fabric. If you use a projector, you can use the Clover Double Tracing Tool to trace the image onto the fabric. If not, you’ll need your pattern or design on paper and place that on top, then trace the design. Either way, the design will come out very clear. I find that this works best on woven fabrics!
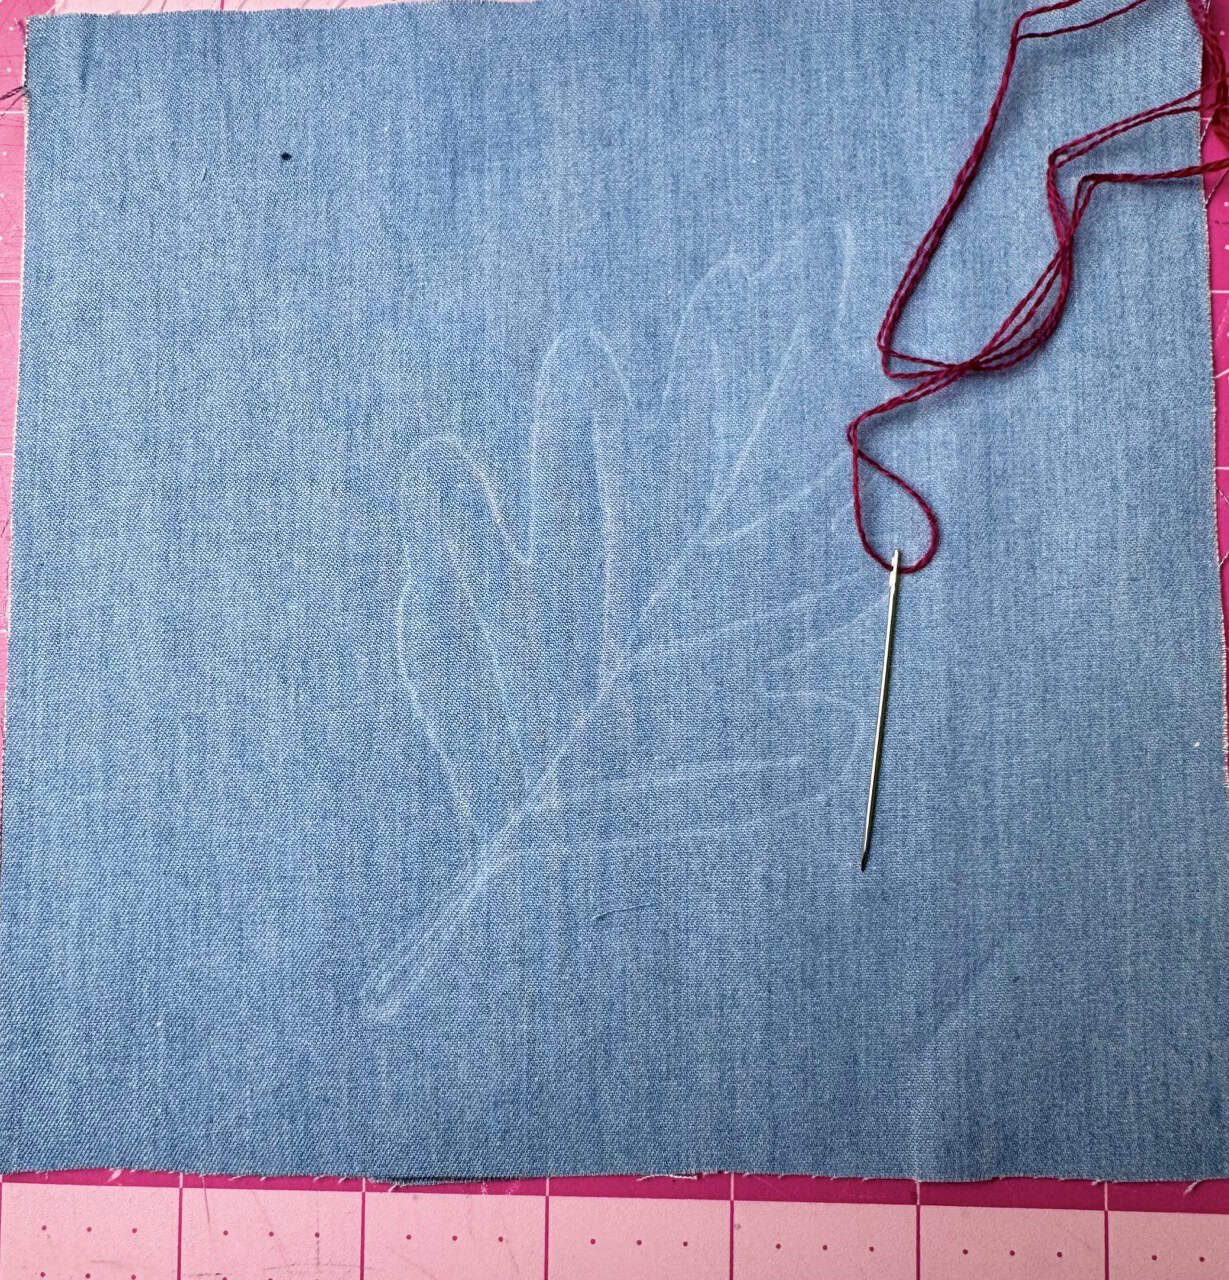
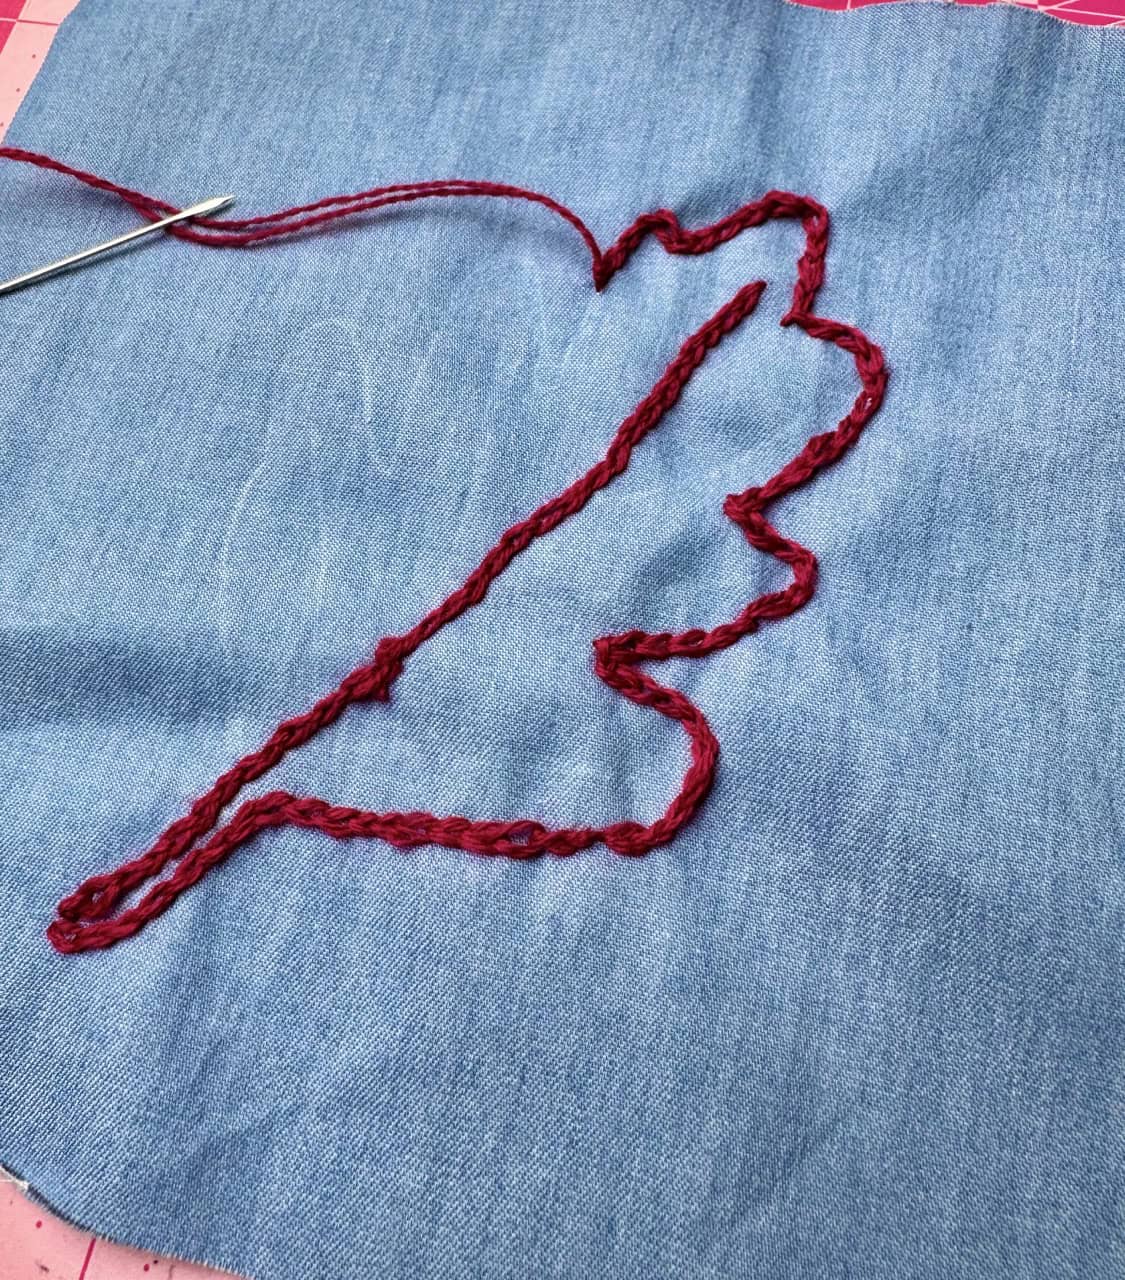
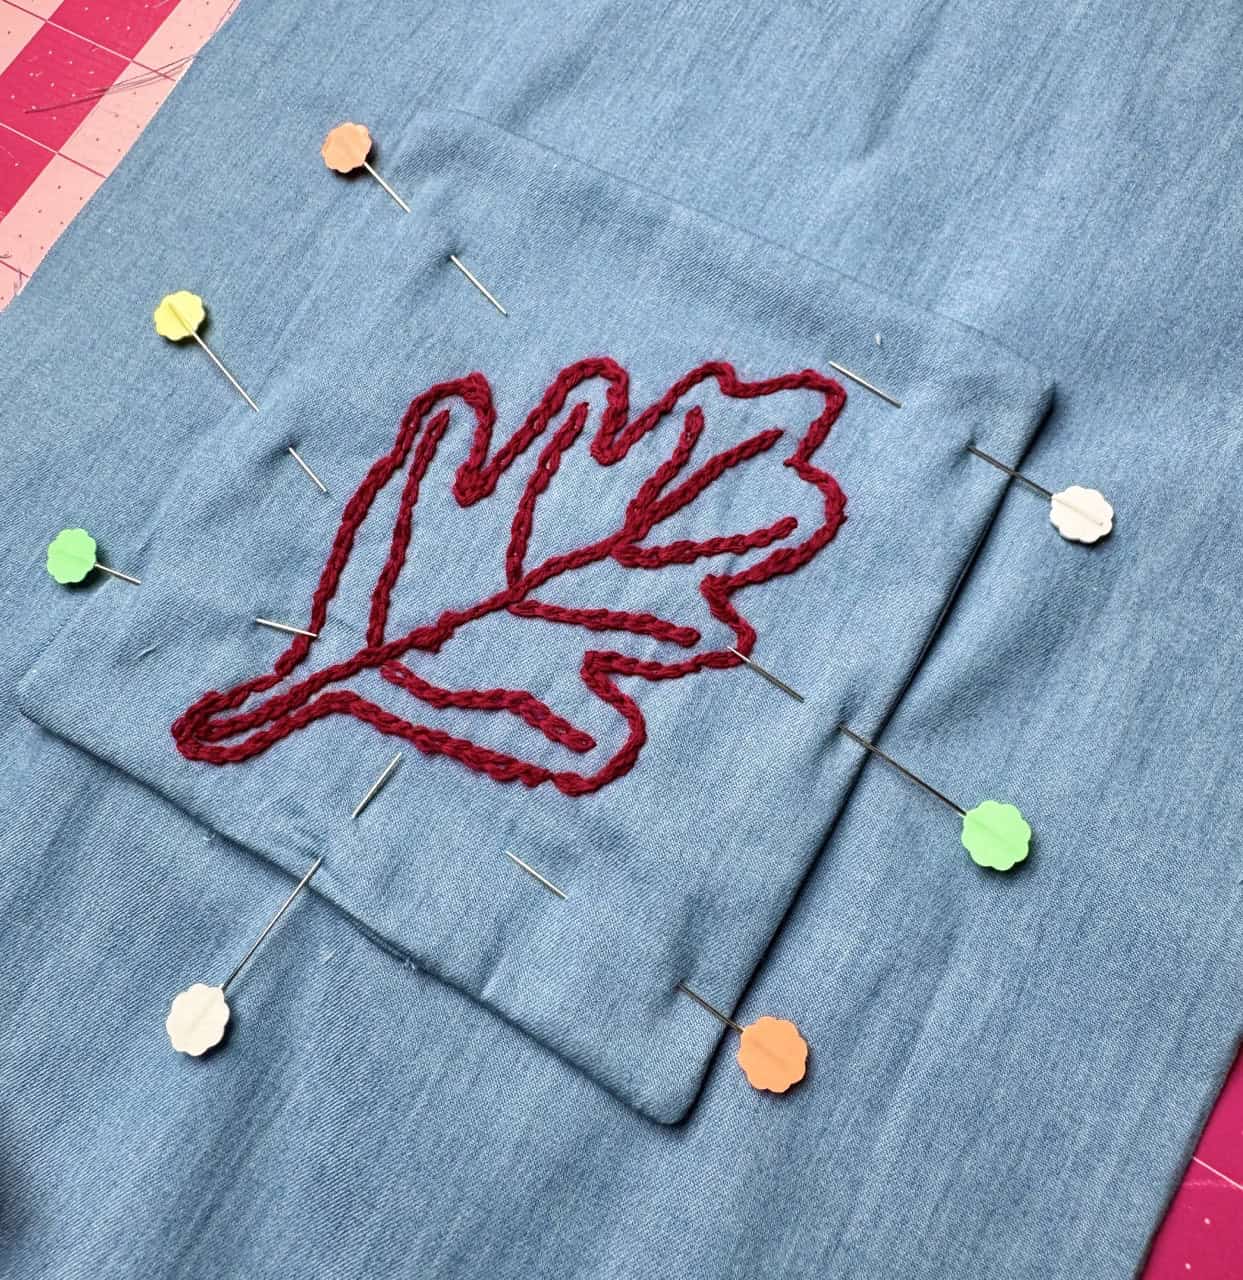
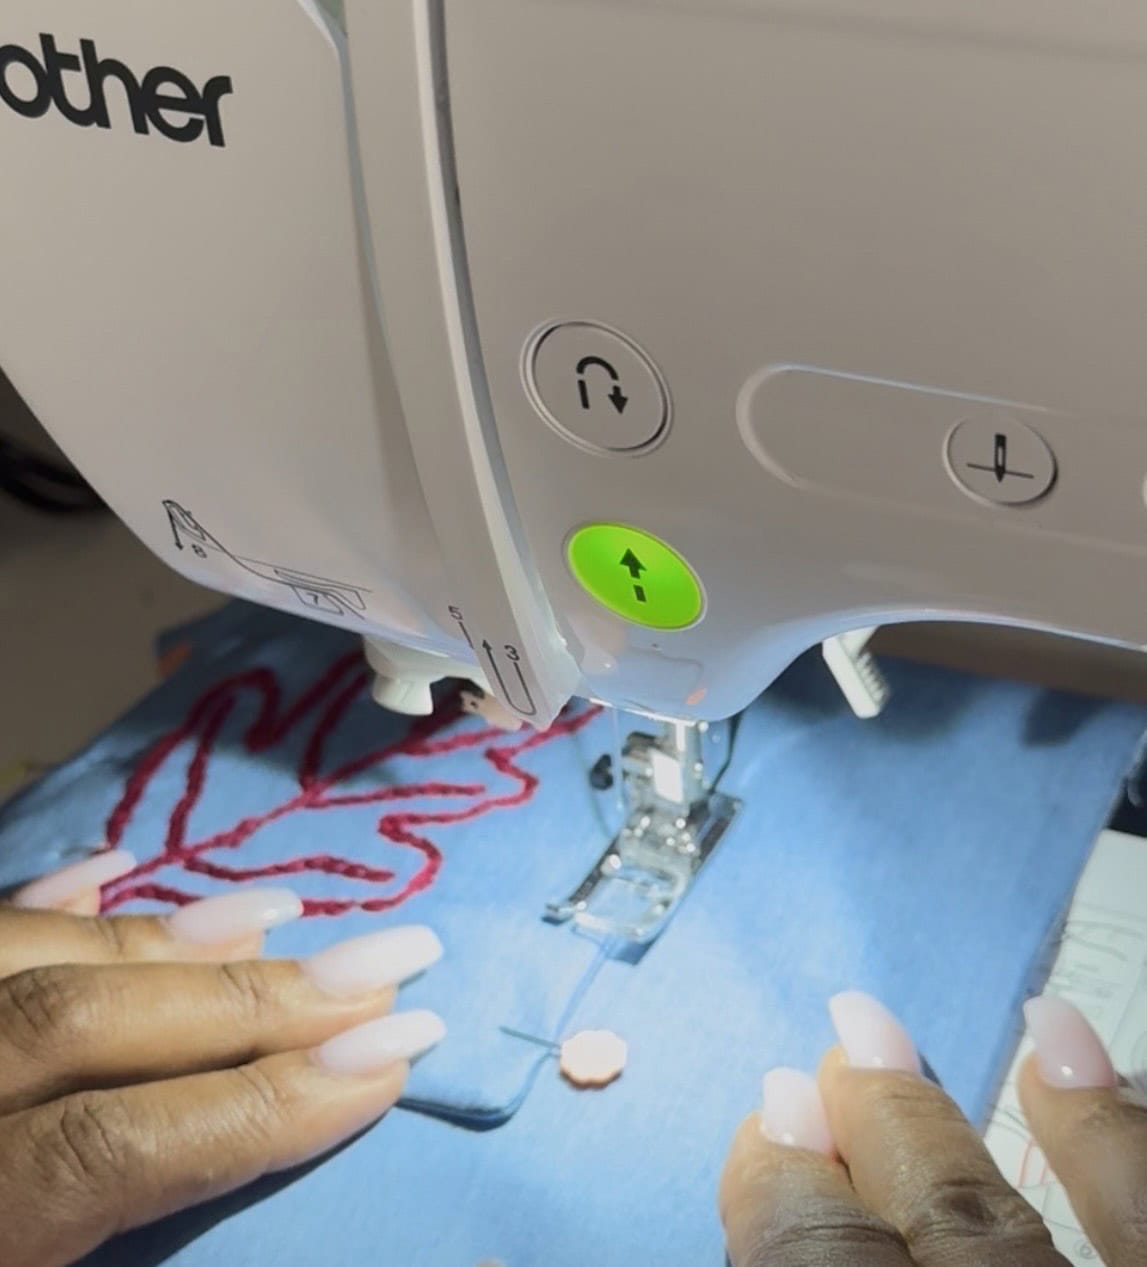
3. I absolutely love using the Clover Darning Yarn (Red) and I had to bring it back for this embroidered leaf! I have many color options, but I love the red color. It felt like autumn while adding a gorgeous contrast to the denim blue. I used a chain stitch throughout the tracing on the fabric.
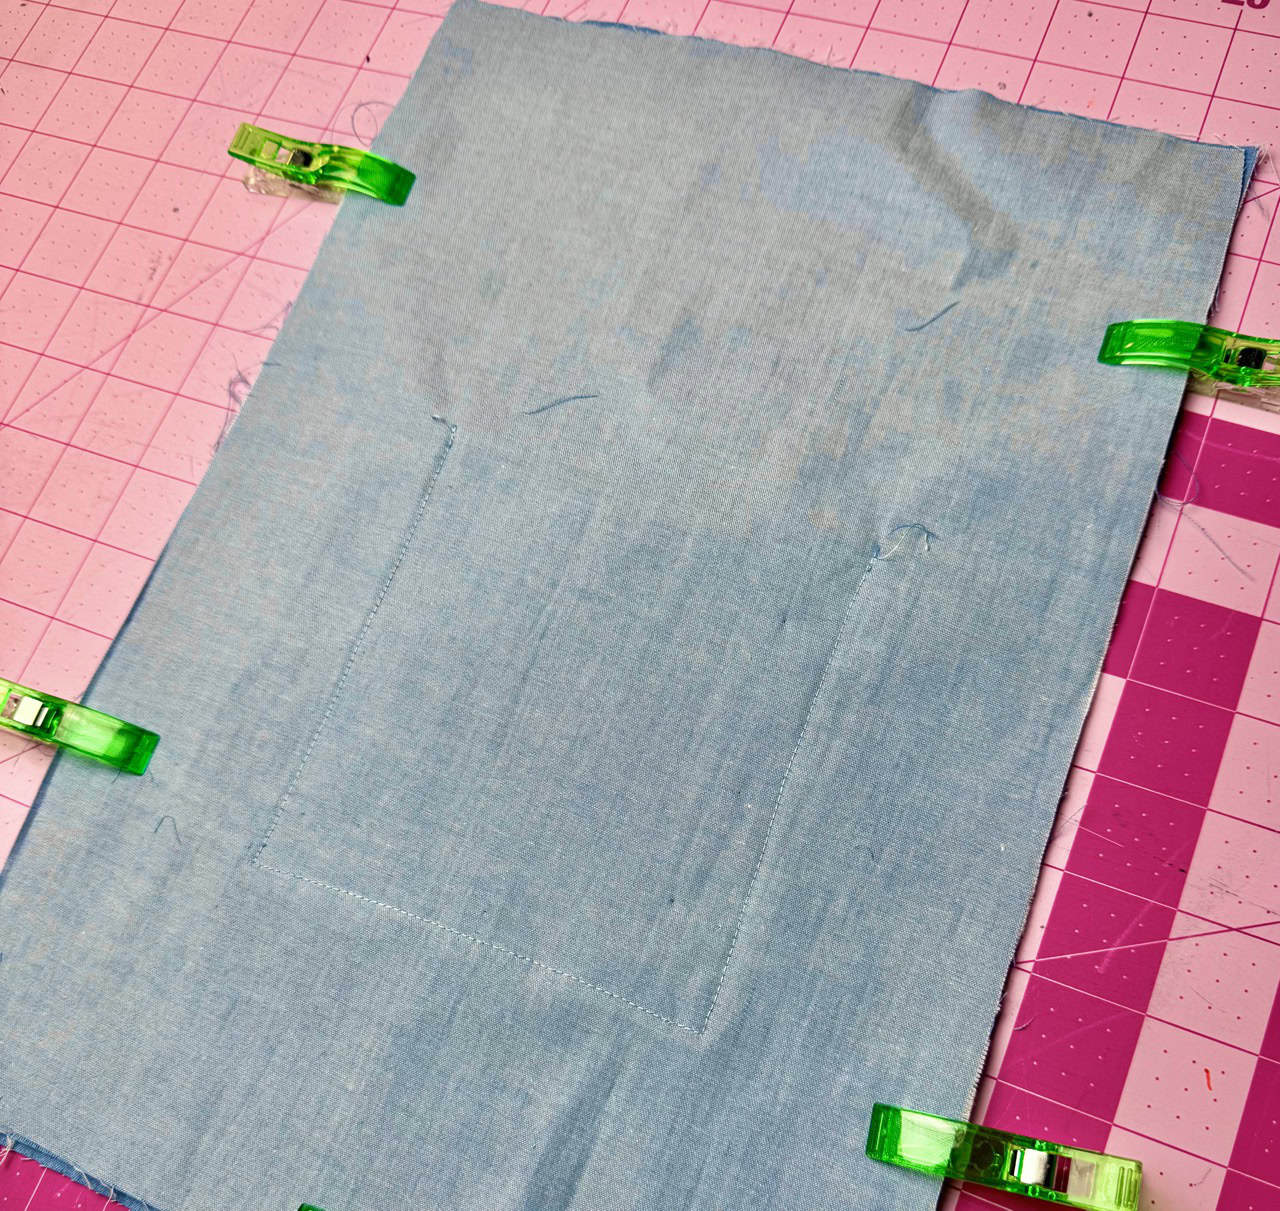
4. Once the design is traced with the Darning Yarn, place the other pocket piece right sides together and pin it using the Clover Flower Pins. Then, place it on the center of one of the pieces of the tote body and edgestitch around the pocket, leaving the top unstitched.
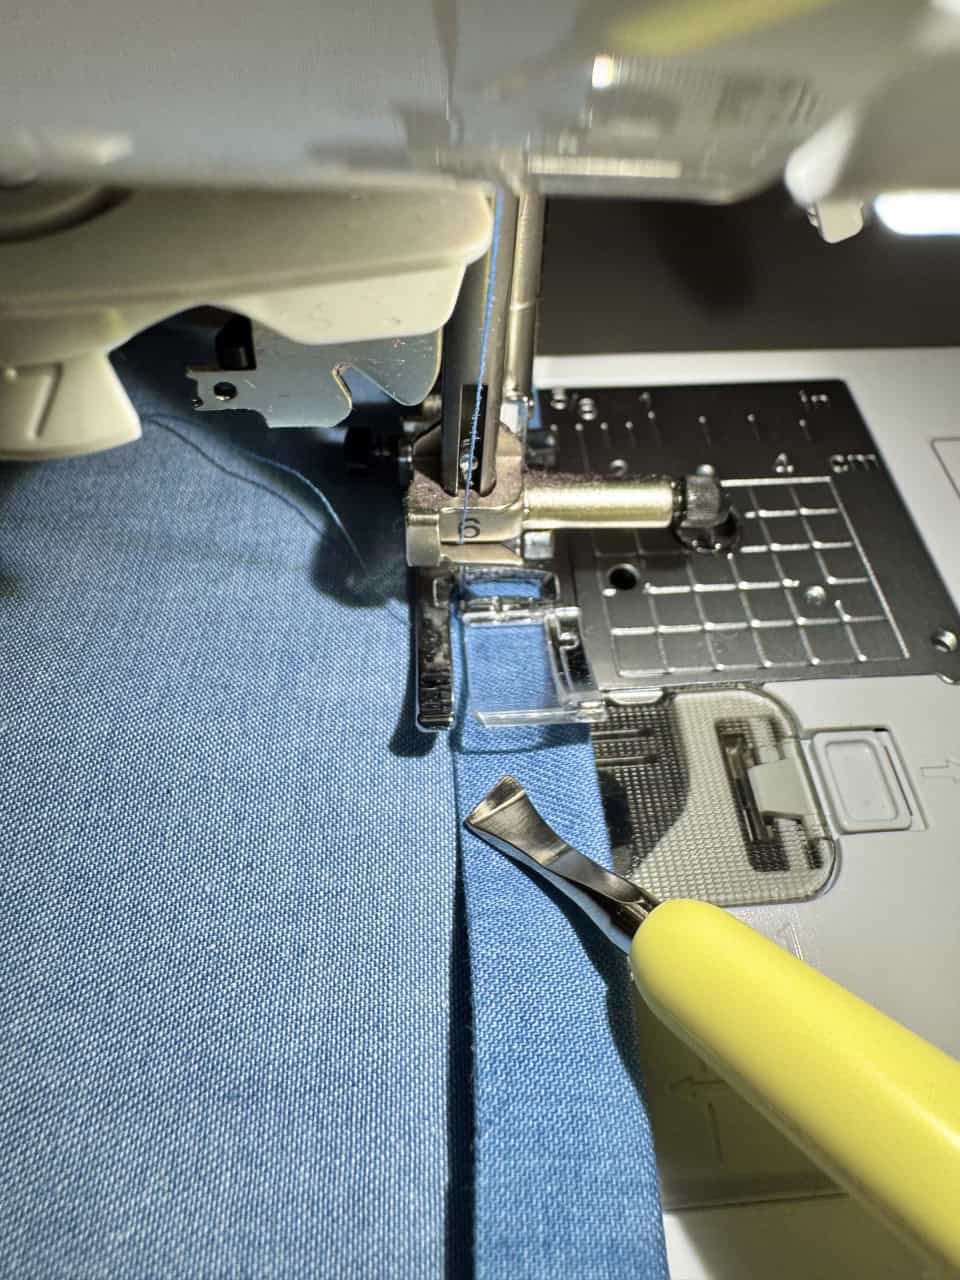
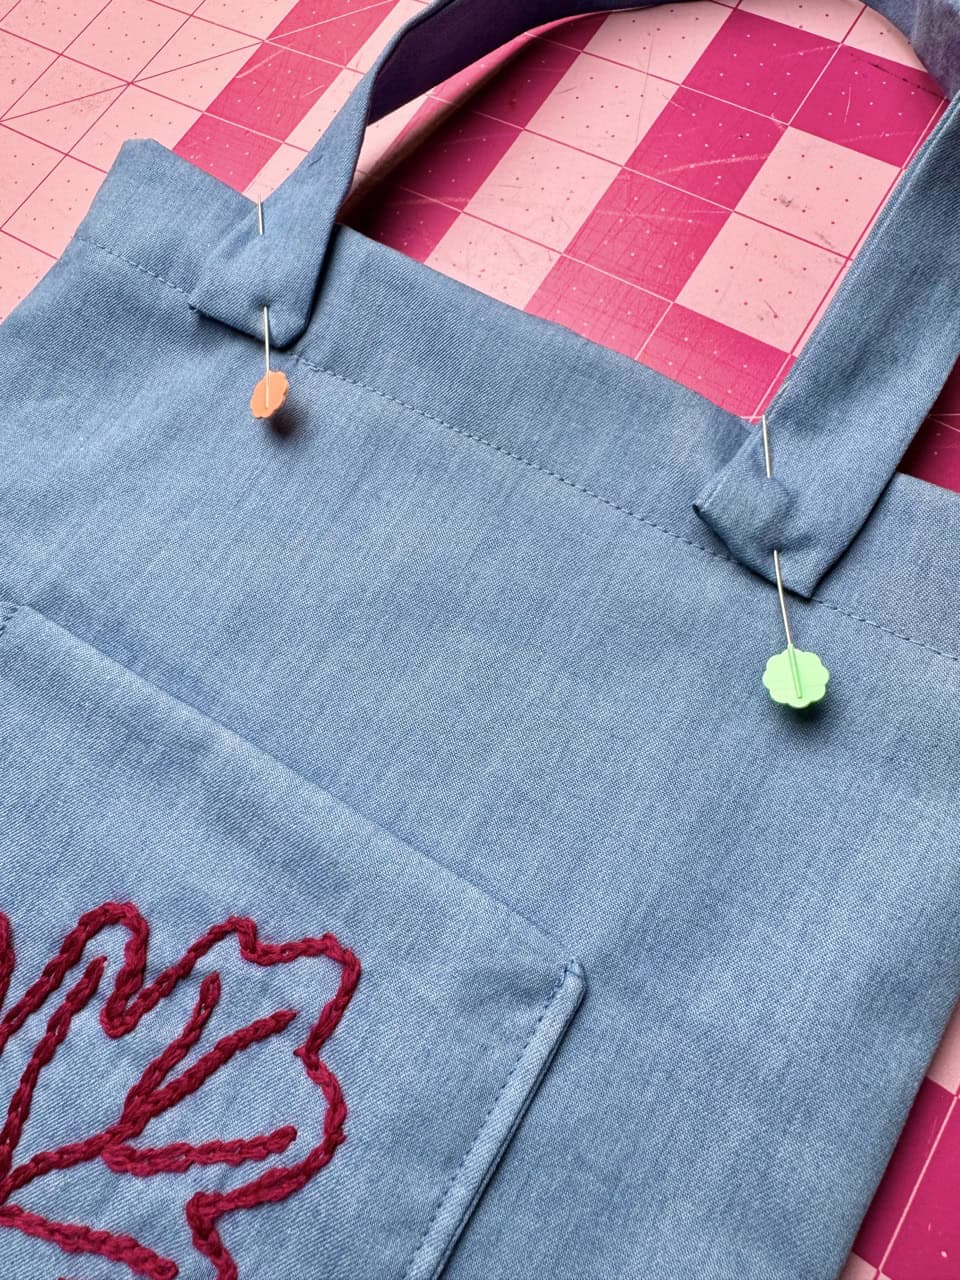
5. With right sides together, I placed the other tote body onto the tote body with the pocket. I used Clover Wonder Clips to hold those fabric pieces in place. I pressed the tote flat and then folded in the top bout 1/2″ and stitched. I used the Clover Metal Hera with Stylus to feed the folded piece of fabric and it worked so well keep the fold in place. Fold in the top again and topstitch around the top.
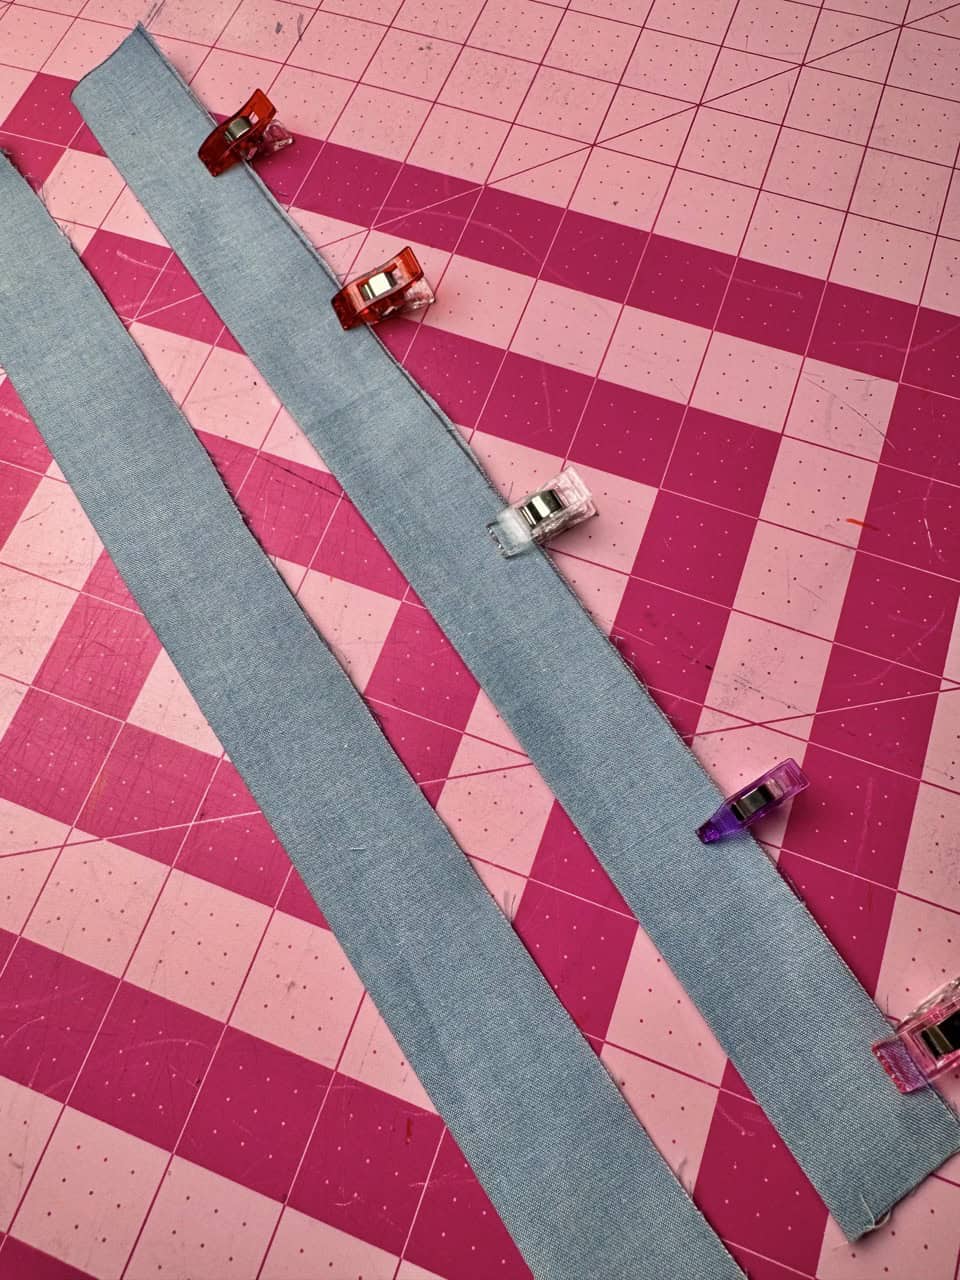
6. Create the straps by folding the strap pieces in half (lengthwise) and sew it together. Turn it right side out. Press. Then, place the straps on opposite sides of the tote body, holding in place with your Flower Head Pins. Do that to each side so that there are two straps. Stitch in place and you’re done!

Ready to make this season even more memorable? Create this mini tote bag, add your own embroidered touch, and take it along on all your fall outings. From pumpkin patches to apple orchards, it’s the perfect way to carry apples from apple picking or your favorite Fall treat, while celebrating everything you love about autumn. Happy Sewing!
If you want to keep up with me, Duana, on social media for other fun projects, follow me on social media: Instagram
If you want to keep up with all things Clover, follow us on: Facebook | Twitter | Instagram | Pinterest | YouTube | Ravelry