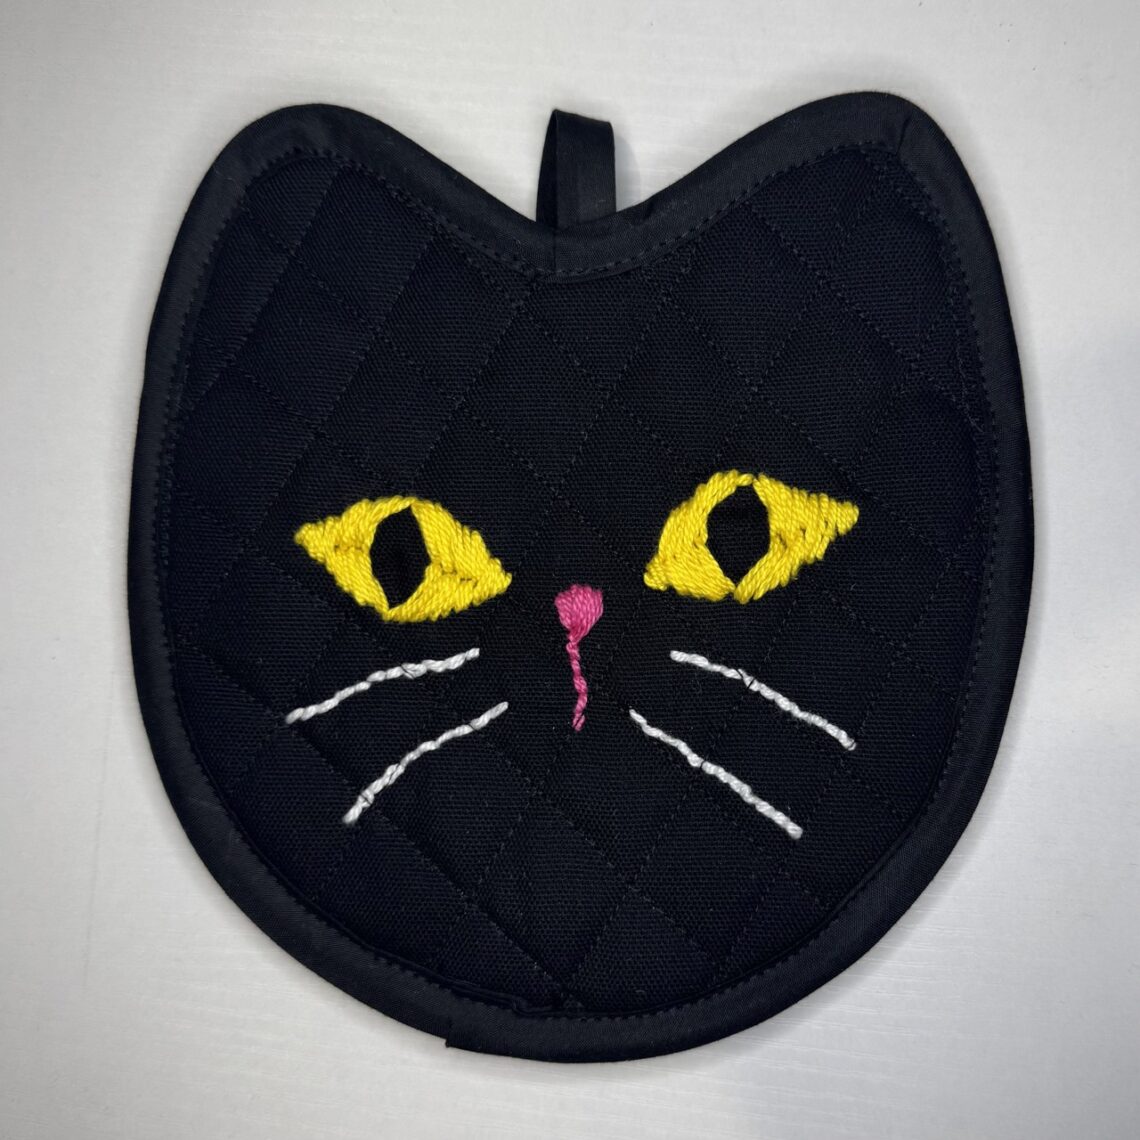
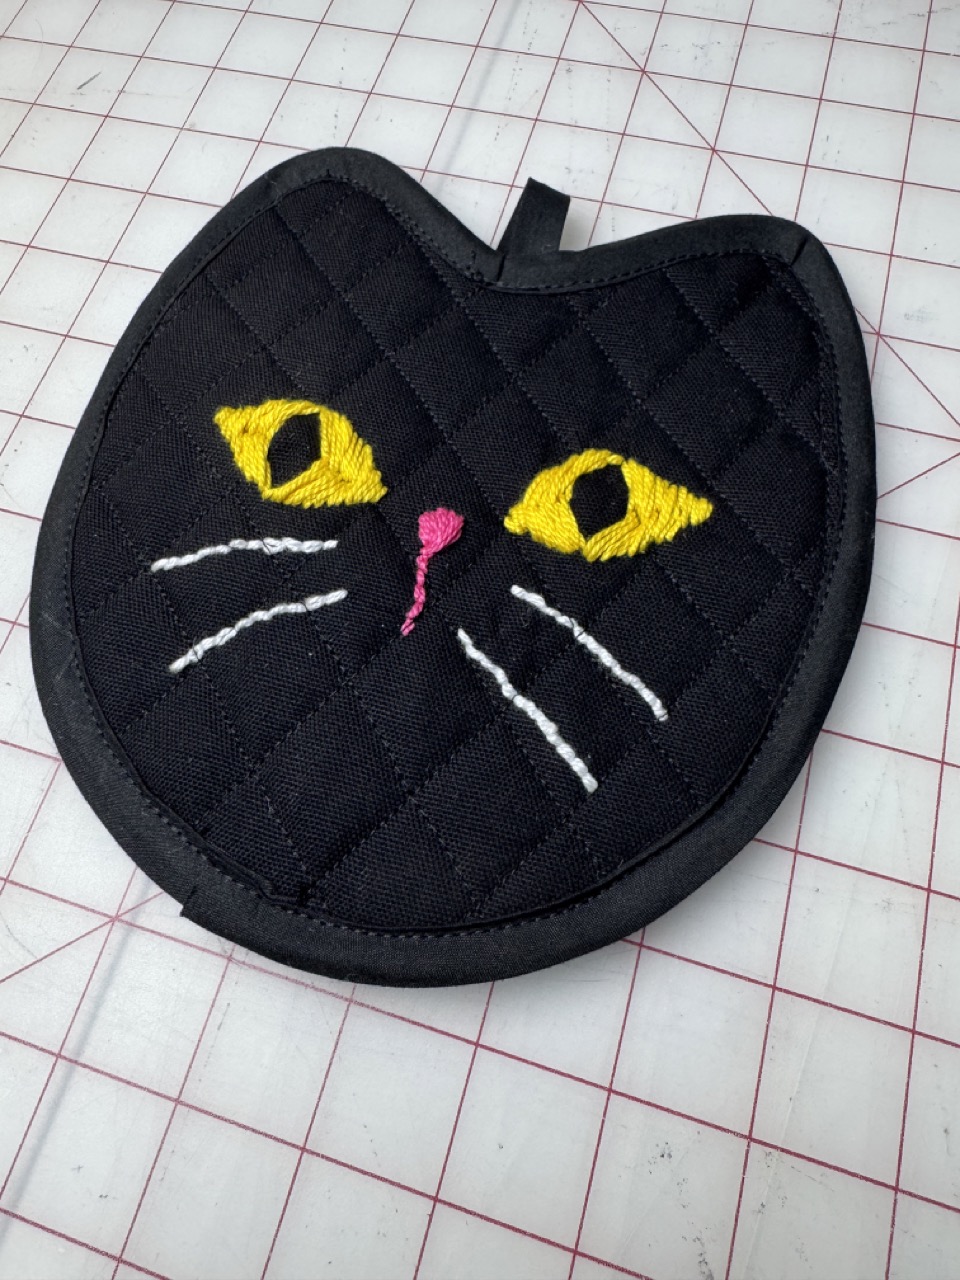
Black Cat Pot Holder *free sewing pattern!*
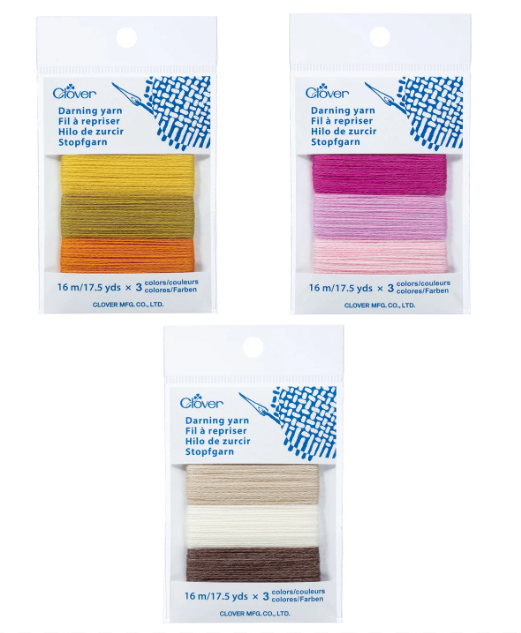
Hello everybody! There’s something about fall that makes me want to add a little extra holiday spirit to my kitchen, something cozy, playful, and just a touch mysterious. This black cat pot holder felt like the perfect project. I stitched it using Clover’s Darning Yarns, which add such beautiful texture and strength to handmade pieces. While these yarns are often used for mending, they’re also wonderful for creative embellishments like giving this cute little cat its soft whiskers and stitched details! It’s a fun, functional way to bring a bit of Halloween spirit into your home and make every batch of cookies or pumpkin pie feel a little more festive. Let’s get started with this project!
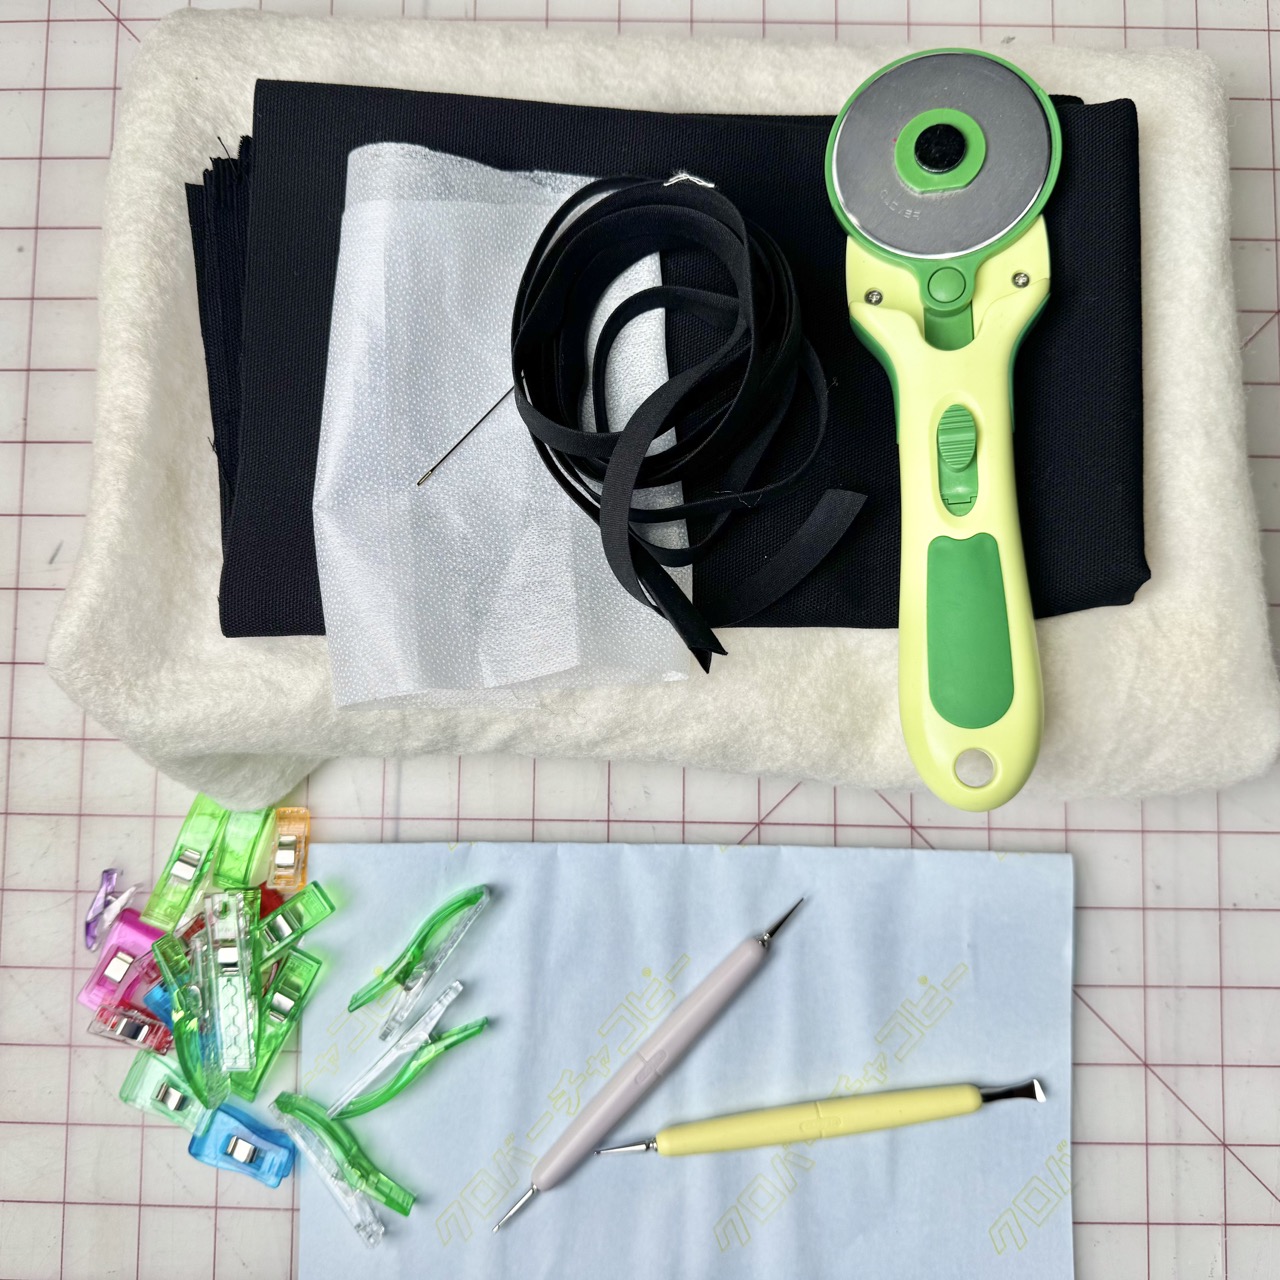
Materials
- Clover Water Erasable Tracing Paper
- Clover Double Tracing Tool
- Clover Metal Hera with Stylus
- Clover Embroidery Needles
- Clover Darning Yarn
- Clover Rotary Cutter (60 mm)
- Clover Flower Pins
- Clover Wonder Clips
- ½ yard black medium weight fabric
- ½ yard of batting
- ¼ yard interfacing
- double fold bias tape (or 1.5” wide strip of fabric to make it)
- black thread
- black cat PDF tracing that I used!
INSTRUCTIONS:
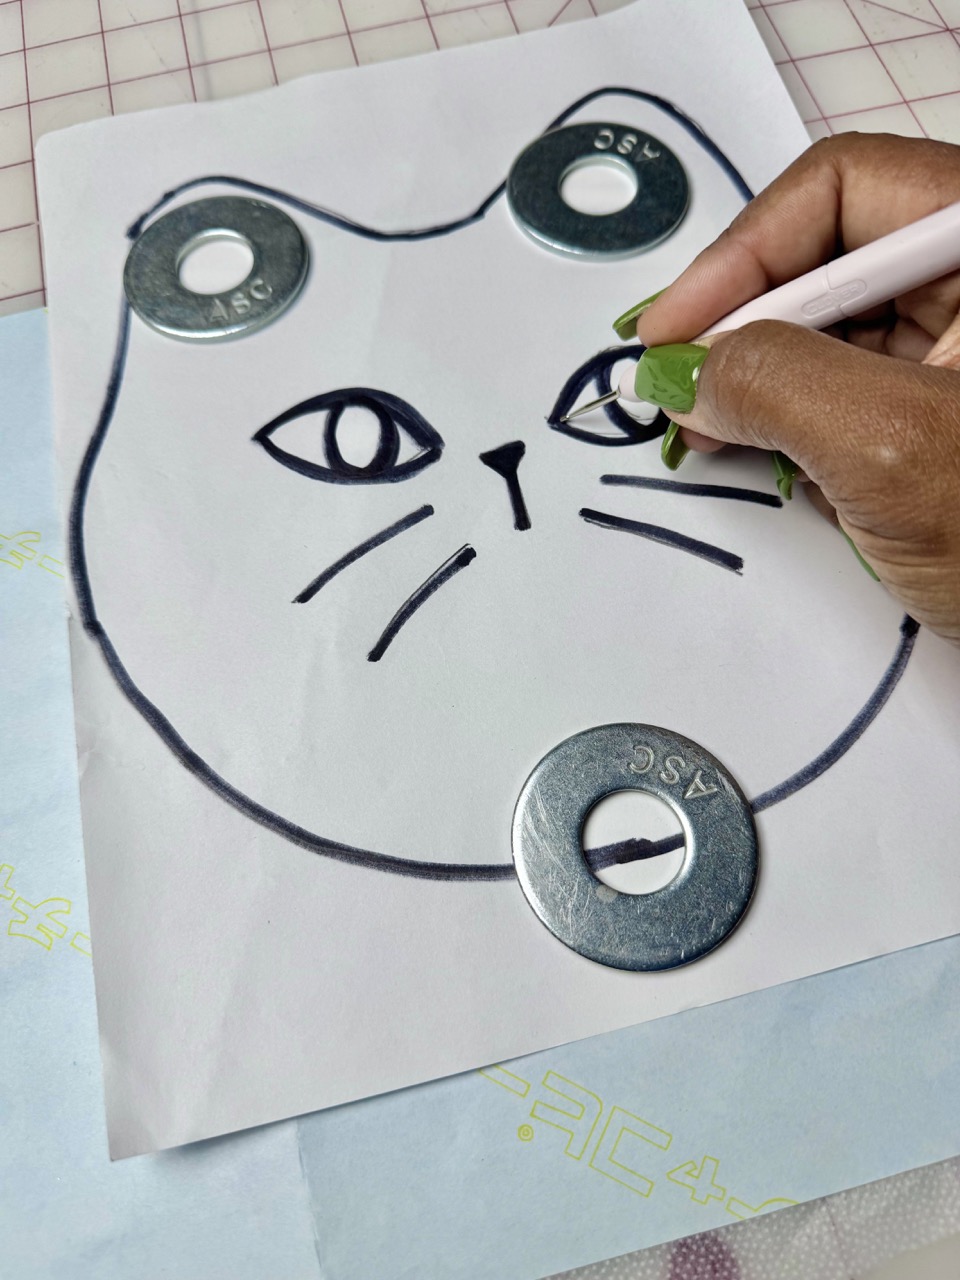
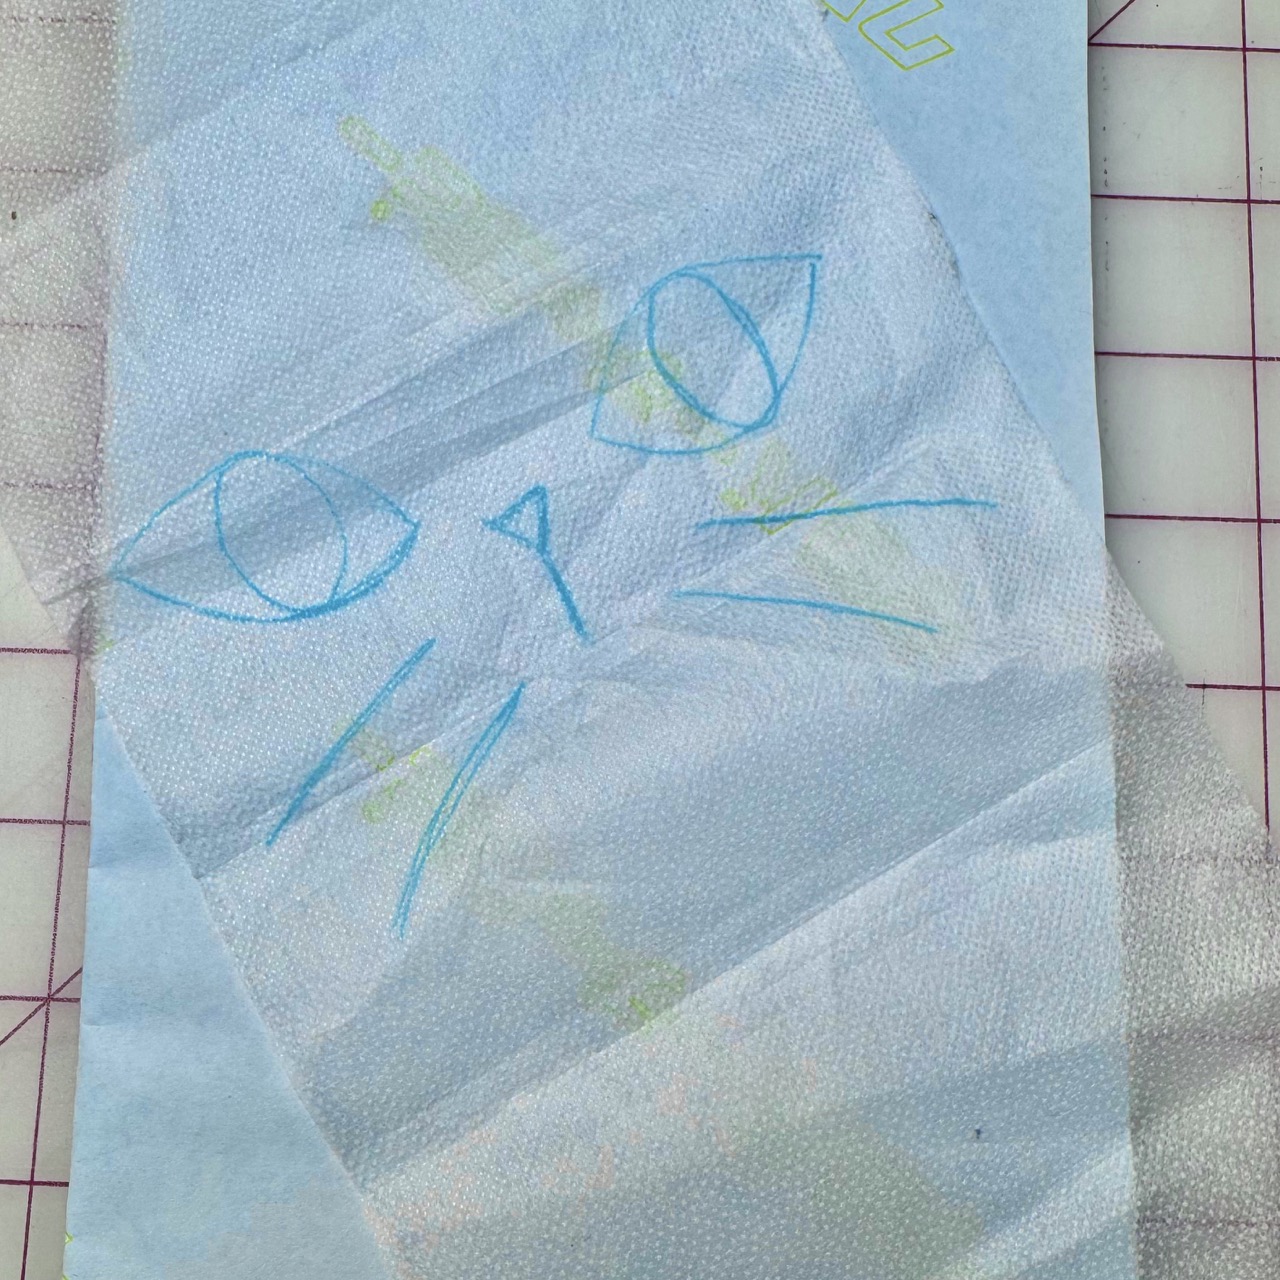
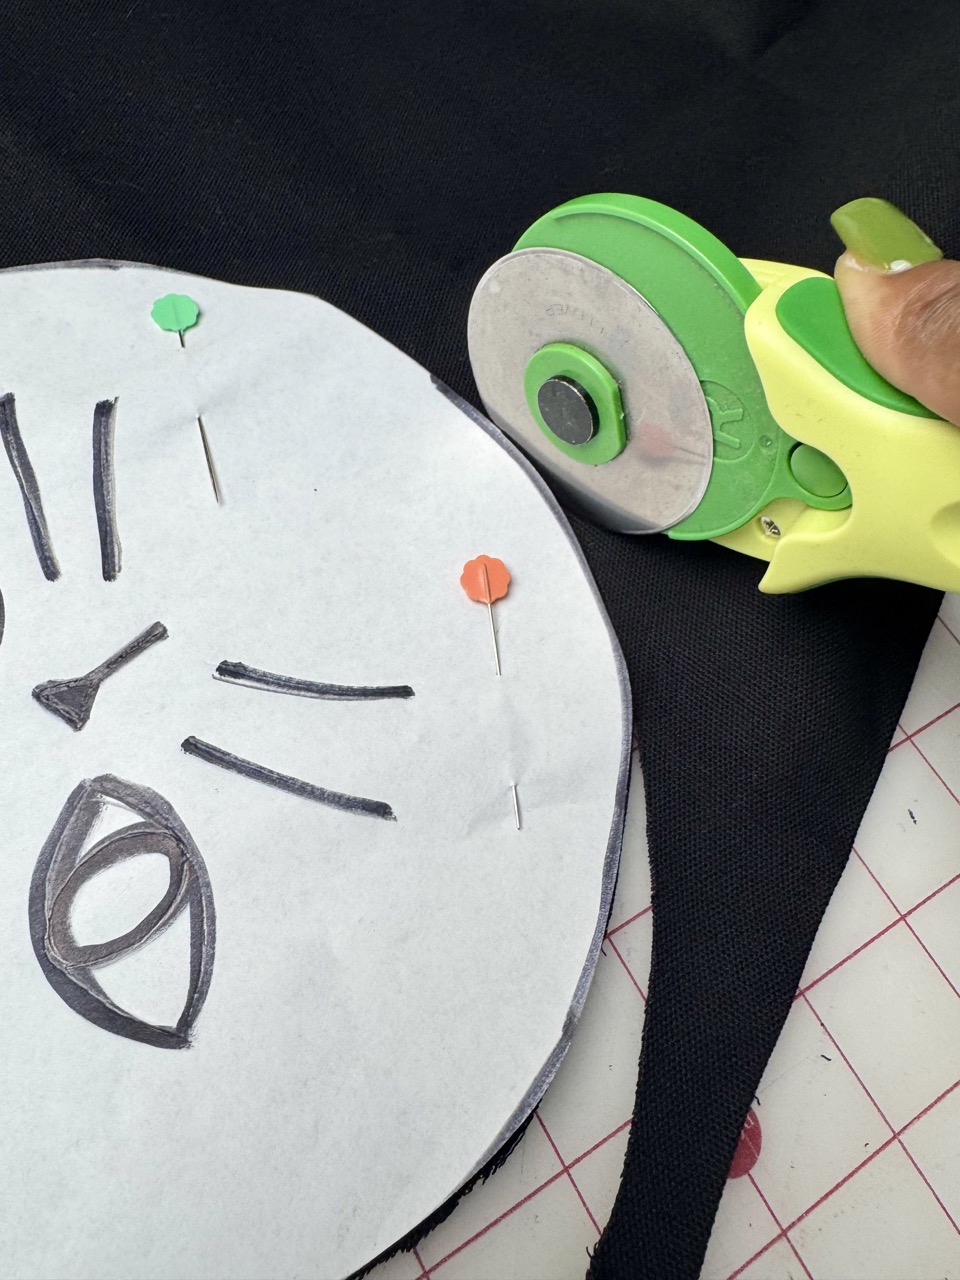
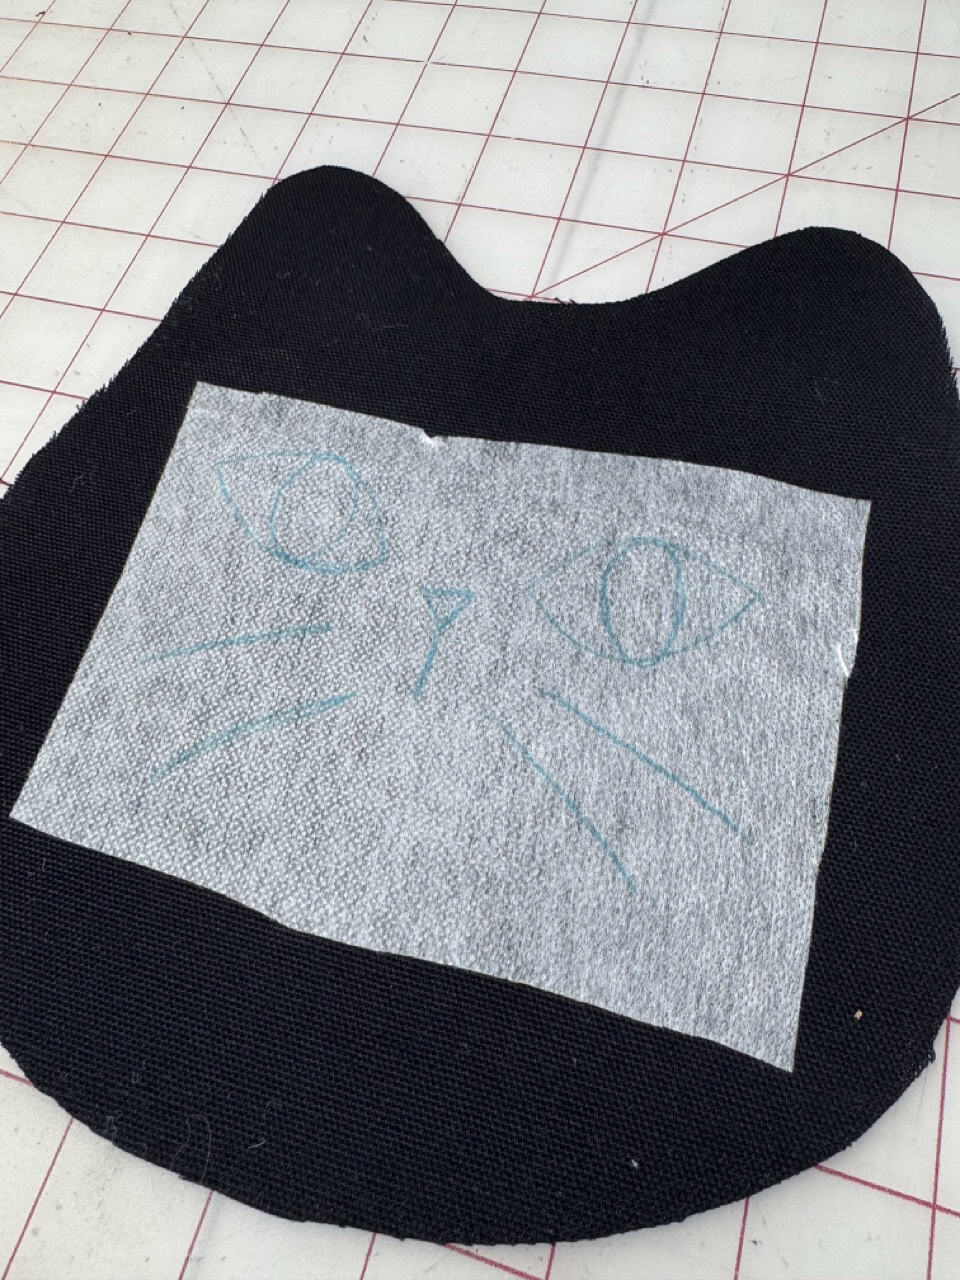
1) I found an image of a cat that I liked and I traced it. You can also freehand it! A circle and two triangles for ears would also suffice if you can’t find an image you would like to use. Feel free to use the pattern I provided in the materials! This is a great time to also trace the cat eyes, the cat nose, and cat whiskers onto the interfacing using the Clover Water Erasable Tracing Paper and Clover Double Tracing Tool.
2) Cut two pieces of the cat pattern (piece A) with the black fabric and one piece of batting and two pieces of the bottom half of the cat’s face (piece B) and one piece of batting to match. If you prefer a thicker potholder, layer two pieces of batting together. I cut my fabric using the Clover Rotary Cutter (60 mm) for smooth cuts and it does a great job at round edges.

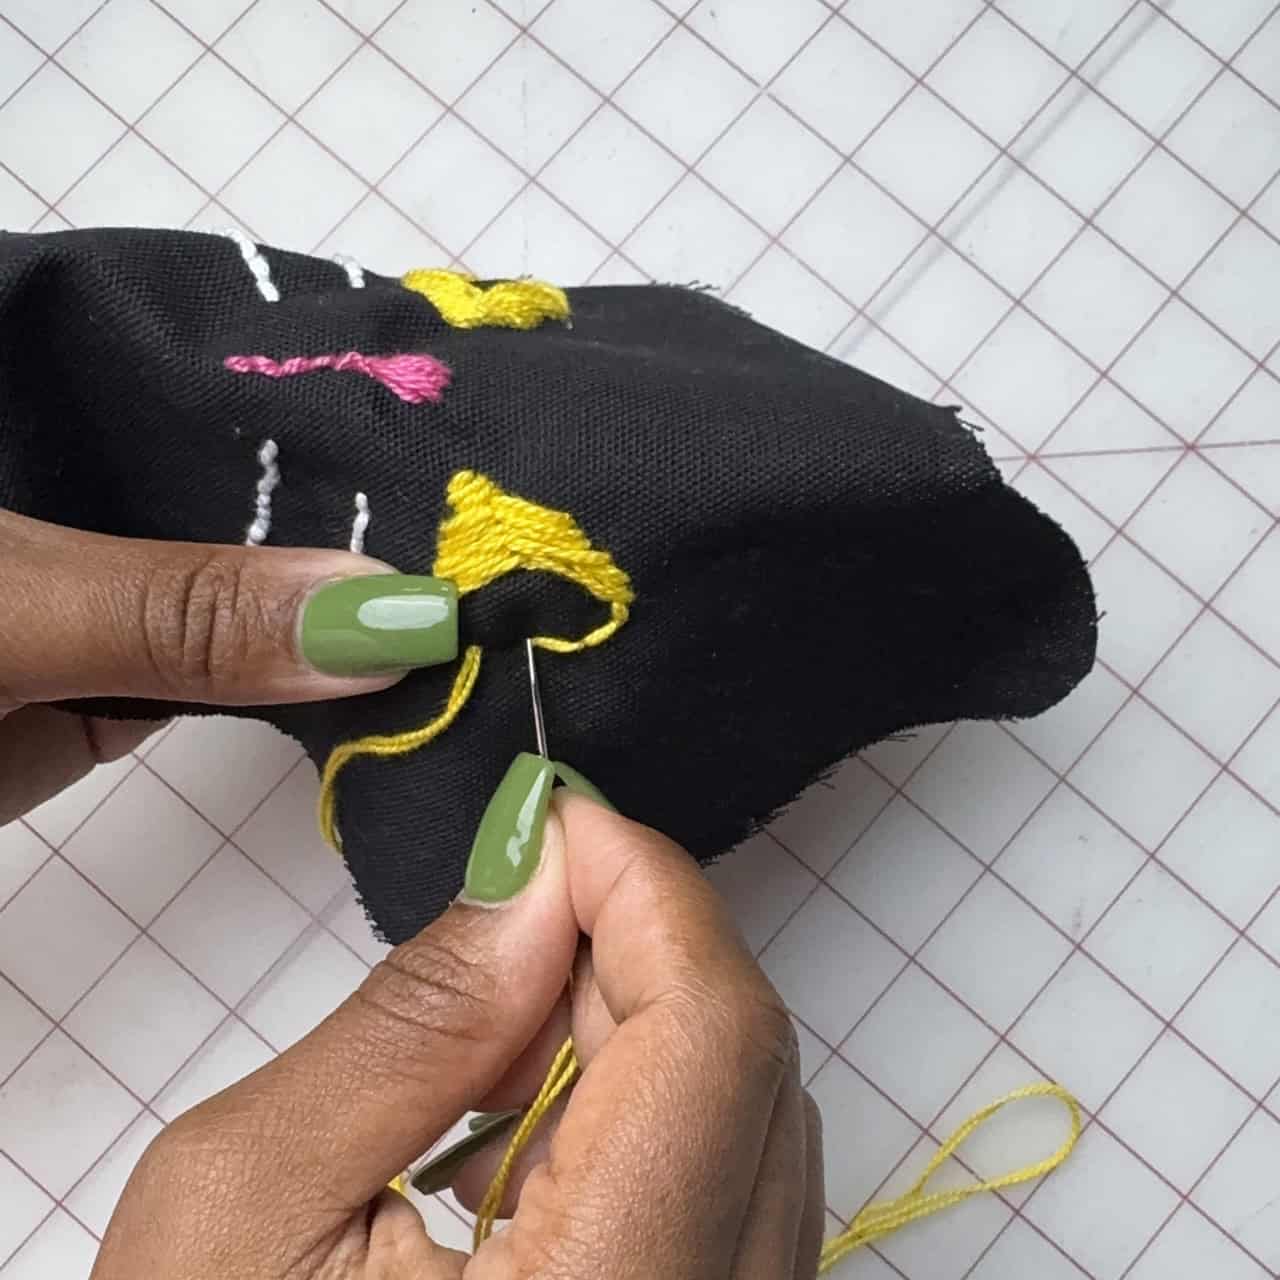
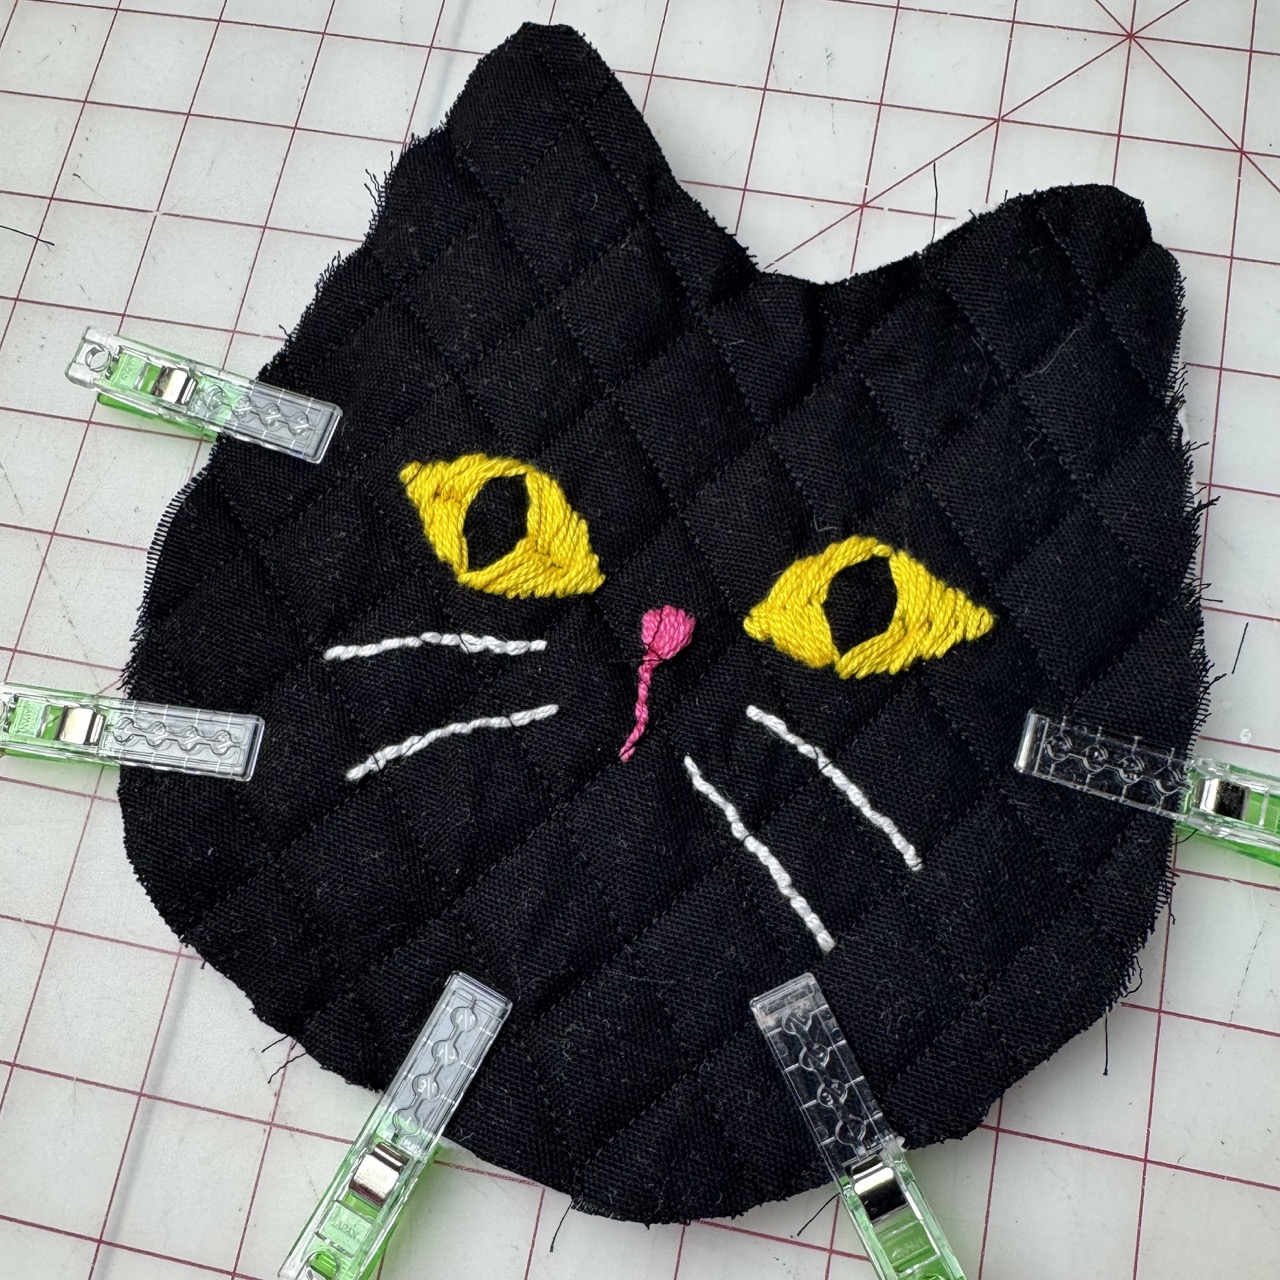
3) Before assembling, place the traced cat face onto the wrong side of one of the black cat pieces. Using Clover Embroidery Needles and Clover Darning Yarn, add the whiskers, the eyes, and the nose following the tracing guidelines. I used a backstitch to create the cat’s face. This adds both texture and a handmade touch.

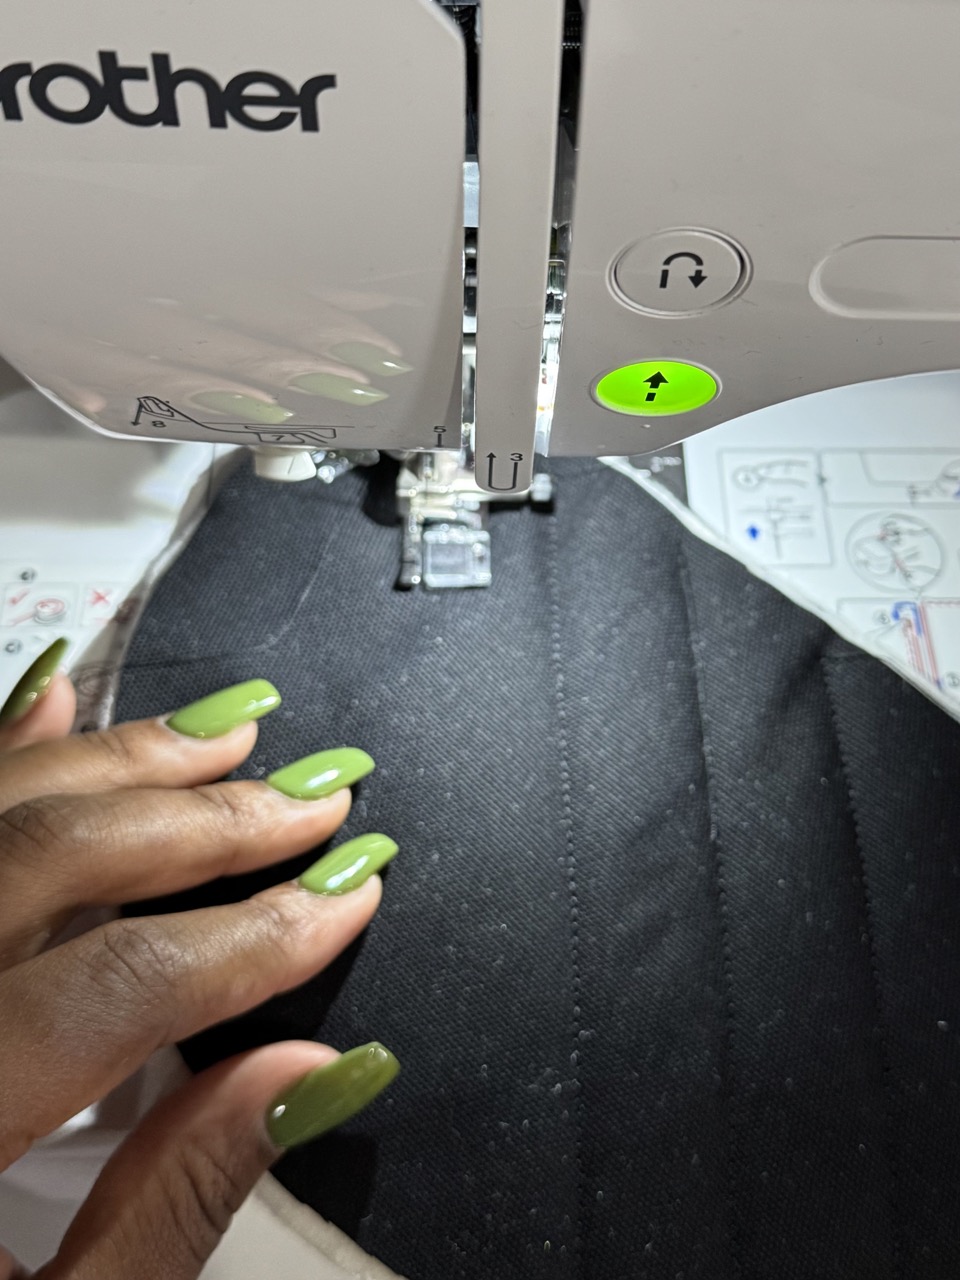
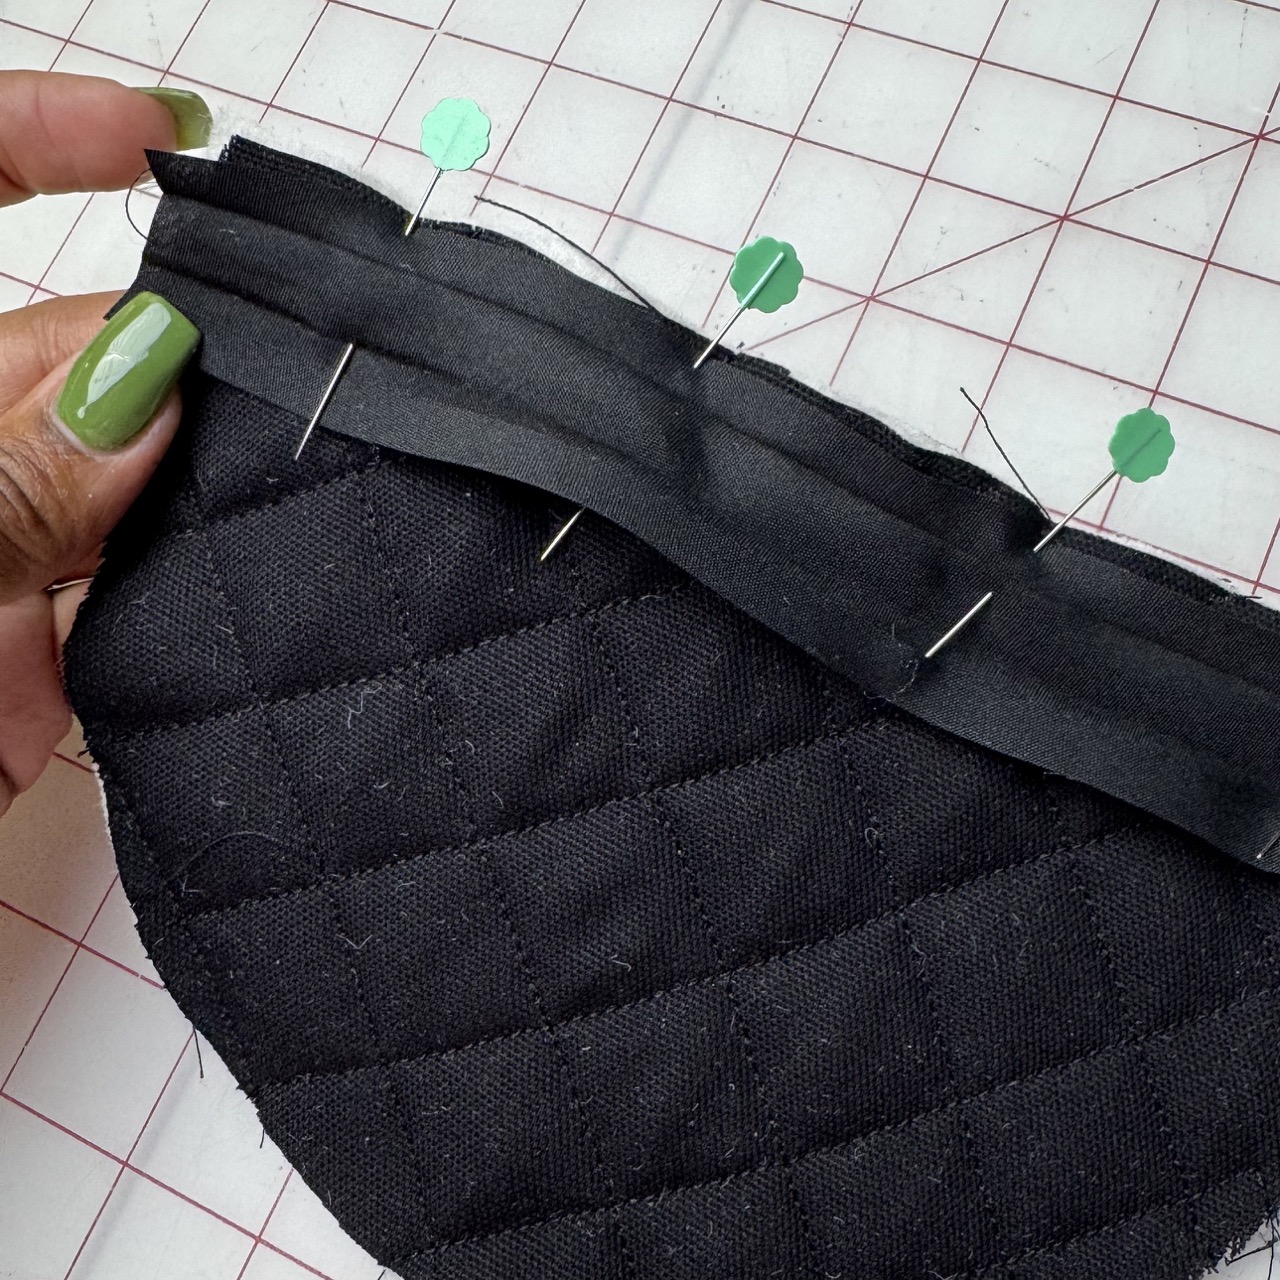
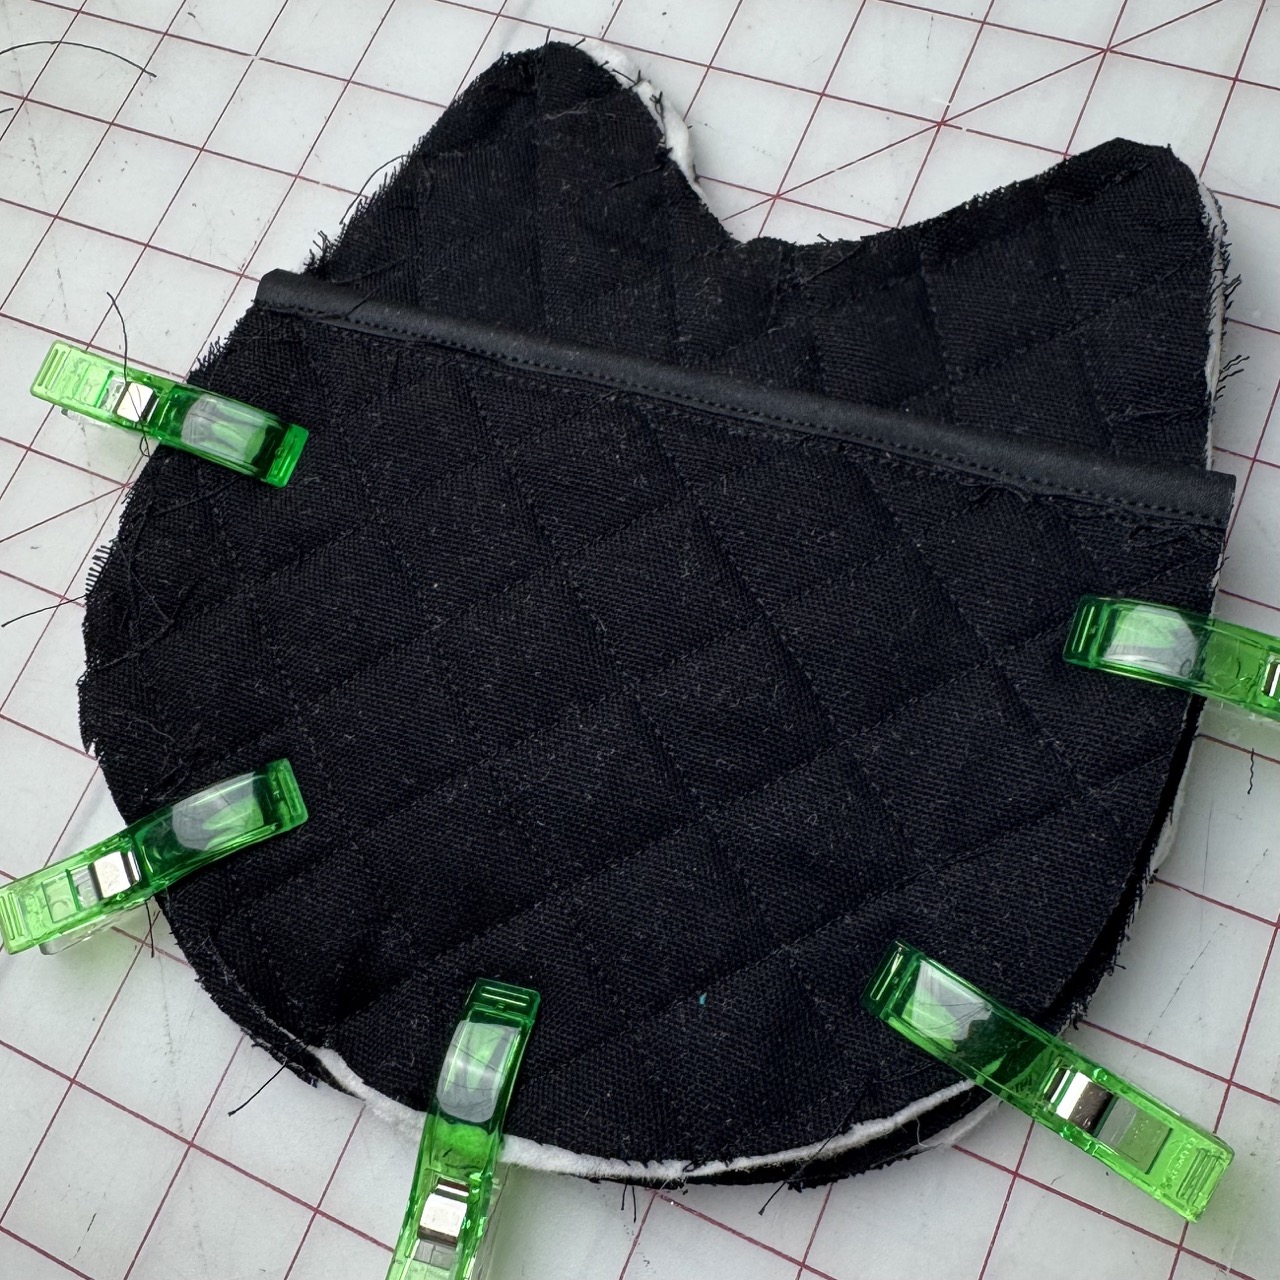
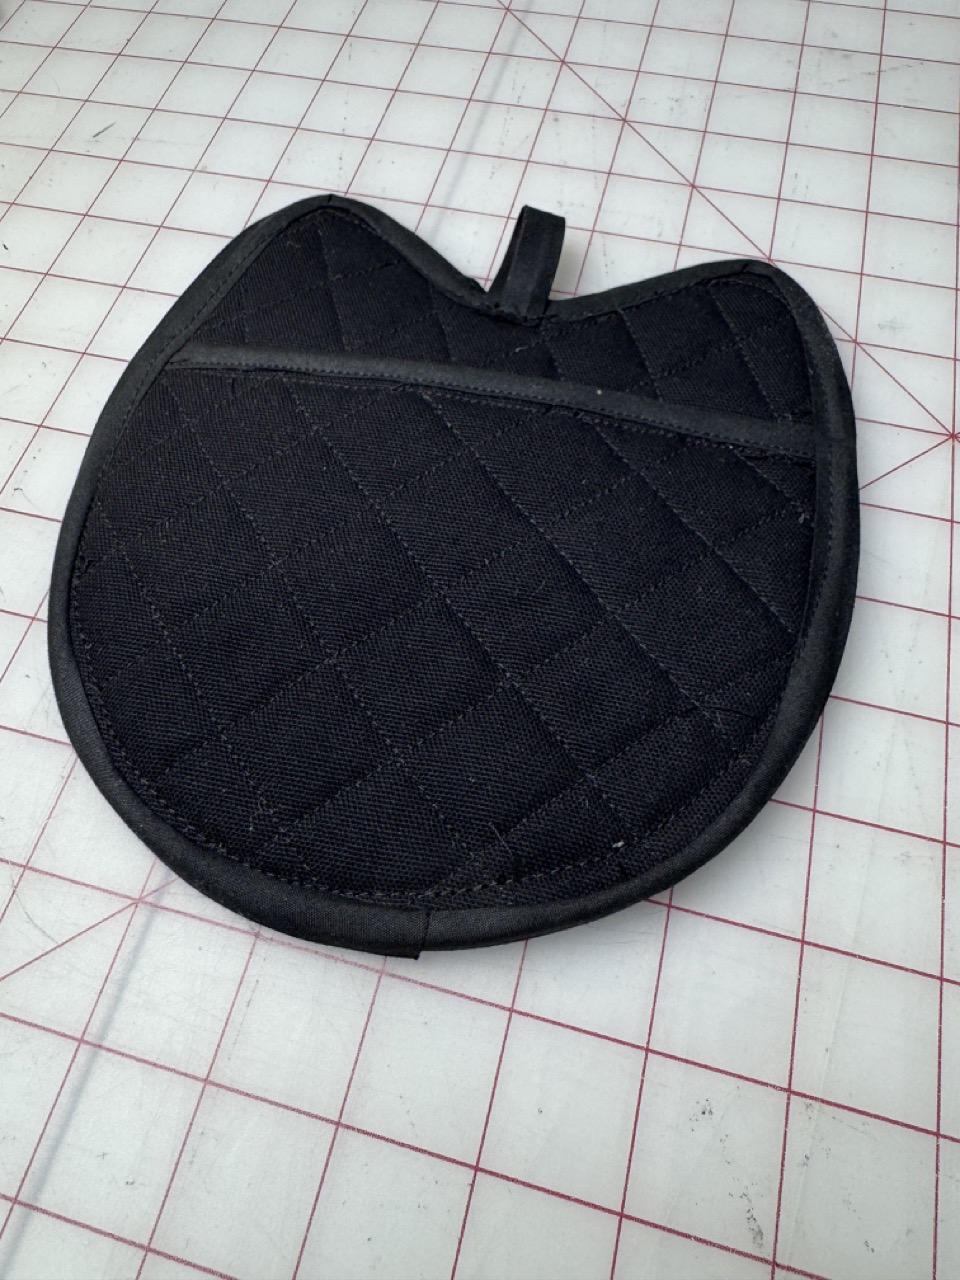
4) Sandwich the batting between both pieces of piece B. Add a quilt stitch to it. Add the double fold bias tape to the flat edge of piece B. Sandwich the batting between the black cat pieces. Then place piece B to the back of the piece A. Make sure all edges align neatly. Secure the layers with Clover Wonder Clips or Clover Flower Pins around the edges to prevent shifting while sewing.
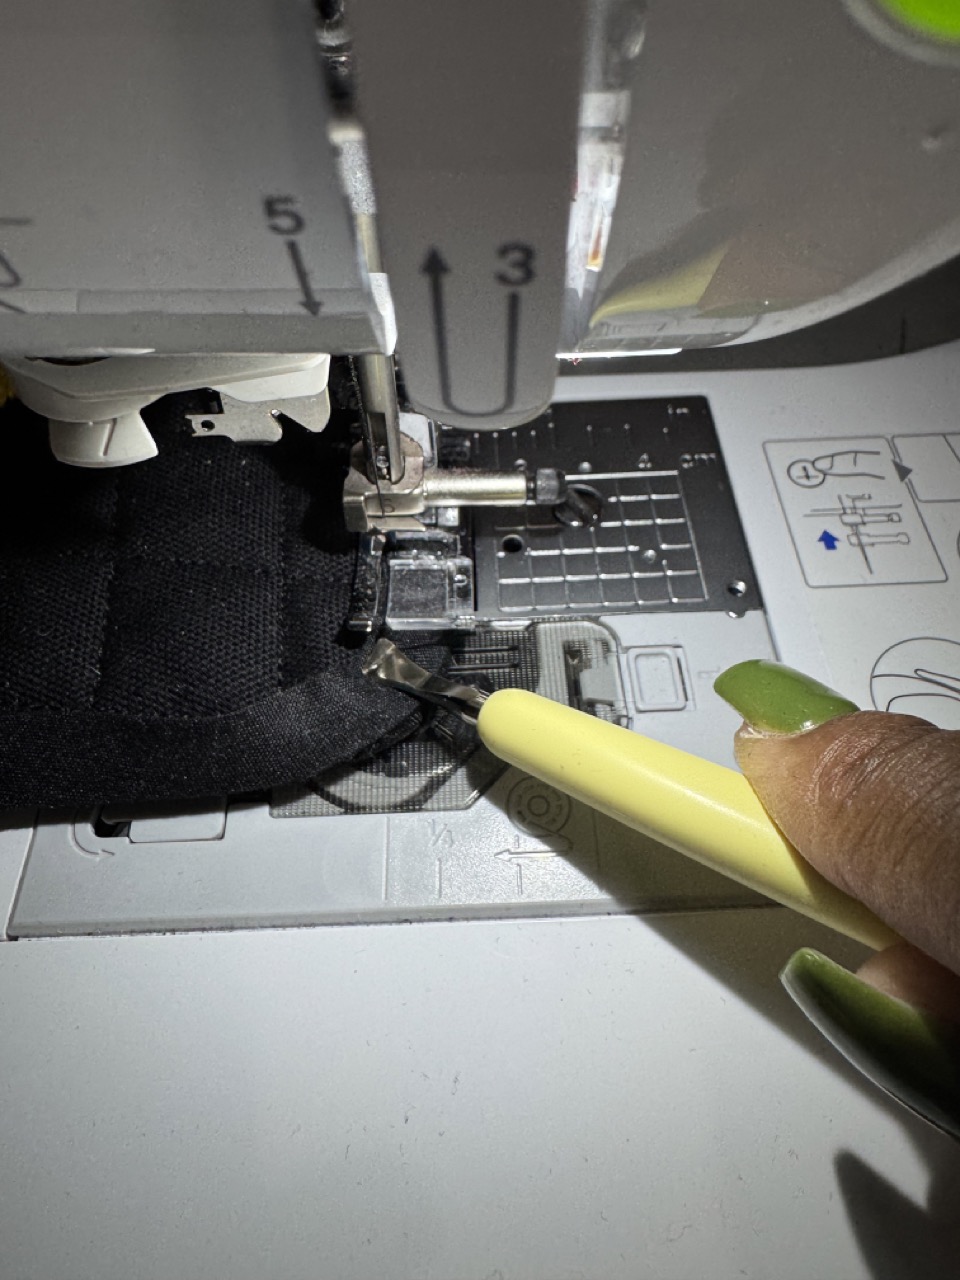
5) Sew around the potholder using a ¼-/inch seam allowance. Place the double fold bias tape around the entire cat shape. I used the Clover Metal Hera with Stylus to hold the bias tape in place and it worked wonders! Fold a small strip of fabric into a loop and stitch it into one corner of the potholder for easy hanging.
There’s something special about handmade pieces that carry a bit of the season’s spirit. Whether you make one for yourself or as a thoughtful gift, I hope this project inspires you to slow down, get creative, and enjoy the spooky season. 🙂 Happy sewing everyone!
If you want to keep up with me, Duana, on social media for other fun projects, follow me on social media: Instagram
If you want to keep up with all things Clover, follow us on: Facebook | Twitter | Instagram | Pinterest | YouTube | Ravelry