DIY Christmas Ornaments Tutorial
Hi! I’m Cataleya, and today I’m going to show you how I made two cute 3D Christmas ornaments — a candy cane and a Christmas tree! These are super fun, beginner-friendly projects, and I used my favorite Clover tools to help me sew everything neatly.
MATERIALS (candy cane ornament):
- two 10×10 cotton fabric pieces
- striped fabric cut on a 45° angle
- fiber fill (or scrap fabric!)
- jute ribbon 2-3″
- thread to match
MATERIALS (Christmas tree ornament):
- 7×7 green floral cotton (front)
- 7×7 cream flannel (back)
- fiber fill (or scrap fabric!)
- velvet ribbon 2-3″
- thread to match
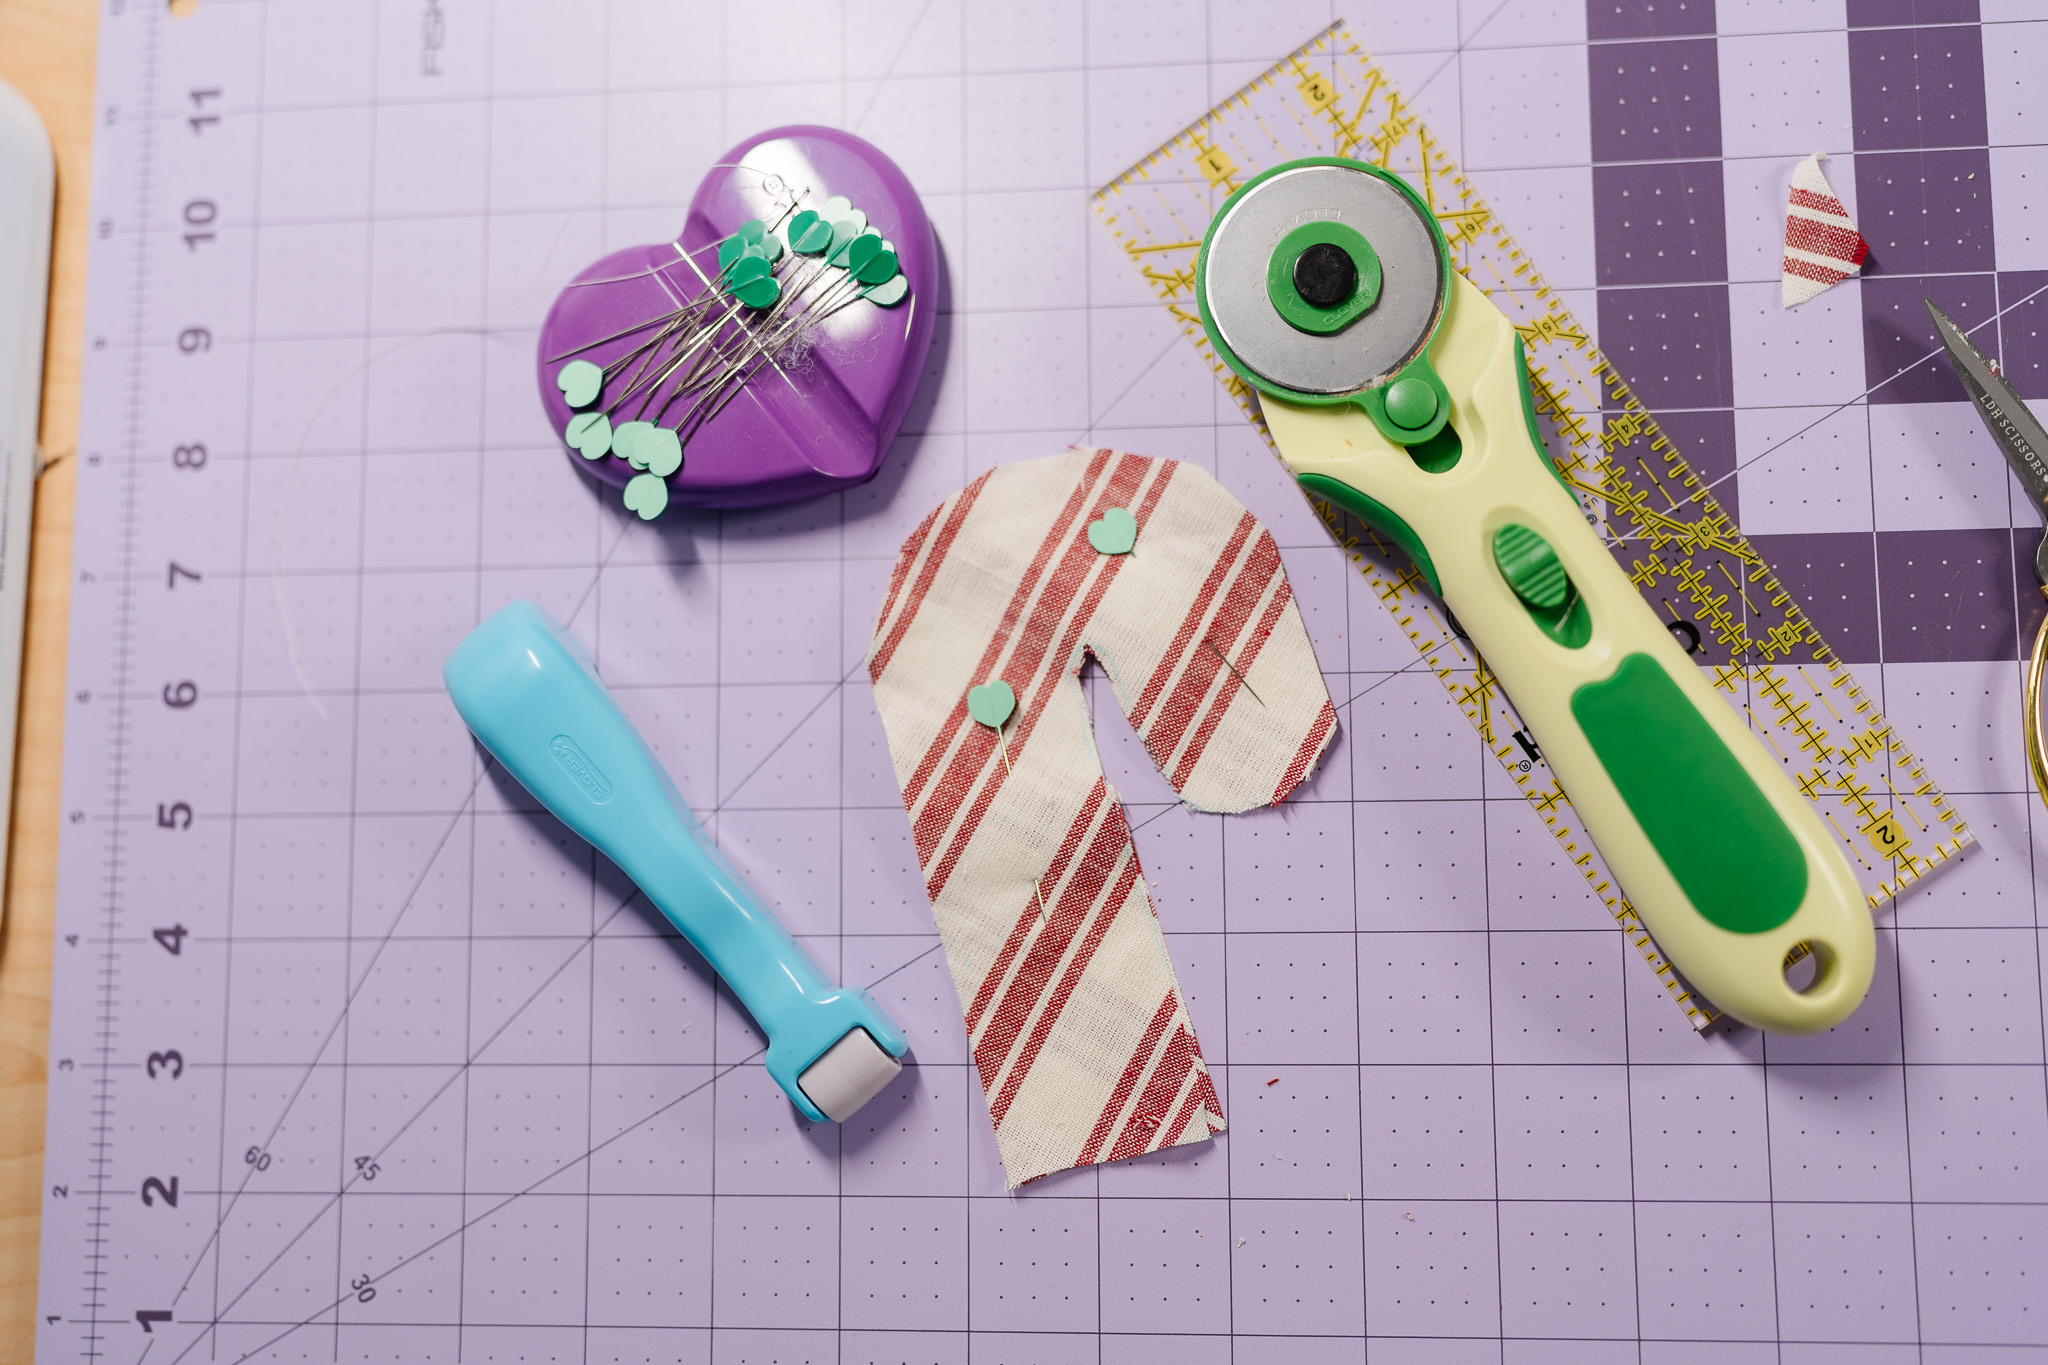
- Rotary Cutter
- Water Erasable Tracing Paper
- Double Tracing Tool
- Wonder Clips
- Heart-Shaped Pins
- Patchwork Scissors (mini)
- Magnet Pin Caddy
- Wonder Clips
- Wonder Pins
- Point Turner
- Seam Ripper
- ruler
- heat pen
CANDY CANE ORNAMENT TUTORIAL:
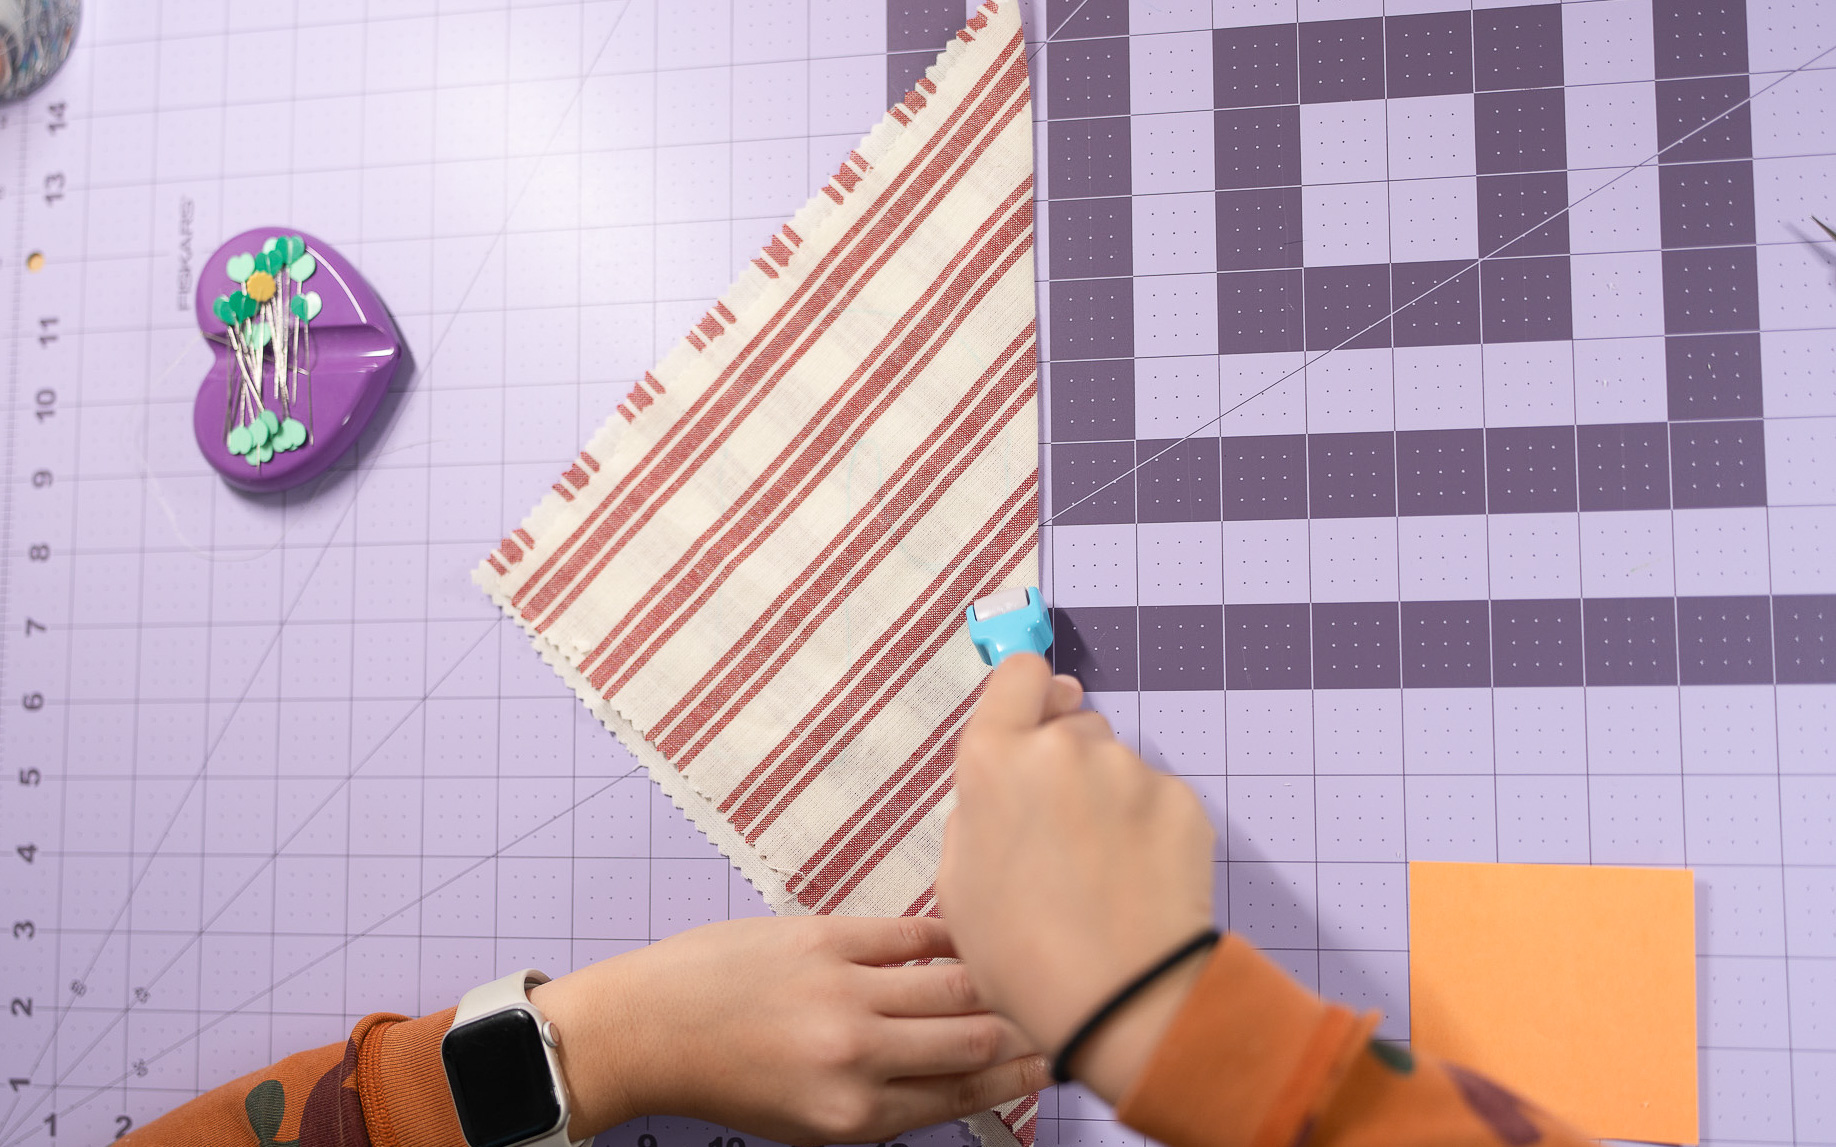
- Step 1: Positioning the Front Fabric at 45°
- Cataleya wanted her candy cane stripes to be diagonal, so she laid ONLY her striped 10×10 fabric on her cutting mat and rotated it until it lined up at a 45° angle using the mat’s grid. She did not do this with both layers — just the front piece.
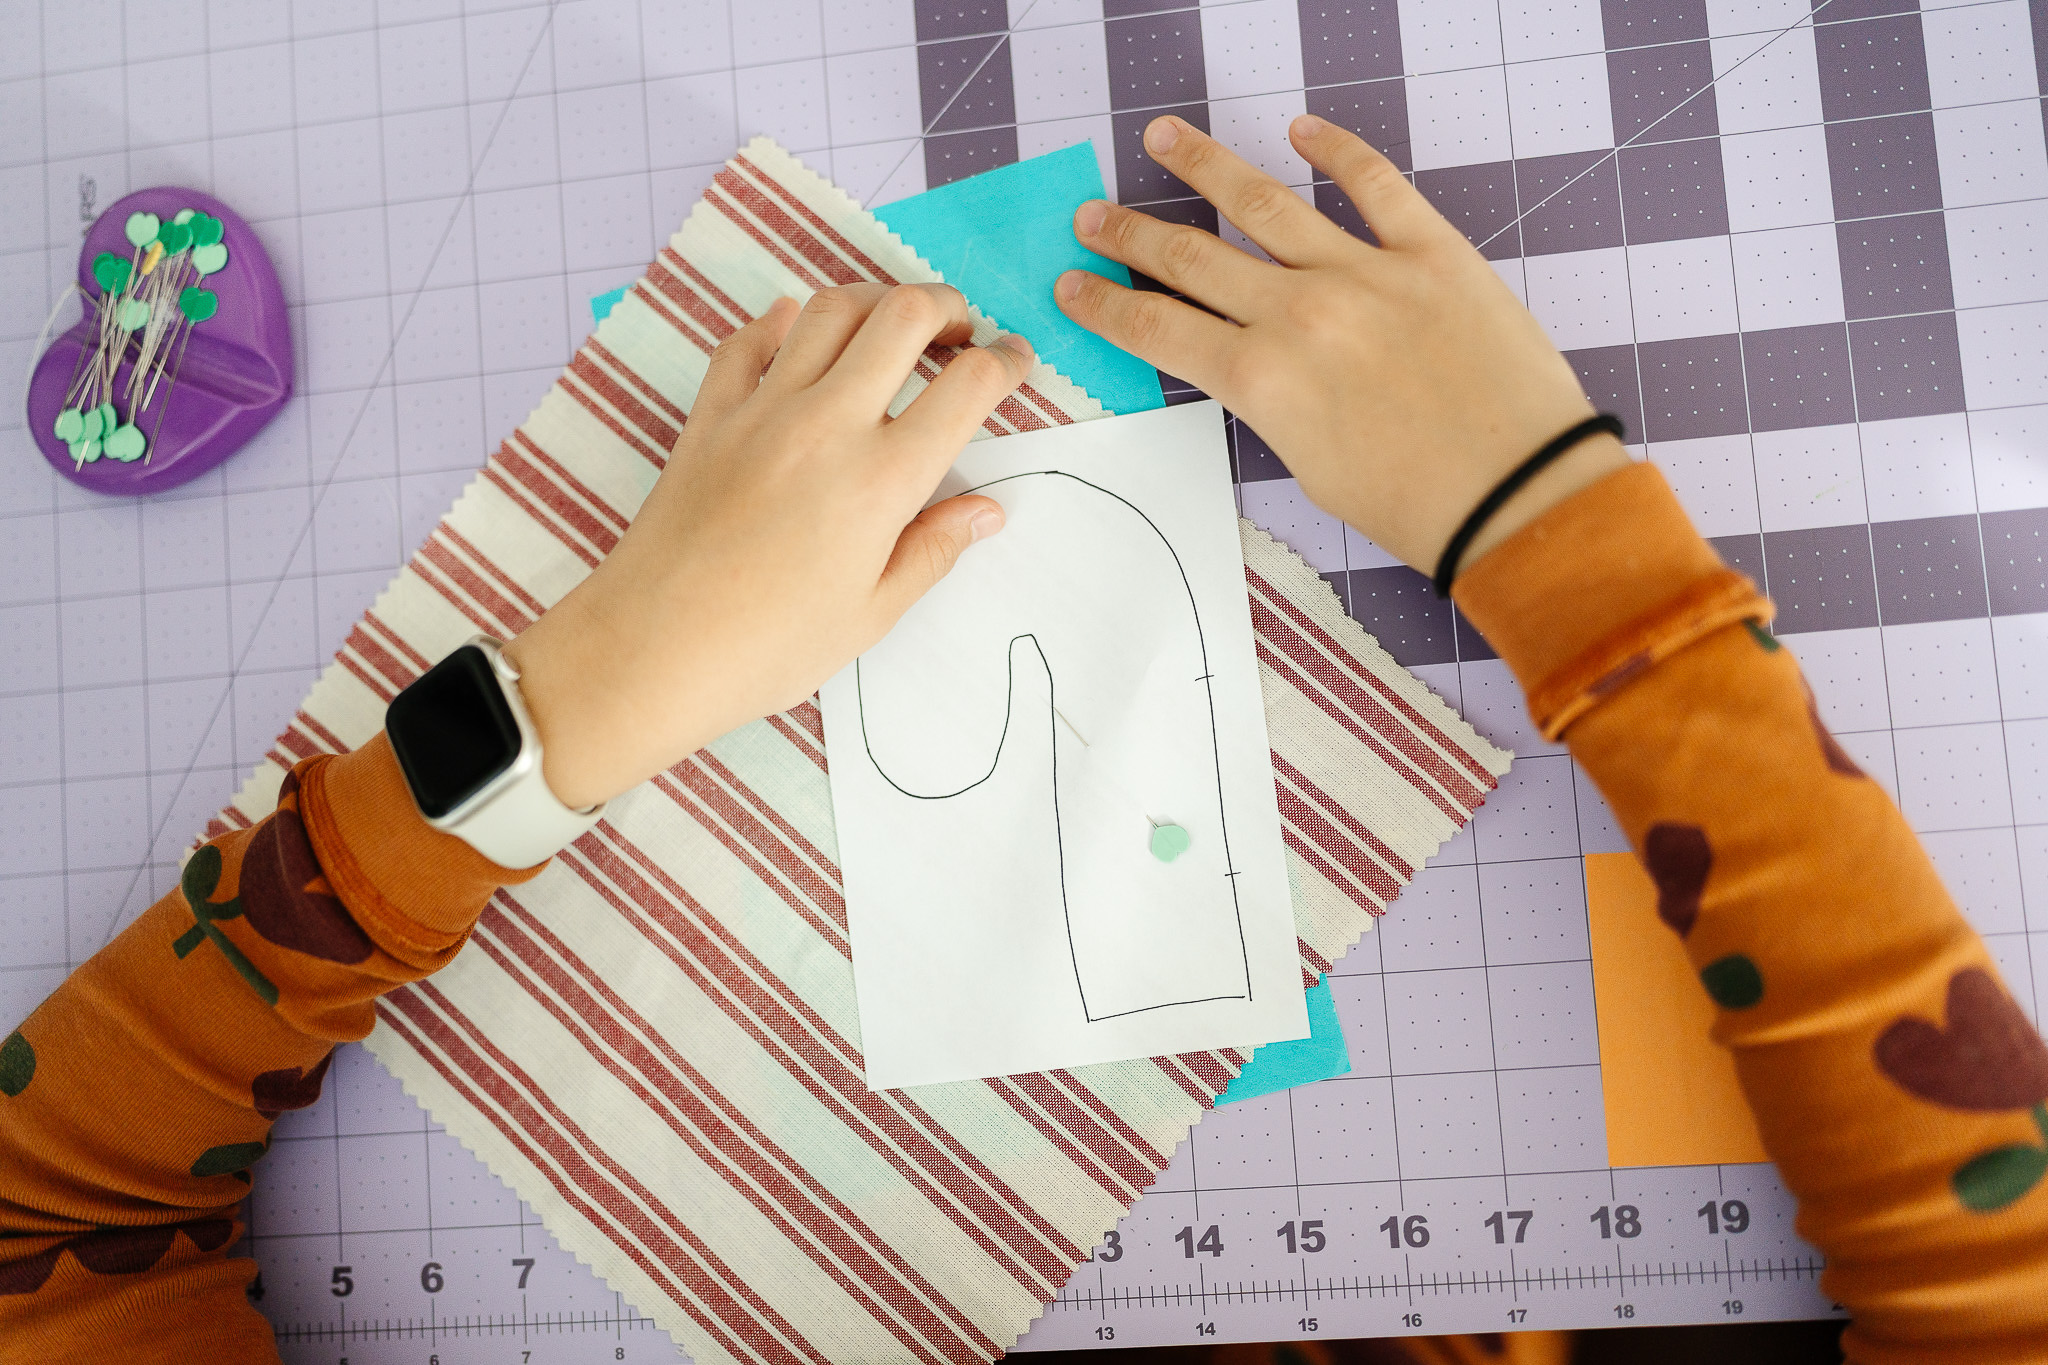
- Step 2: Placing the Pattern at the Edge
- She hand-drew her candy cane silhouette using a black marker. Then she placed her drawing near the edge of the 10×10 striped fabric. This gave her room to fold and cut later without wasting fabric.
- Step 3: Tracing on the WRONG Side of the Fabric
- Here’s the exact stack she created:
- Water Erasable Tracing Paper
- Striped fabric on top, wrong side facing down
- Her candy cane drawing on top of the fabric
- Using her Double Tracing Tool , she traced the outline. She traced the silhouette using the Double Tracing Tool , and the markings transferred cleanly onto the WRONG side of the striped fabric — exactly where her cutting line needed to be.
- Here’s the exact stack she created:

- Step 4: Folding the Fabric So Both Layers Match
- After tracing, she folded the striped piece (with the traced outline)
- She aligned the edges and made sure she could still see the traced outline clearly enough through the top piece when she pinned.
- This allowed her to cut BOTH layers in the exact same shape.
- Step 5: Cutting the Candy Cane Shape
- She used Heart-Shaped Pins first, just to keep both pieces from shifting while she cut.
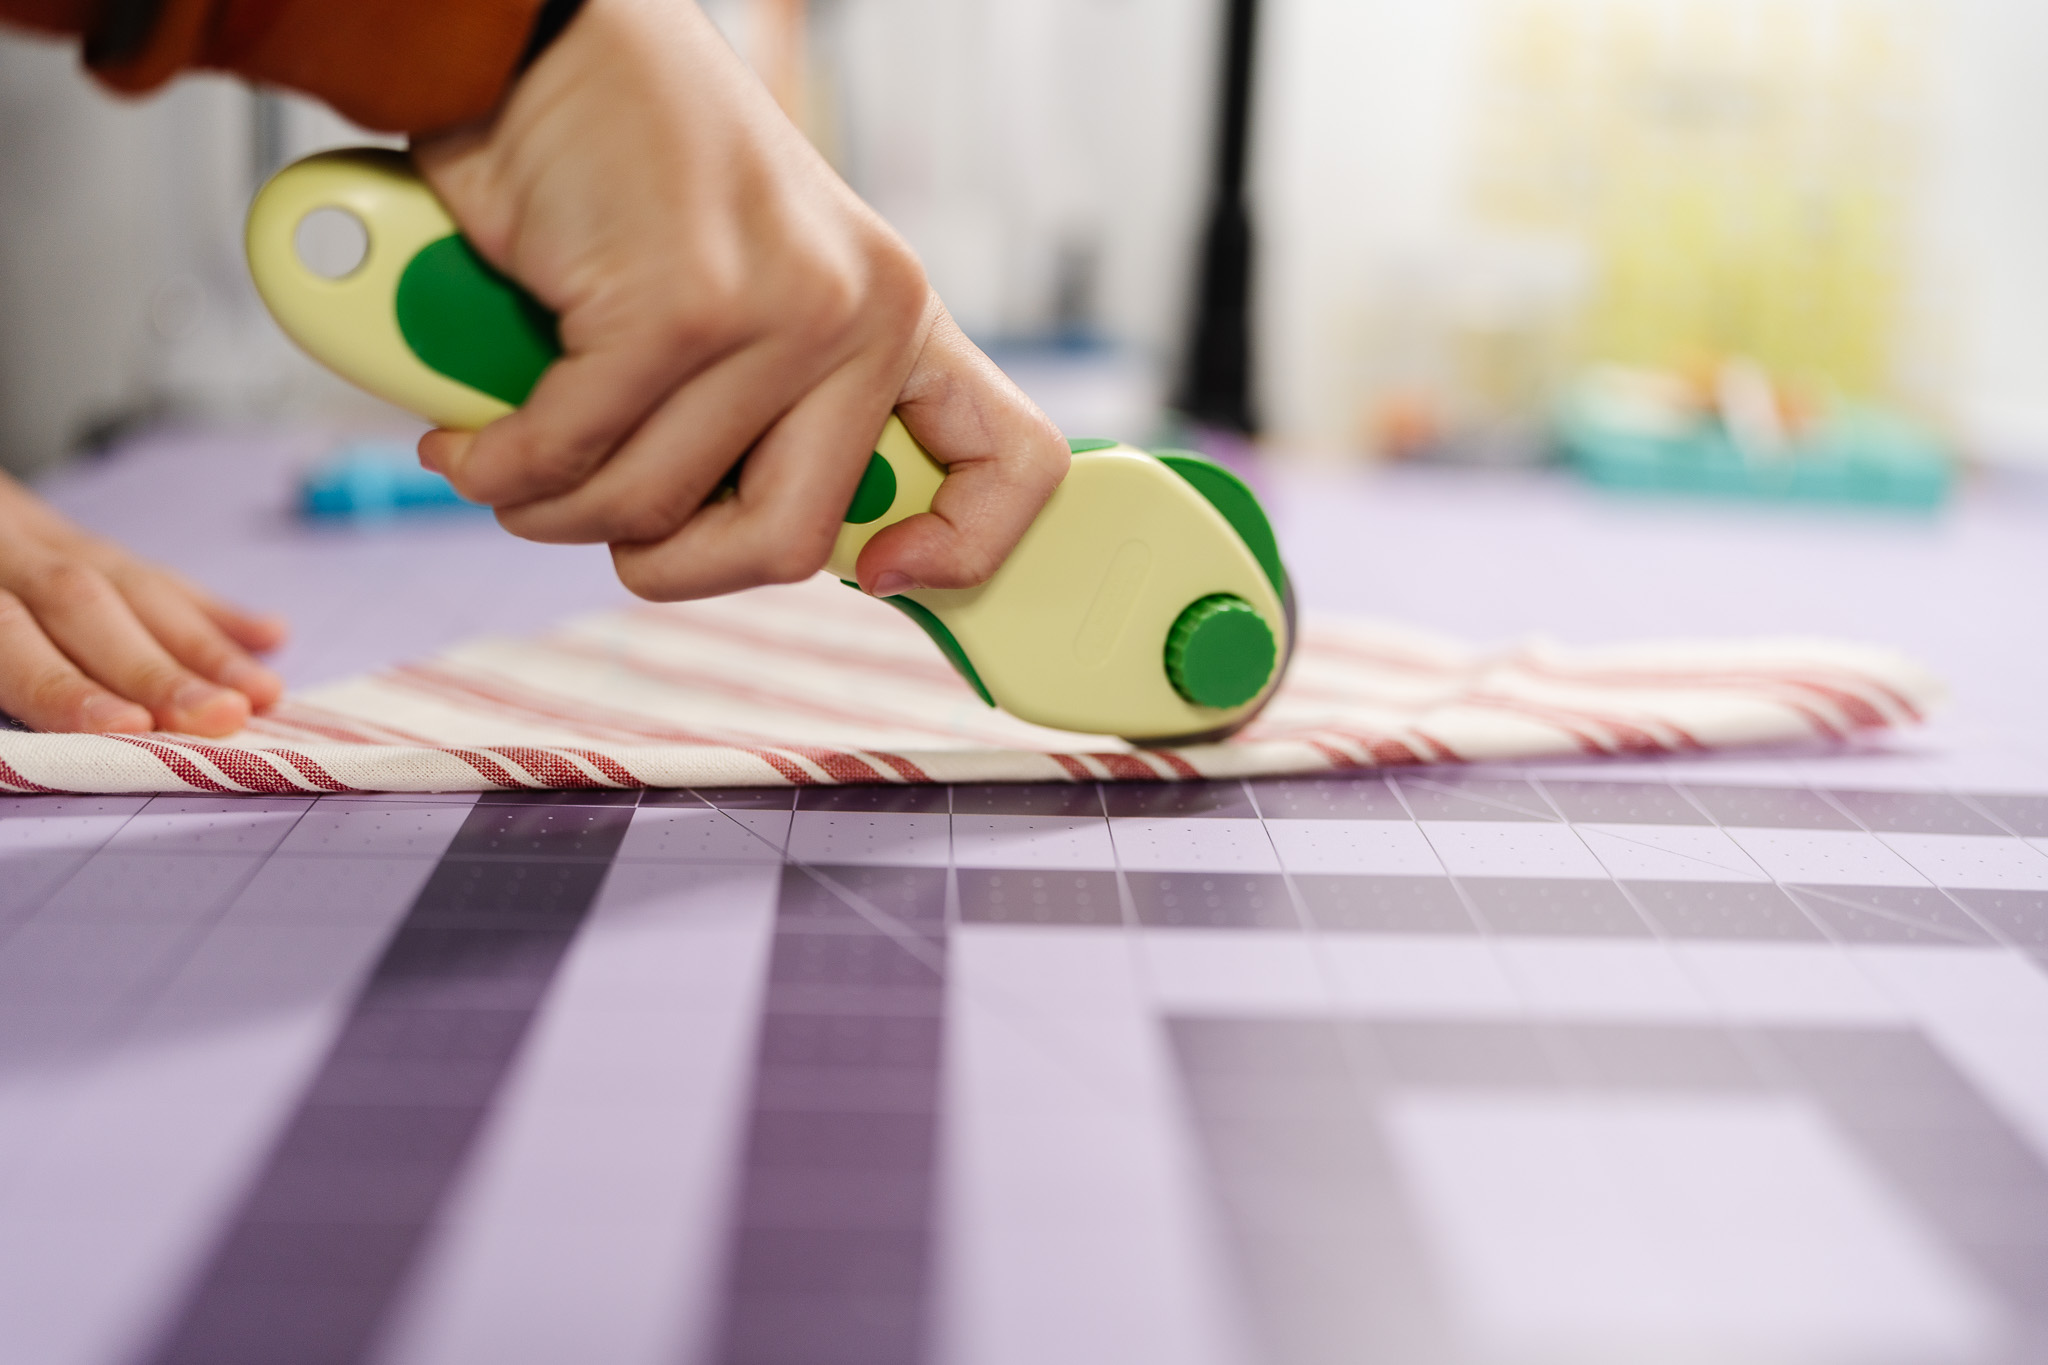
- She lined her ruler along any straight parts of the candy cane outline.
The ruler acted as a safety barrier so her fingers stayed protected while she used the Rotary Cutter to slice the straight edges cleanly. - When she reached the curved areas of the candy cane, she switched to her scissors and carefully cut along the curves following her traced lines.
- After cutting, she left the Heart-Shaped Pins in, then added Wonder Clips around the edges.
The clips helped prevent shifting while sewing, especially on the tighter curves.

- Step 6: Add the Loop
- Fold the ribbon into a loop and tuck the raw ends between the two fabric layers at the top curve of the candy cane.
- Make sure the raw ends are positioned inside the seam allowance, with the loop pointing upward.
Secure the placement with a Wonder Clips so it stays in place during sewing. - This method lets the loop be stitched directly into the seam, giving the ornament a clean, finished look.
- Step 7: Sewing 1/8″ From the Edge
- Cataleya stitched 1/8 inch outside the candy cane shape, following the curves all the way around.
- She left a 3-inch opening on the side of the candy cane — not the bottom — so she could turn it right-side out and add stuffing.

- Step 8: Turning + Stuffing
- She turned the candy cane right-side out through the 3″ side opening.
Using her Point Turner , she gently pushed out the curves and smoothed the edges so the shape looked clean. - Then she stuffed the candy cane until it felt full and puffy. Scrap fabric works perfectly too if you don’t have poly-fill!
- She turned the candy cane right-side out through the 3″ side opening.

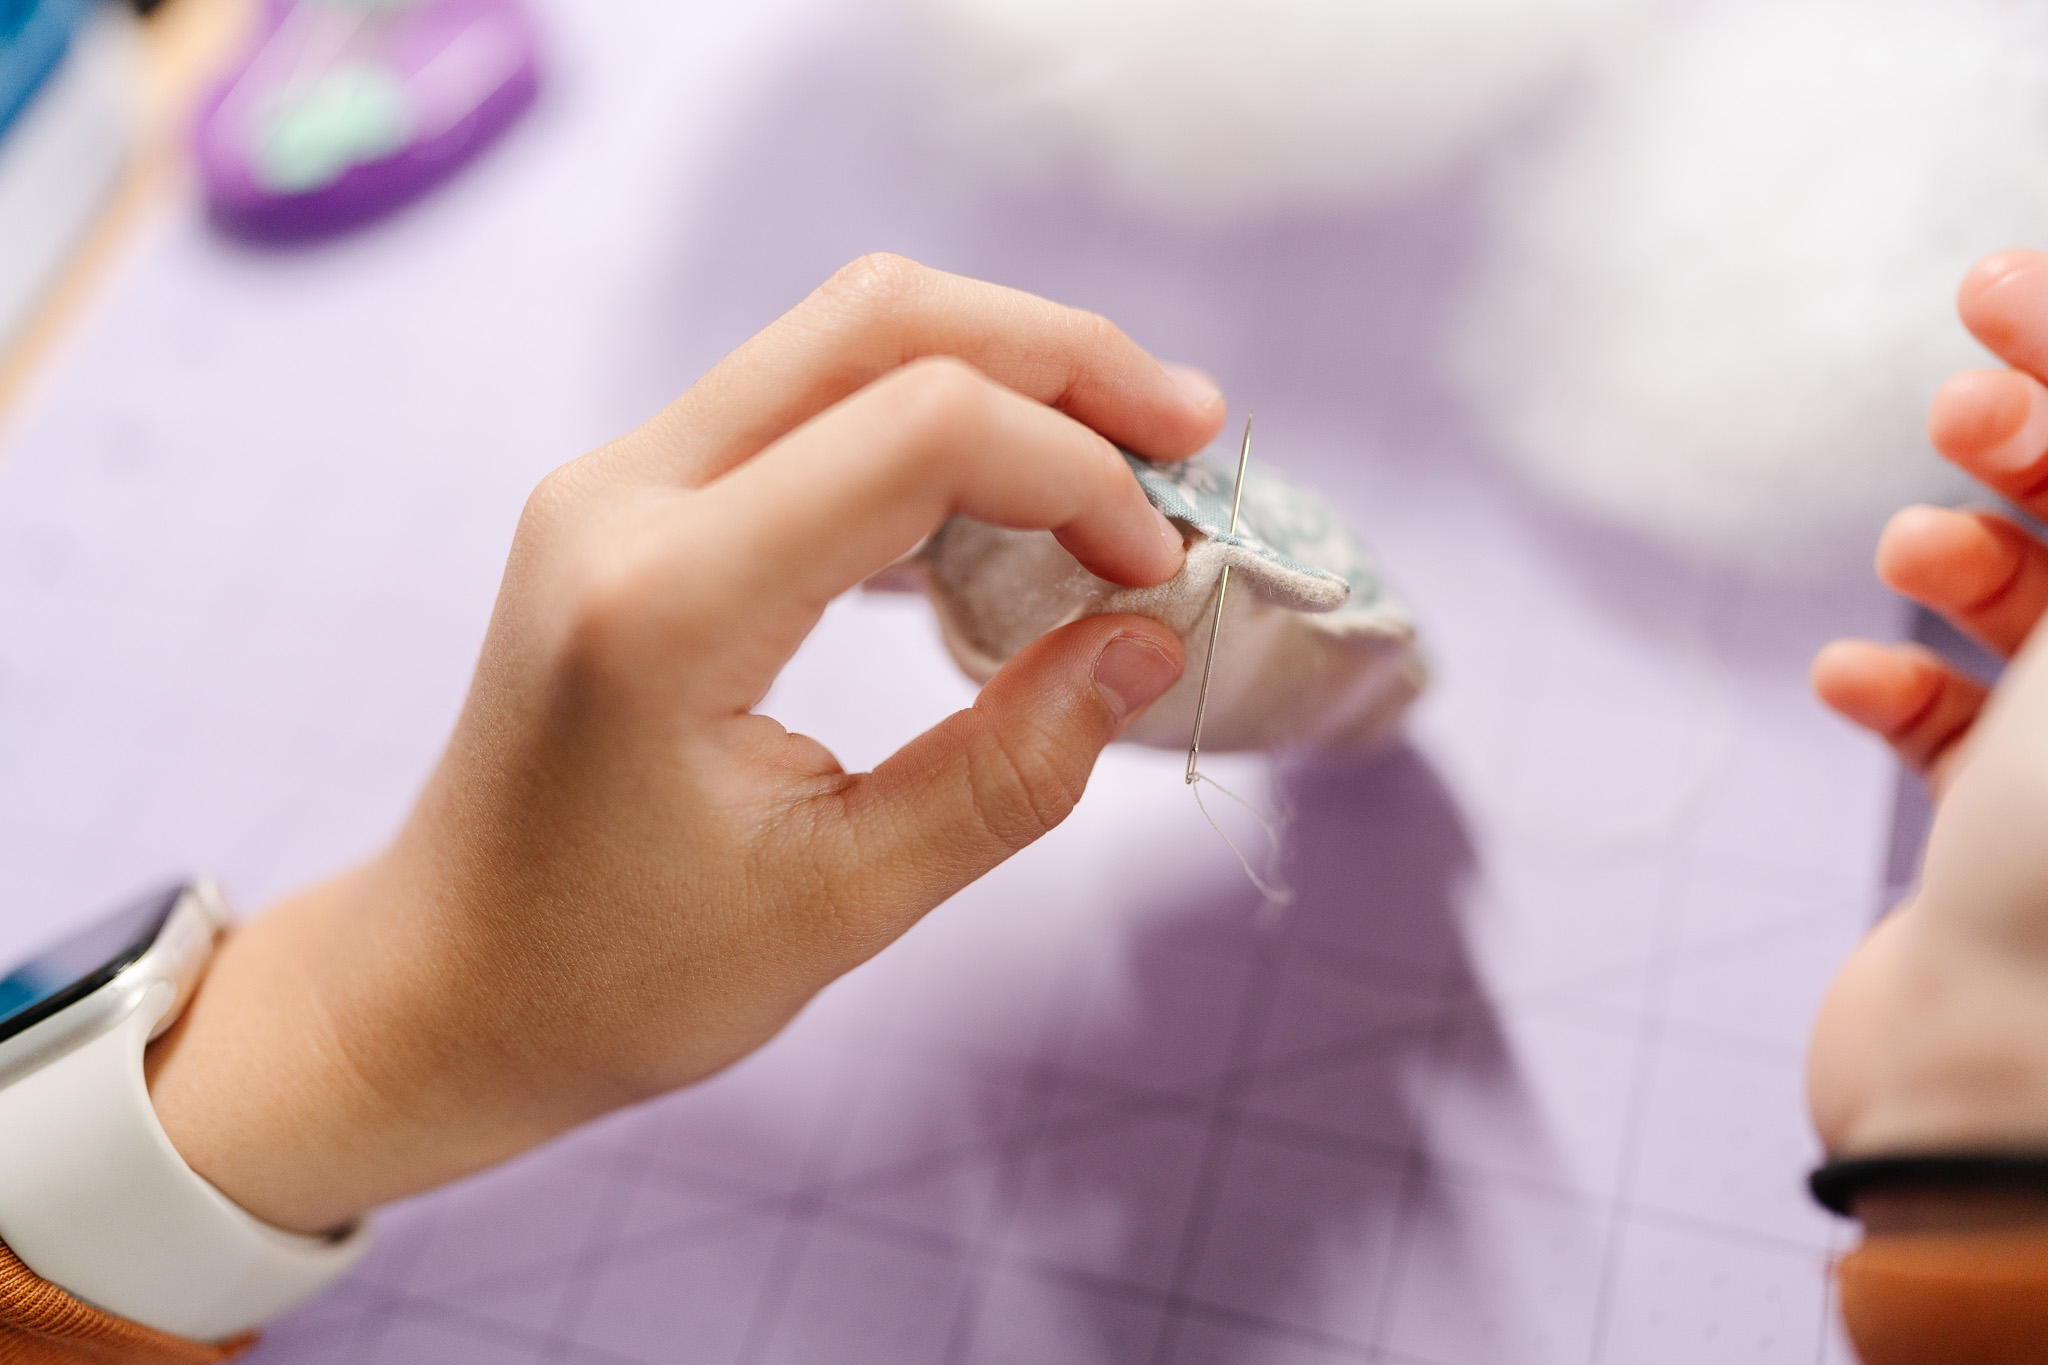
- Step 9: Hand-Sewing the Opening Closed
- She used neat individual stitches (like a tiny ladder stitch) to close the opening.
CHRISTMAS TREE ORNAMENT TUTORIAL:
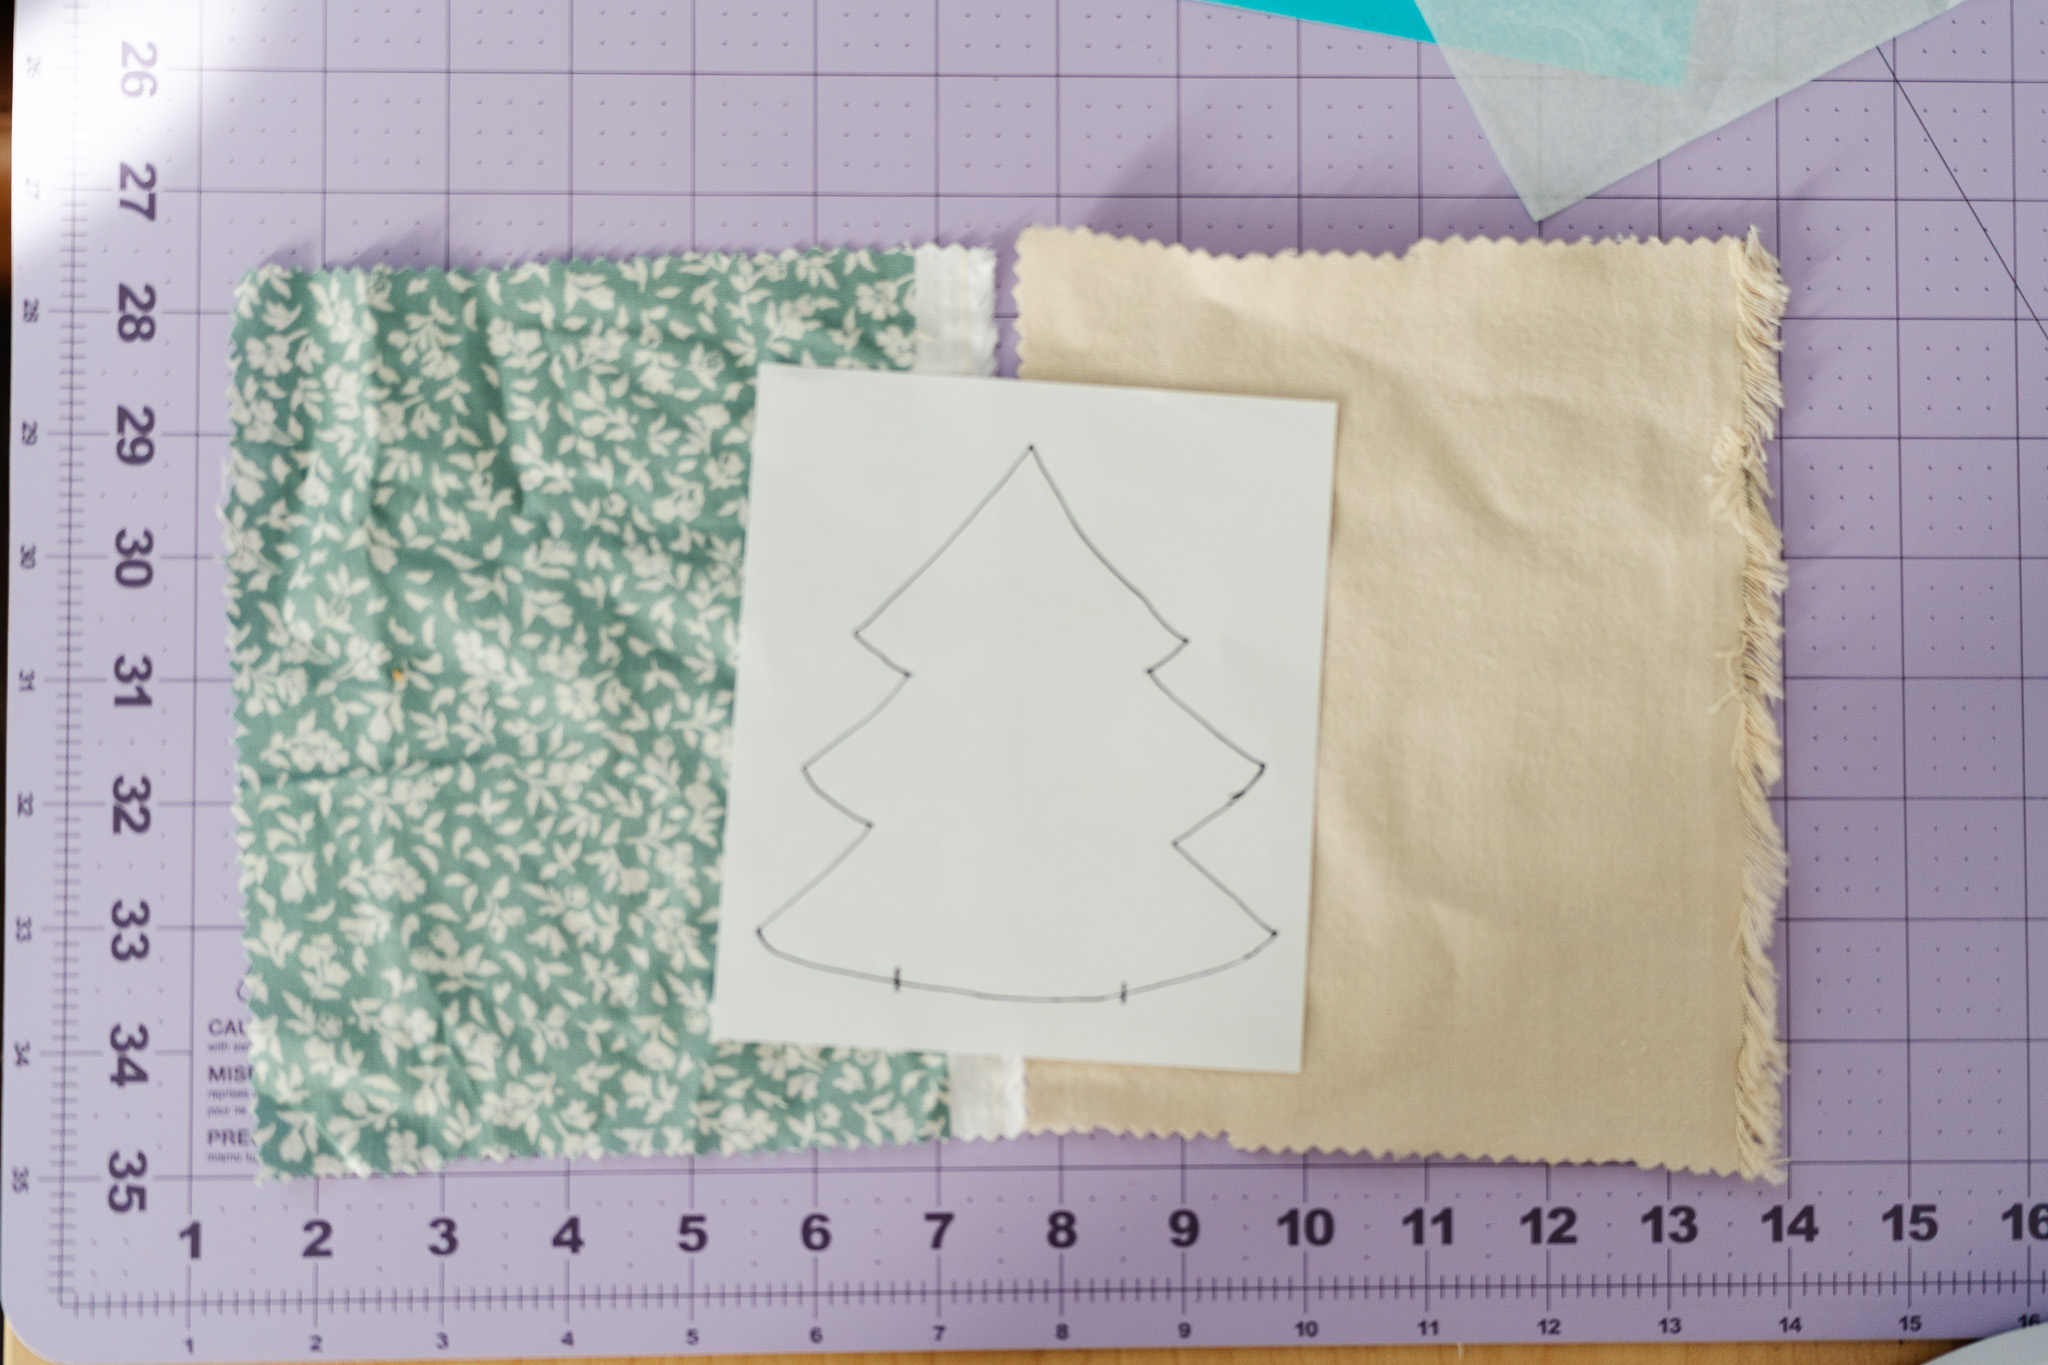
- Step 1: Preparing the Front and Back Fabrics
- For the tree ornament, Cataleya used:
- 7×7 green floral cotton for the front
- 7×7 cream flannel for the back
- She placed both pieces right sides together to check that the edges aligned before tracing.
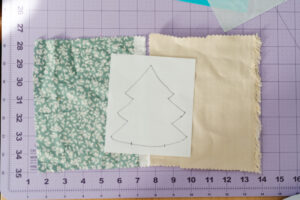
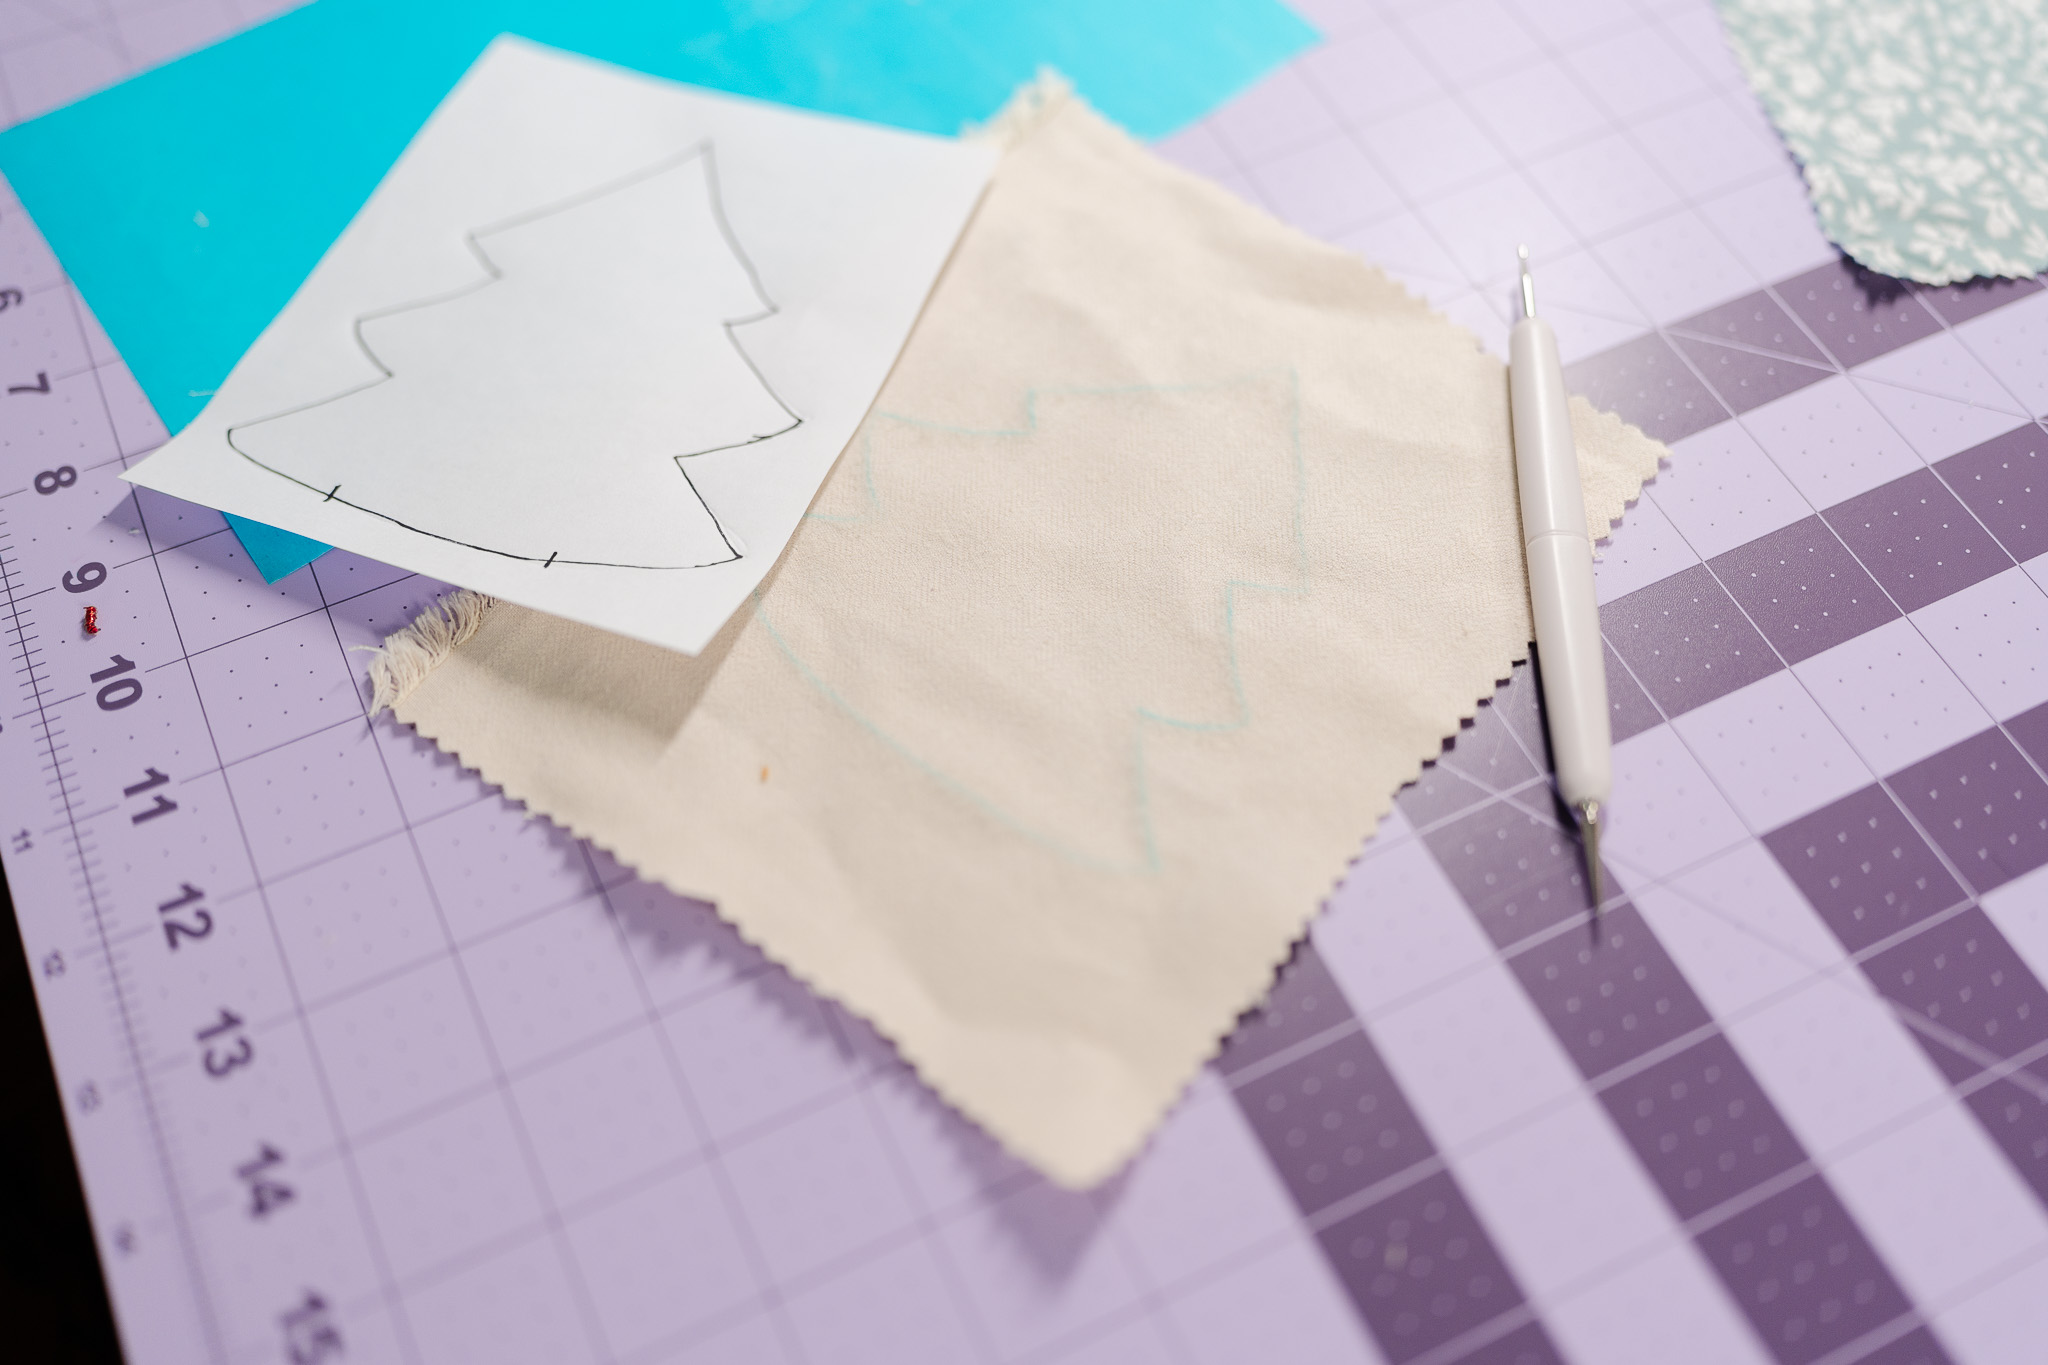
- Step 2: Tracing the Tree Shape
- For the tree, Cataleya started by hand-drawing her own Christmas tree silhouette on a separate sheet of paper using a black marker. This became her template.
- She used the same tracing method as above from the candy cane steps.
- She placed her Water Erasable Tracing Paper underneath the fabric, positioned her tree template on top, and—using her Double Tracing Tool —traced around the entire shape.
The markings transferred neatly onto the wrong side of the green floral cotton, giving her a clean cutting line to follow. - She repeated this same tracing process on both the floral cotton and the cream flannel so the shapes would align perfectly when cutting and sewing.


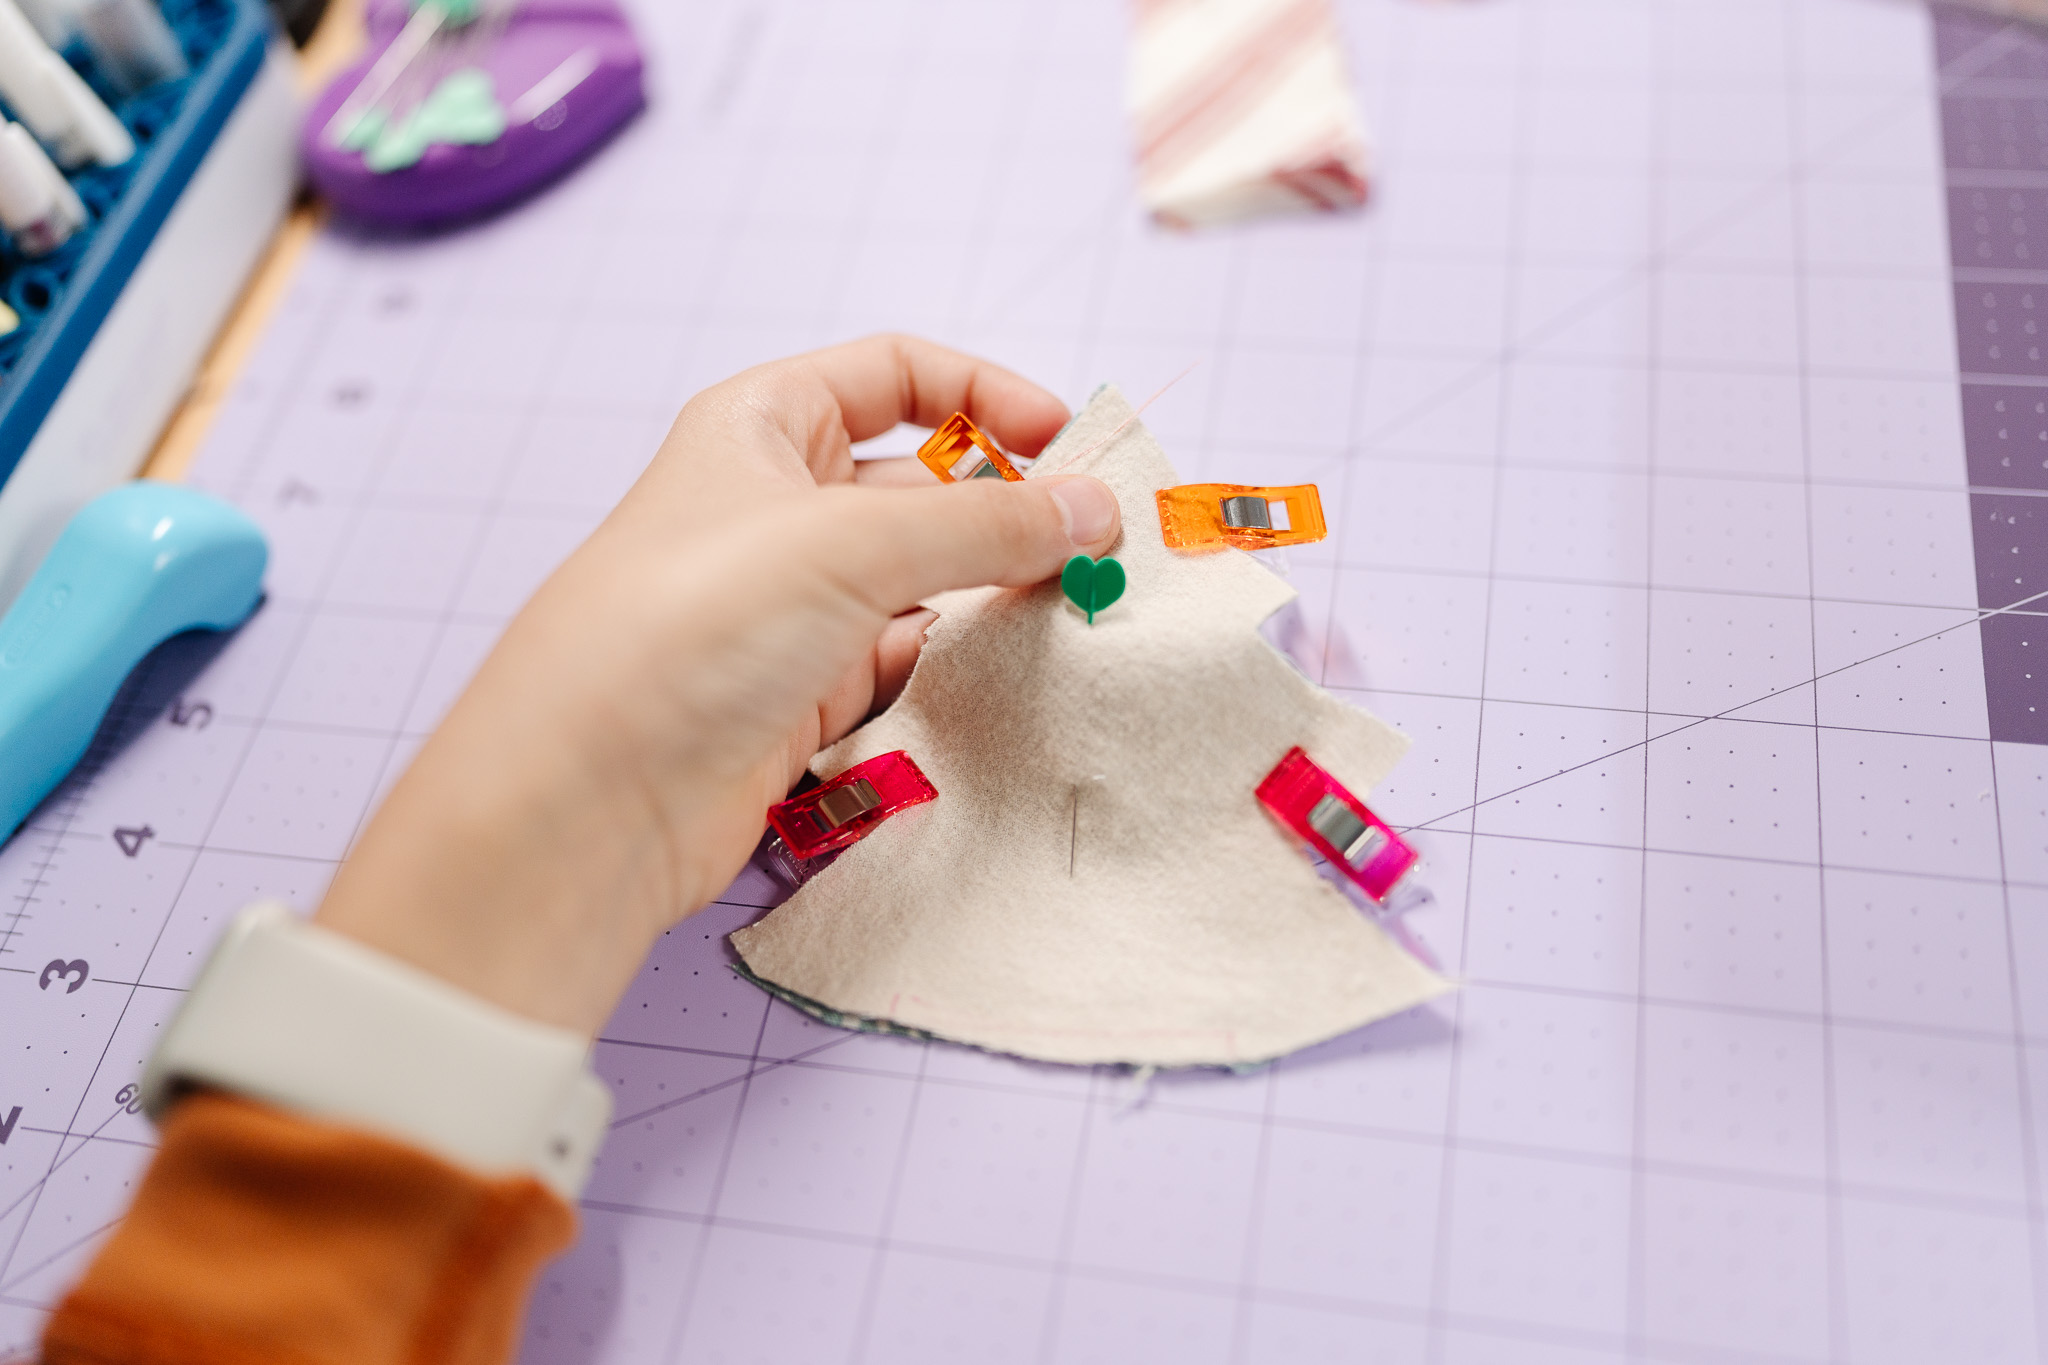
- Step 3: Layering the Fabrics
- After tracing, she placed the cream flannel behind the traced floral fabric, wrong sides together. She aligned all edges and used a couple Heart-Shaped Pins to keep the layers from shifting as she prepared to cut.
- Step 4: Cutting the Tree Shape
- Just like the candy cane, she used different tools for different parts:
- Straight Edges:
- She placed her ruler along any straight sides of the tree and used her Rotary Cutter to make crisp, clean cuts. The ruler acted as a safety barrier to keep her fingers protected.
- Curved or Detailed Edges:
- For the angles and curves of the tree branches, she switched to her Scissors for better control. She kept the heart pins in while cutting so both layers remained perfectly aligned.

- Step 5: Add the Hanging Loop
- Cataleya prepared her 2–3 inch piece of velvet ribbon for the hanging loop.
- Instead of placing the loop at the top point of the tree, she chose to attach it on the side, giving the ornament a playful, slightly tilted hanging look.
- Step 6: Sewing 1/8″ From the Edge
- Using the traced outline as her guide, Cataleya stitched 1/8 inch outside the tree shape, taking her time around the branch points and the top peak.
- She left a 2–3 inch opening at the bottom of the tree, which would become her turning and stuffing gap.
Leaving the opening at the base makes it easier to turn the ornament right-side out and keeps the hand-stitched closure less noticeable.

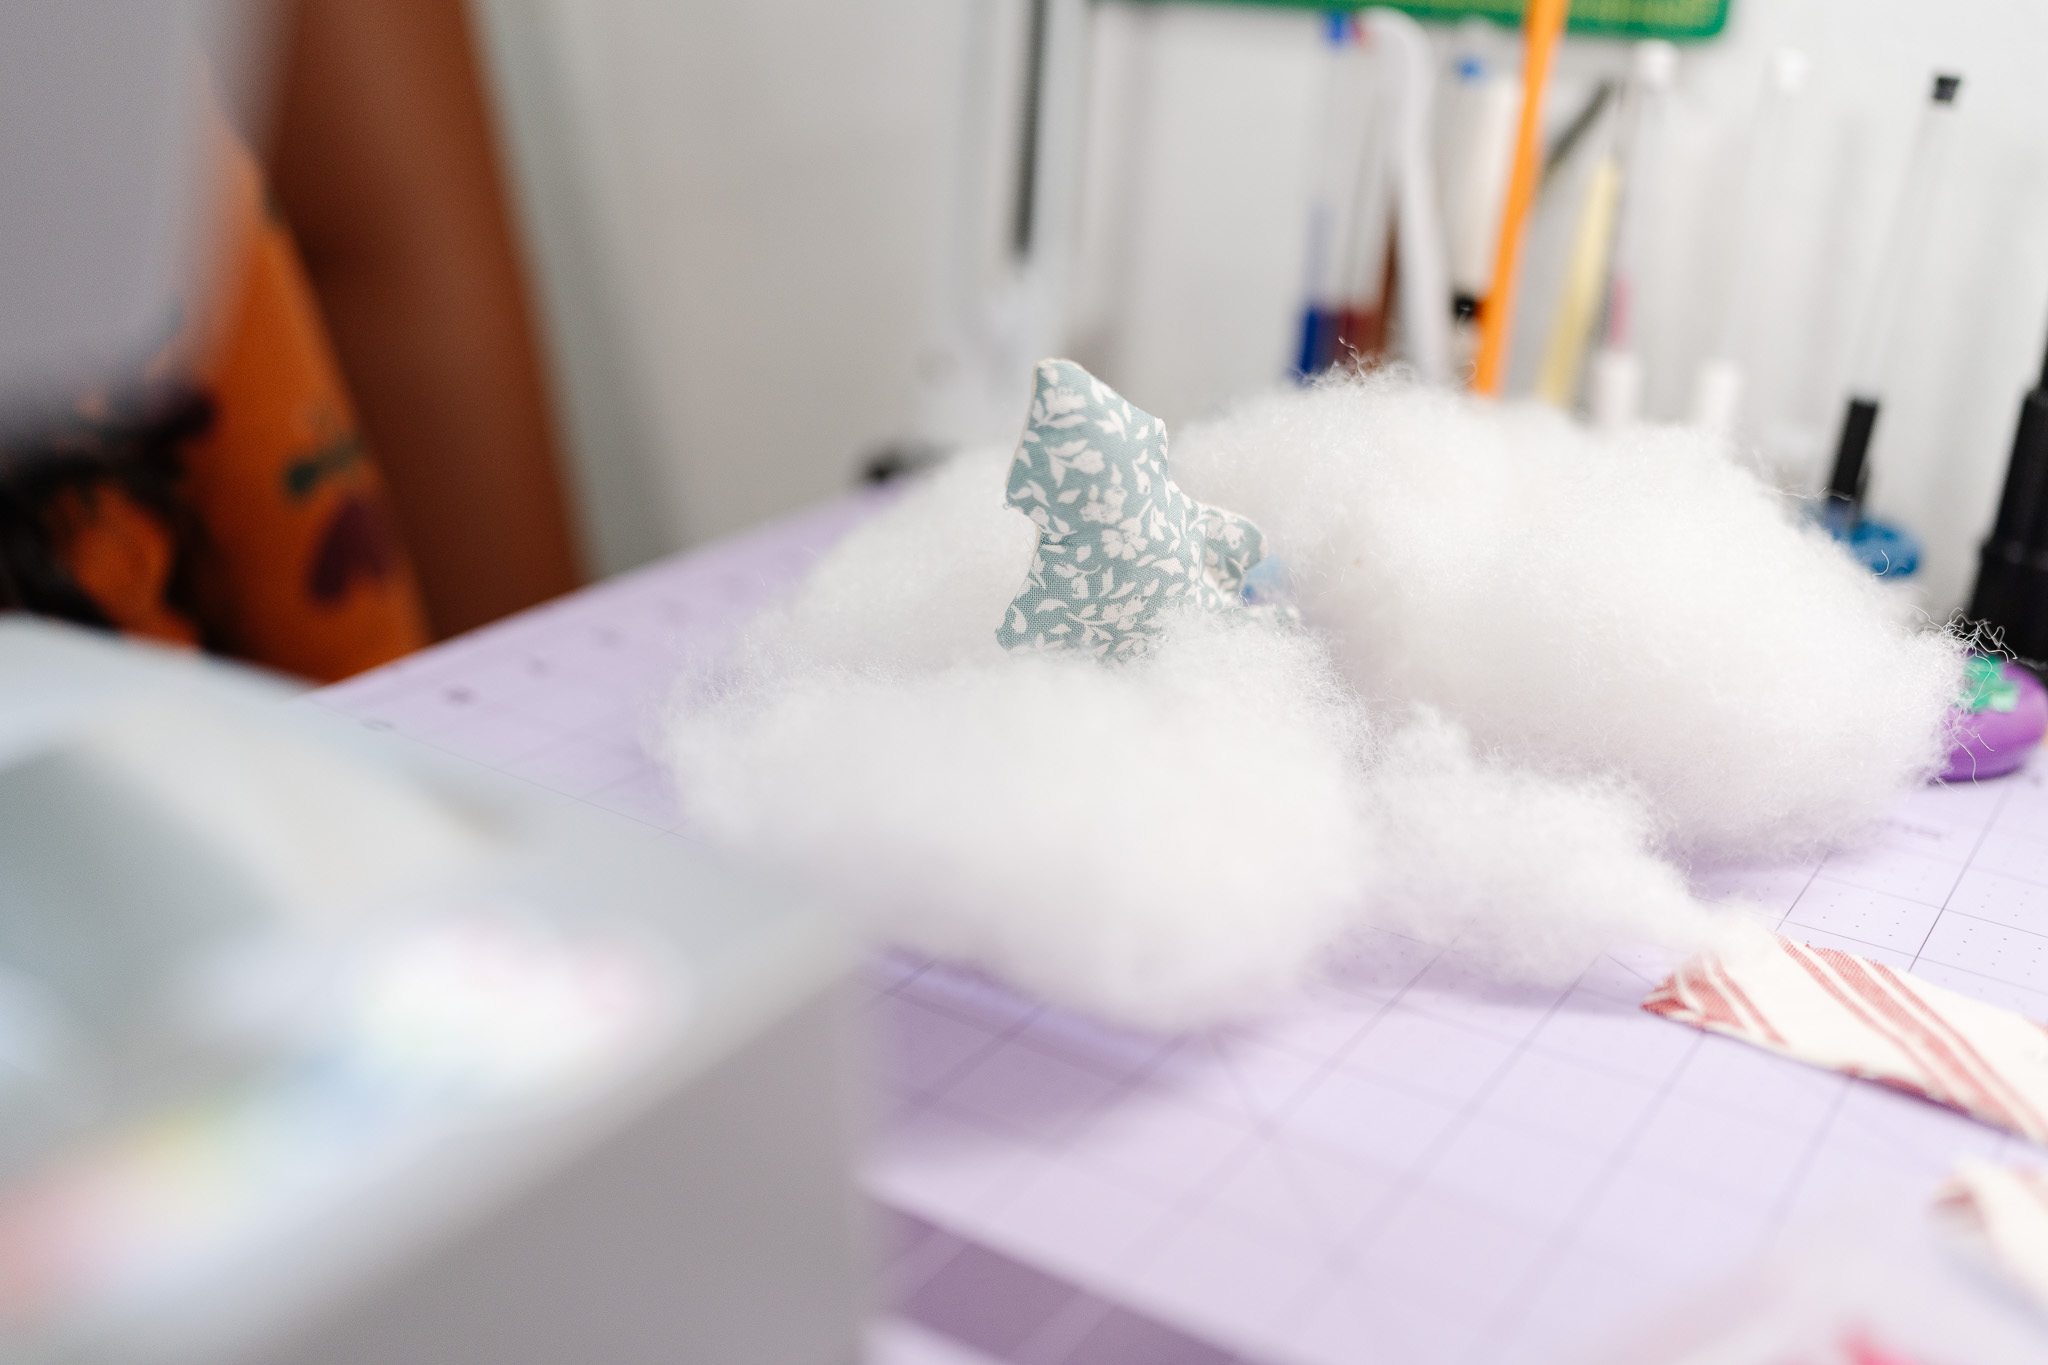
- Step 7: Turning + Stuffing
- She turned the tree right-side out through the 3″ opening.
- Then she used her Point Turner to push out every little branch point and angle, making the tree shape crisp.
- Once the edges were shaped, she stuffed the tree with fiber fill (or scrap fabric!) until it looked full and puffy.
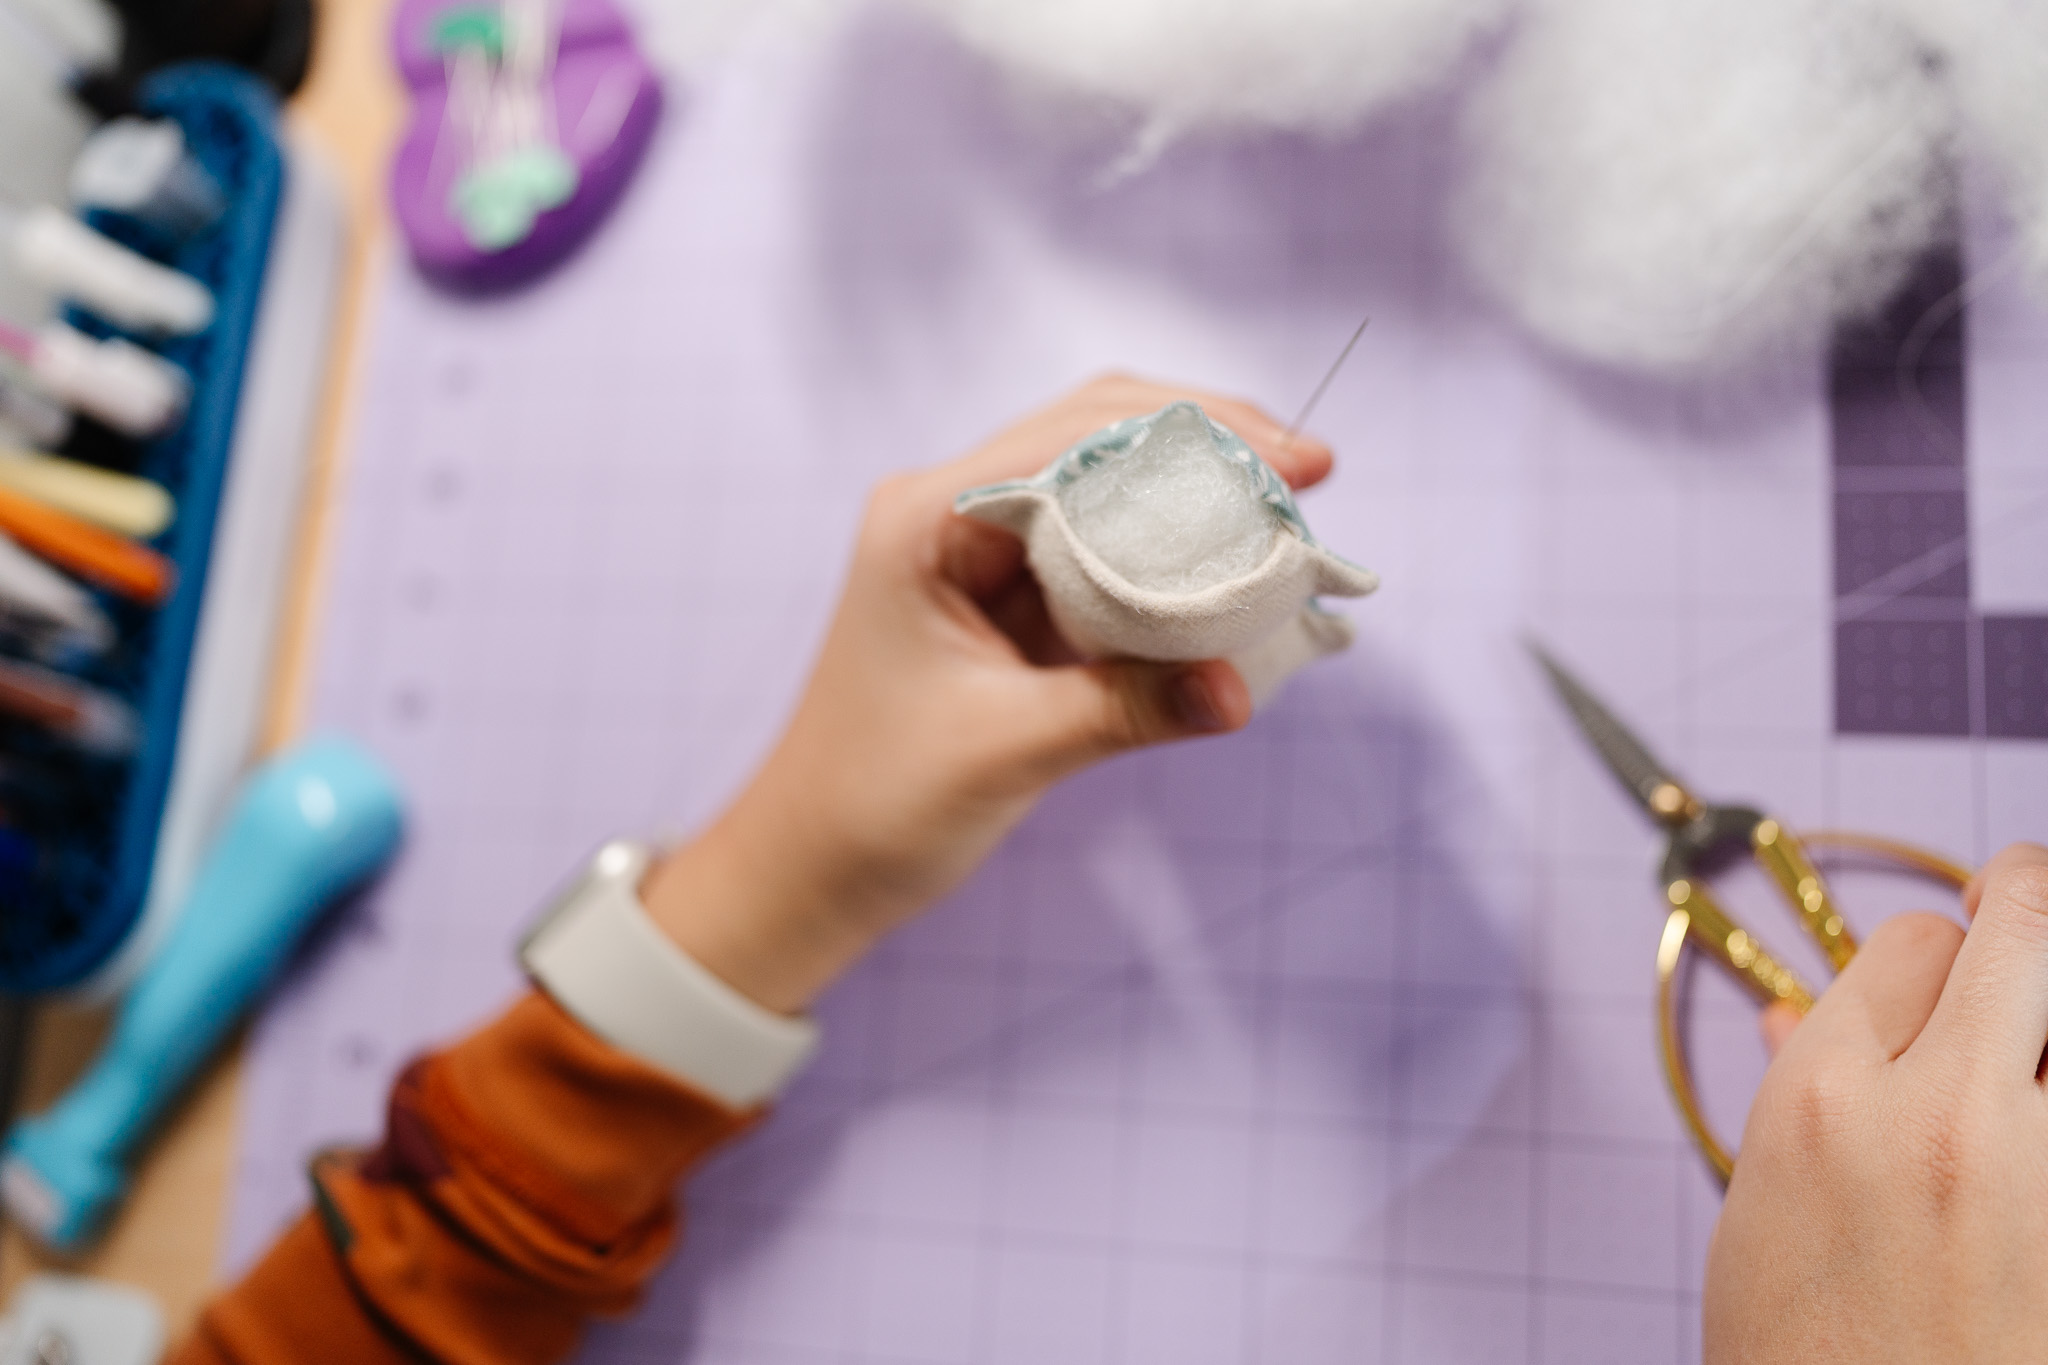
- Step 8: Hand-Sewing the Opening Closed
- Using a needle and thread that matched her fabric, she closed the side opening using small, neat hand stitches (like a tiny ladder stitch) so the seam blended in.
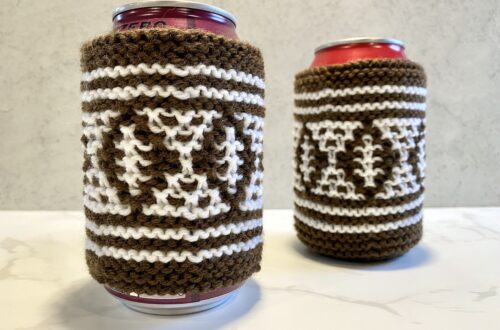
When she finished, Cataleya rushed over to our Christmas tree and hung them up — her candy cane and her little tree, side by side. Seeing them there, handmade and full of her personality, felt so special.
They added the sweetest touch to our holiday décor, and she was so proud to see her work hanging alongside all our other ornaments. It’s amazing how two small sewing projects can bring so much joy — and now every time we walk by the tree, we smile knowing she made them herself.
If you want to keep up with me, Cataleya, on social media, follow her on social media: Instagram
If you want to keep up with all things Clover, follow us on: Facebook | Twitter | Instagram | Pinterest | YouTube | Ravelry