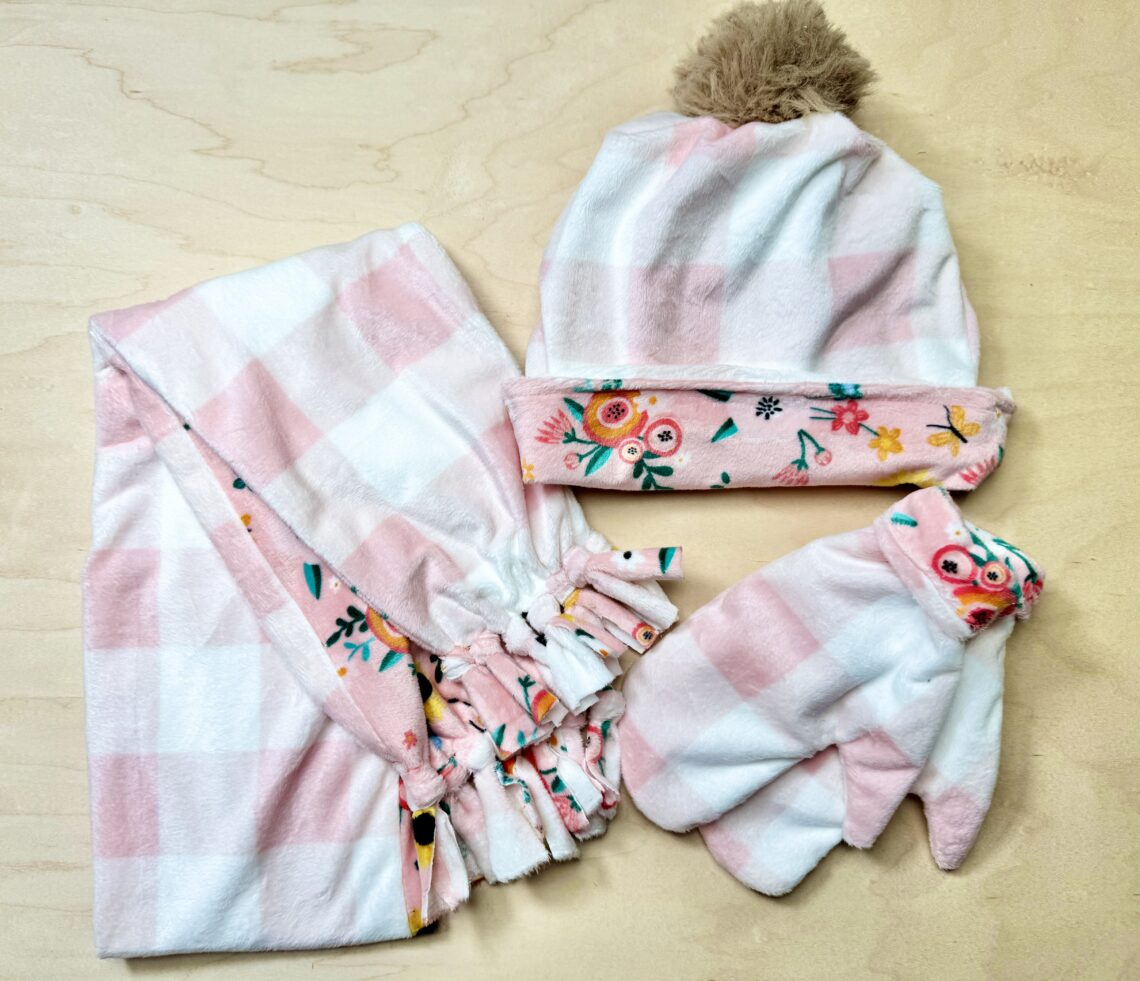
DIY Hat, Scarf, & Mittens *gift idea*
The holidays have a way of sneaking up on us, and sometimes the best gifts are the ones made at the last minute with love. This DIY Hat, Scarf, and Mittens set is the perfect cozy project when you want to give something thoughtful, practical, and handmade without spending weeks at your sewing machine. Whether you’re gifting to family, friends, or keeping a set for yourself, this trio comes together quickly and feels extra special under the tree.
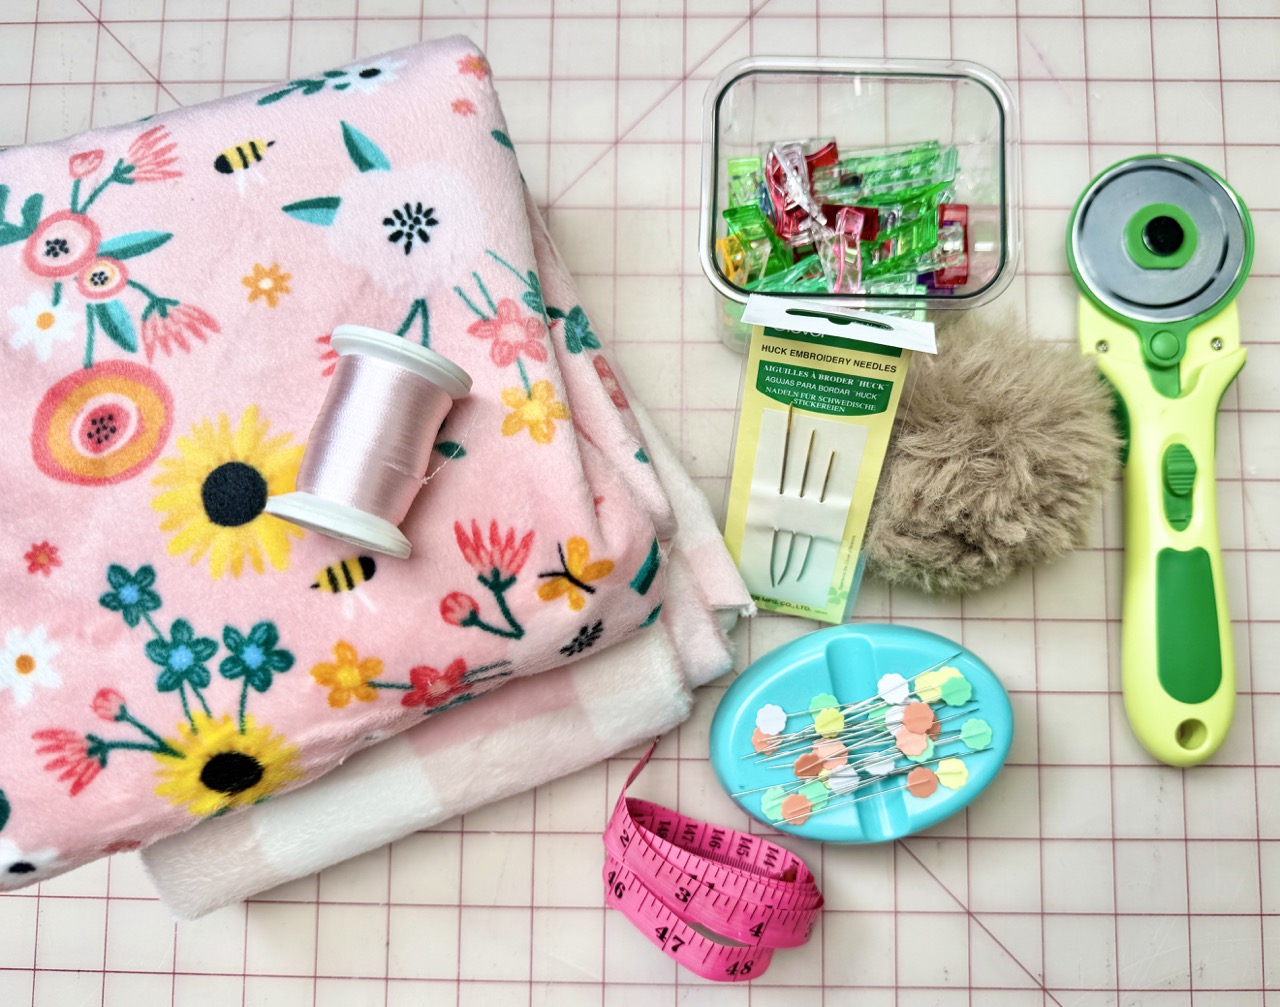
MATERIALS:
- Clover Rotary Cutter (60 mm)
- Clover Flower Pins
- Clover Wonder Clips
- Clover Huck Embroidery Needles
- pen/marker
- fleece fabric (1 yard)
- fleece fabric for lining (1 yard)
- pom-pom (optional)
INSTRUCTIONS:
MITTENS:
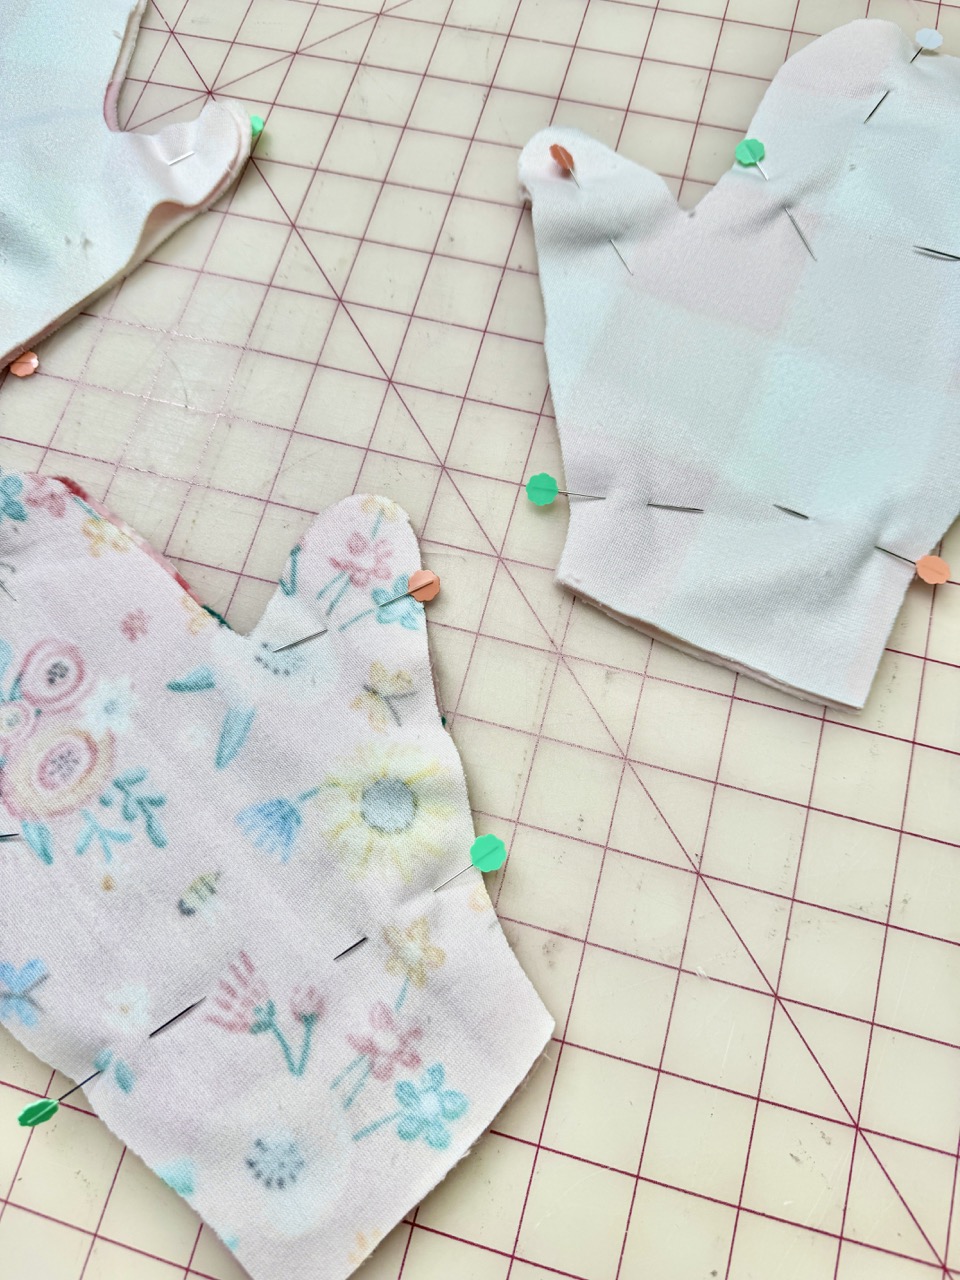
- Create the pattern for the mittens by tracing your hand and your wrist, leaving about 1″ extra room for seam allowance to make sure the glove fits comfortable over the width of your hand and wrist. Using the fleece fabrics, cut out 2 sets of each fabric with the mitten pattern using the Clover Rotary Cutter (60 mm). I also use the Clover Flower Pins to hold the pattern to the fabric.

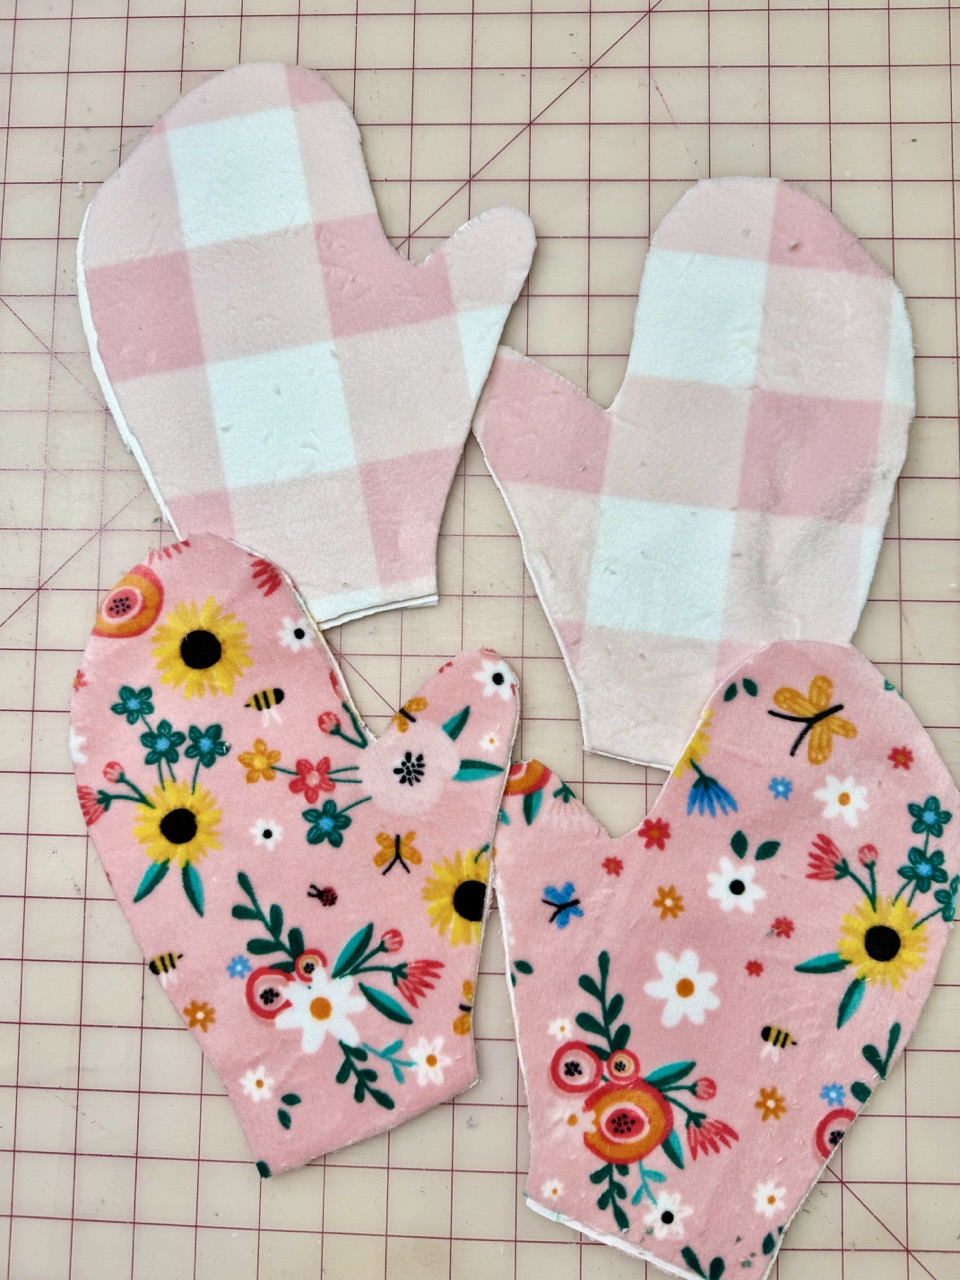
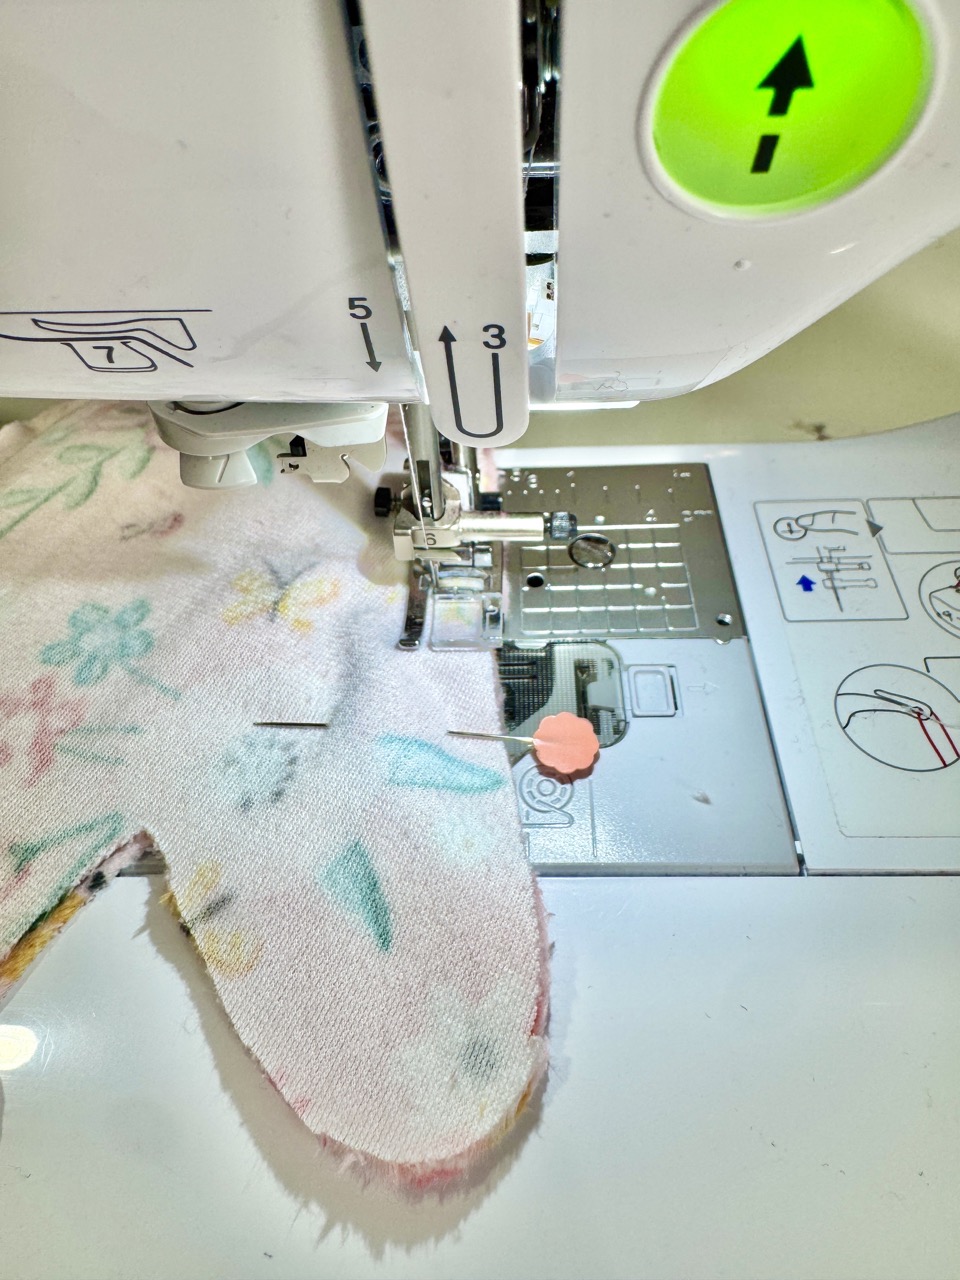
- You should have a total of 8 pieces or 4 sets. With right sides together, put the mittens together by sewing along the outside edge. Identify the fabric that would be the outer mitten and the fabric that would be lining of the mitten.
- With wrong sides together, slide the mitten lining into the outer mitten. Fold the raw edges in and use Clover Wonder Clips to hold the fabric in place. Sew along the wrist. The mittens are complete.


HAT:
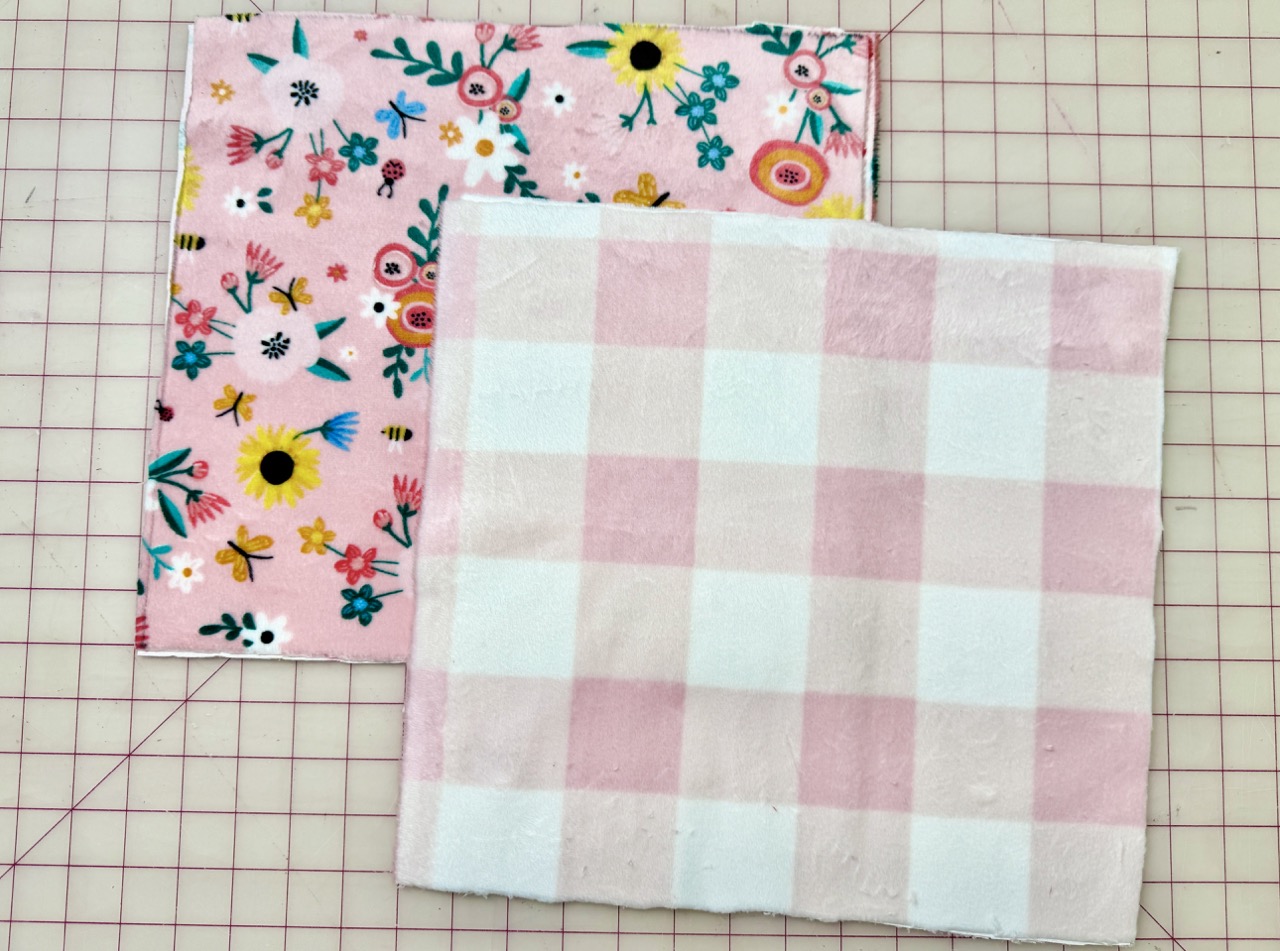
- To create the pattern for the hat, measure the circumference (around) your head and then divide that by 2 (add 1″ extra for seam allowance). That will be the width for the bottom of the hat pattern. Add 12″ for the length/height of hat. The hat I created turned out to be 12″x12″.
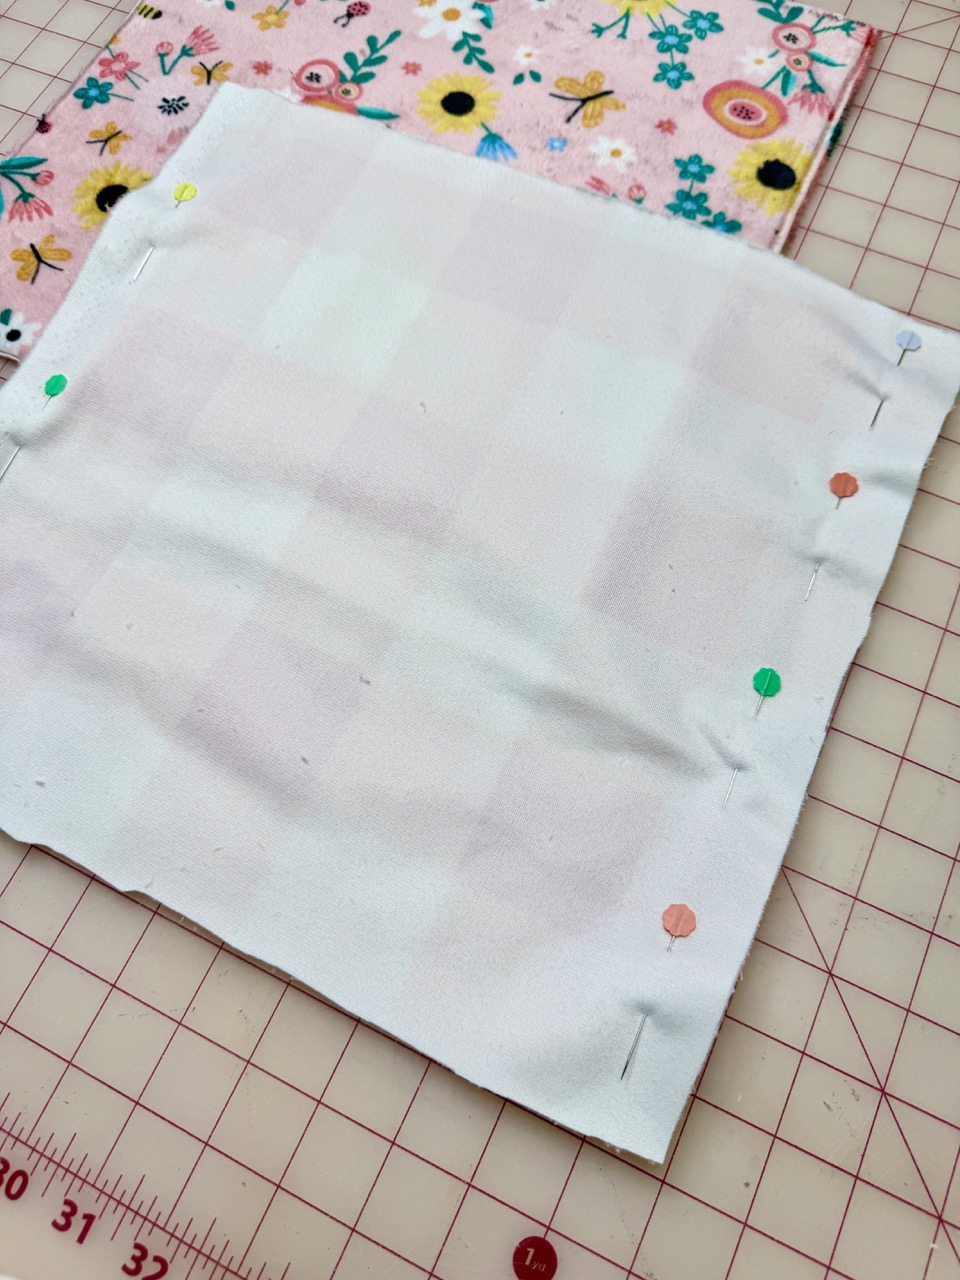
- Cut out 2 pieces of each fleece fabric using the Clover Rotary Cutter (60 mm). I also use the Clover Flower Pins to hold the fabric in place. With right sides facing, sew together each fabric separately at the length. With wrong sides facing, slide the hat B into the hat A. Fold the raw edges in and sew along the bottom edge of the hat.
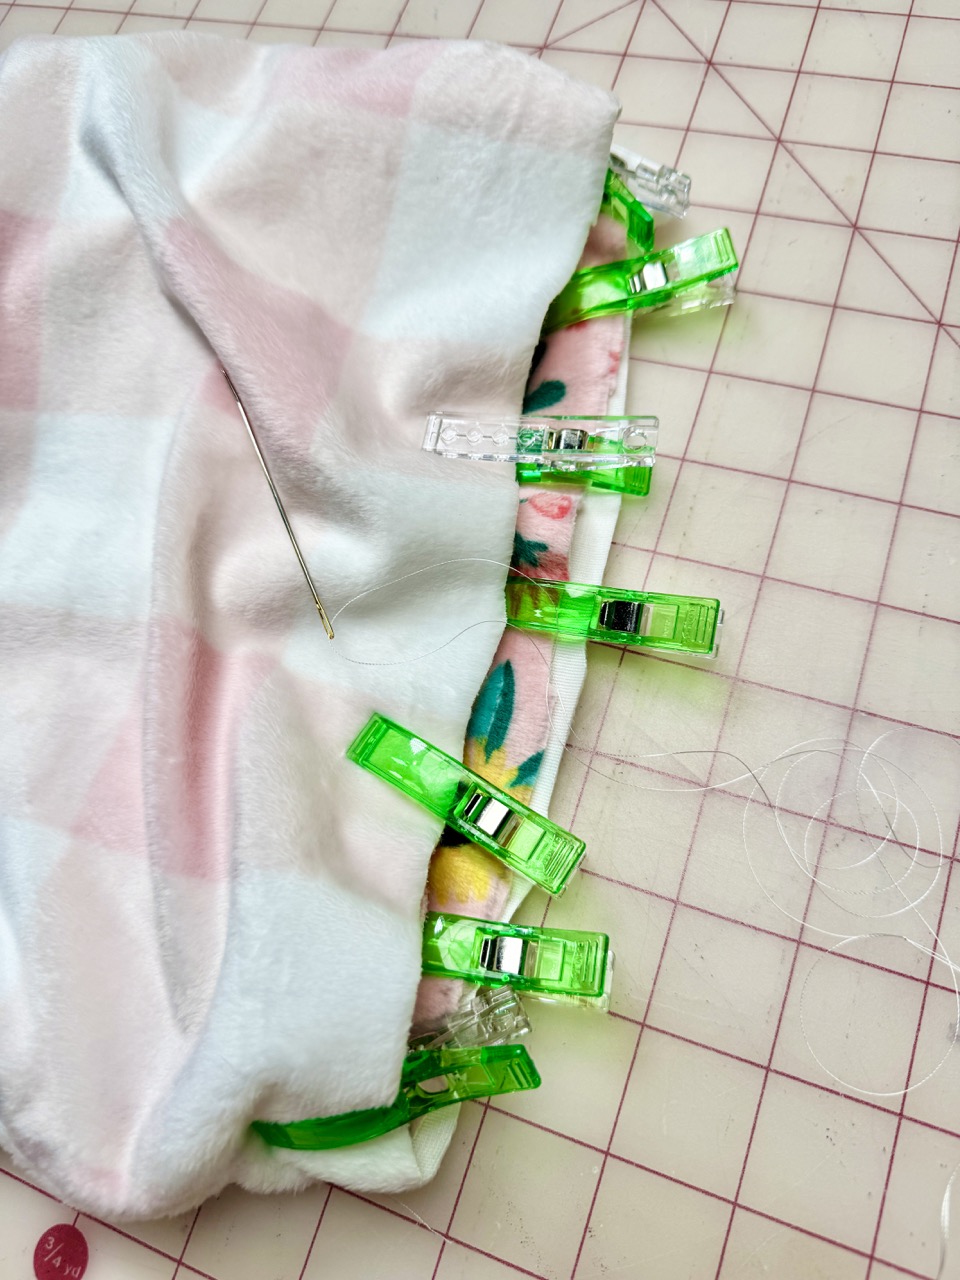
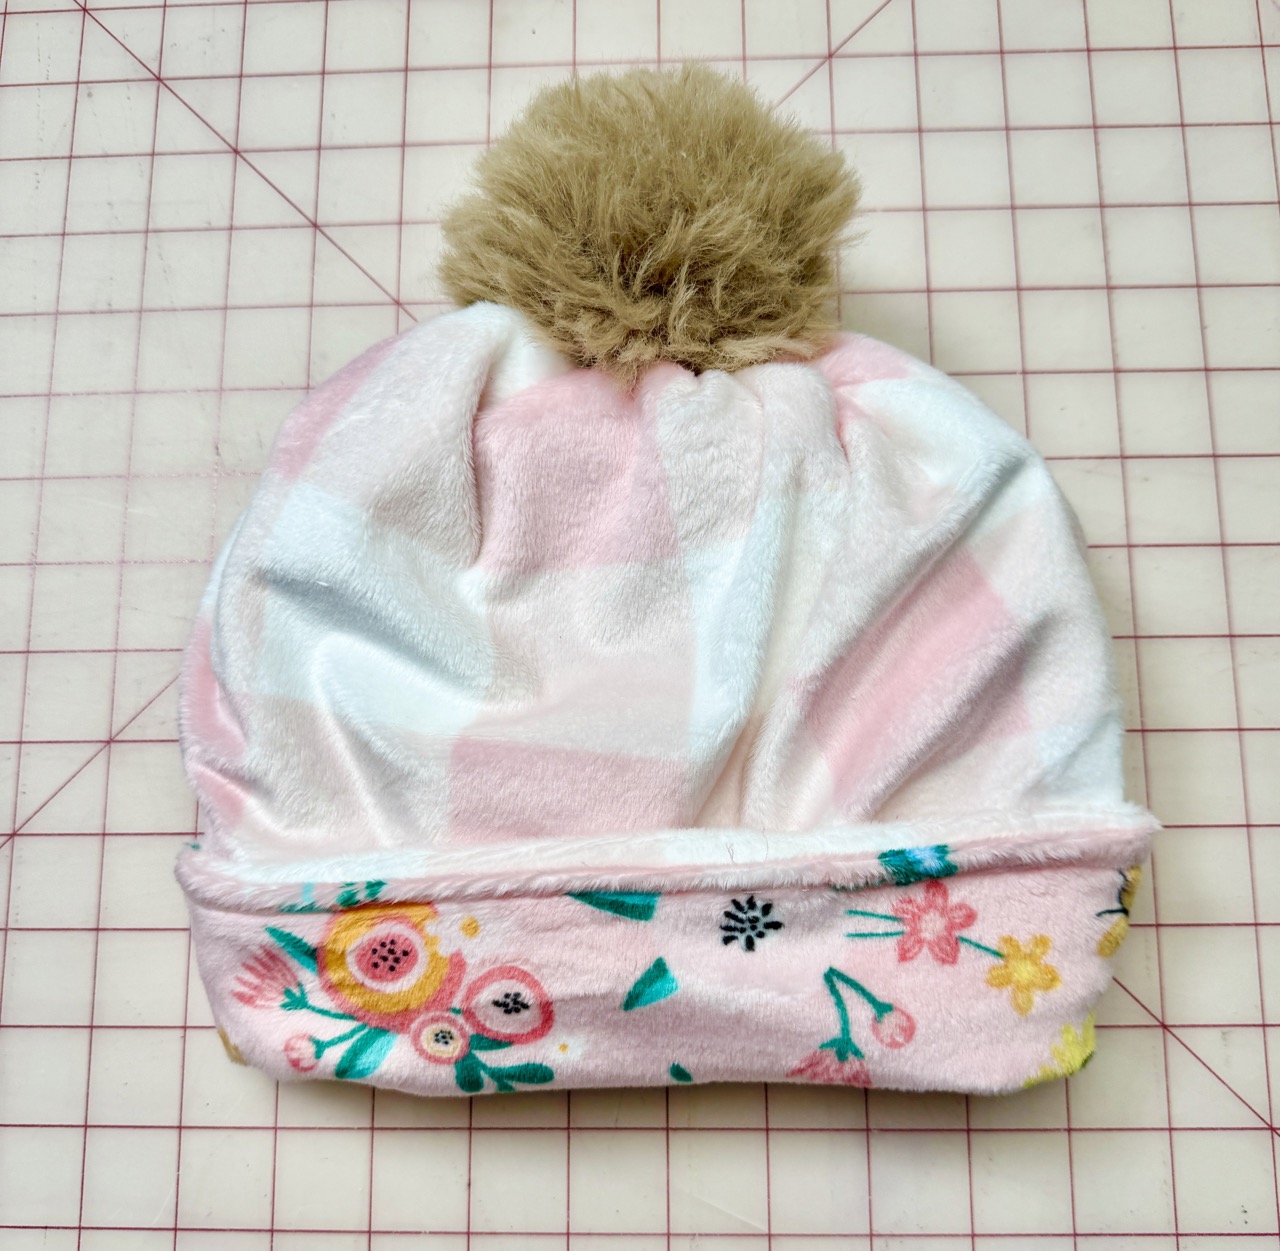
- Hold hat A and hat B together at the top using Clover Wonder Clips and baste using Clove. Leave the thread long and pull thread to pull in the hat at the top. Take the pom pom and hand sew it into the hat. Fold the bottom edge of the hat. The hat is complete!
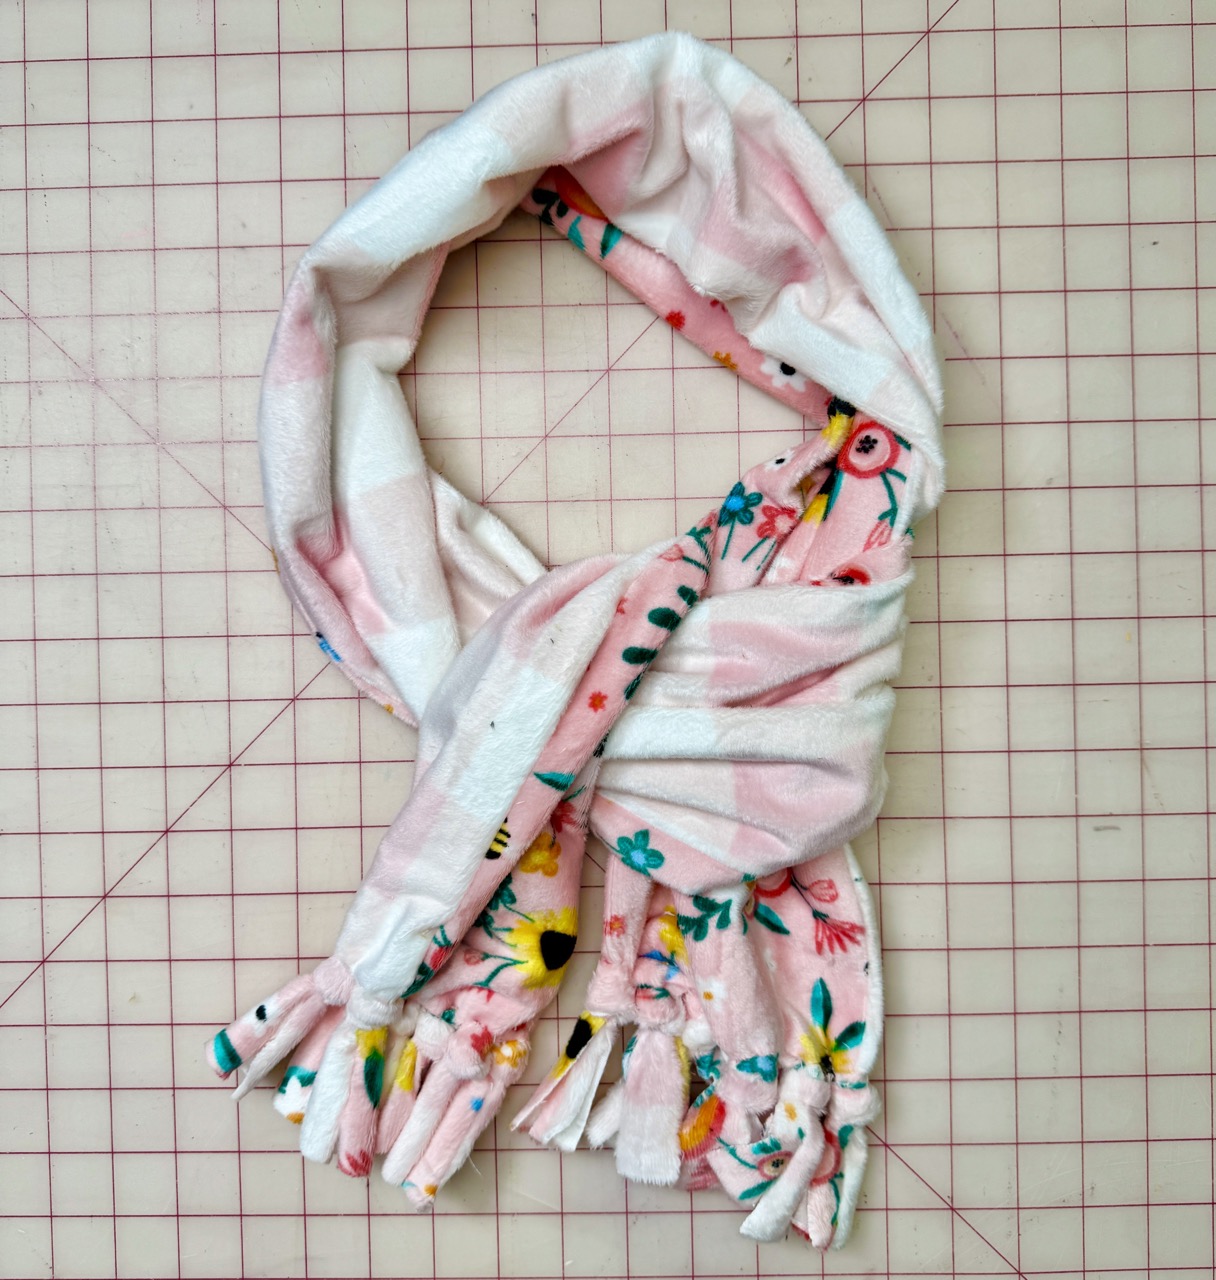
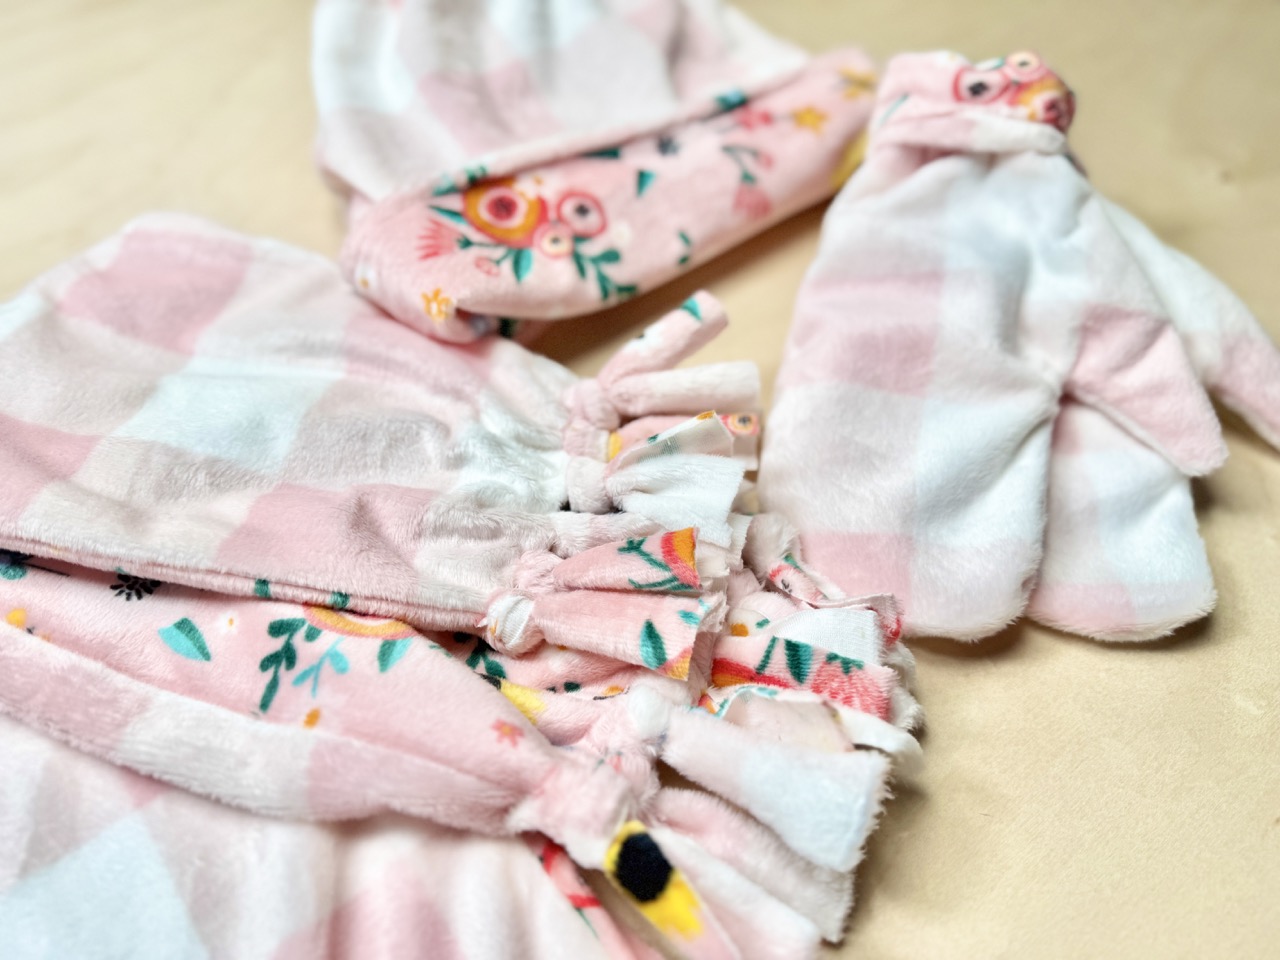
SCARF:
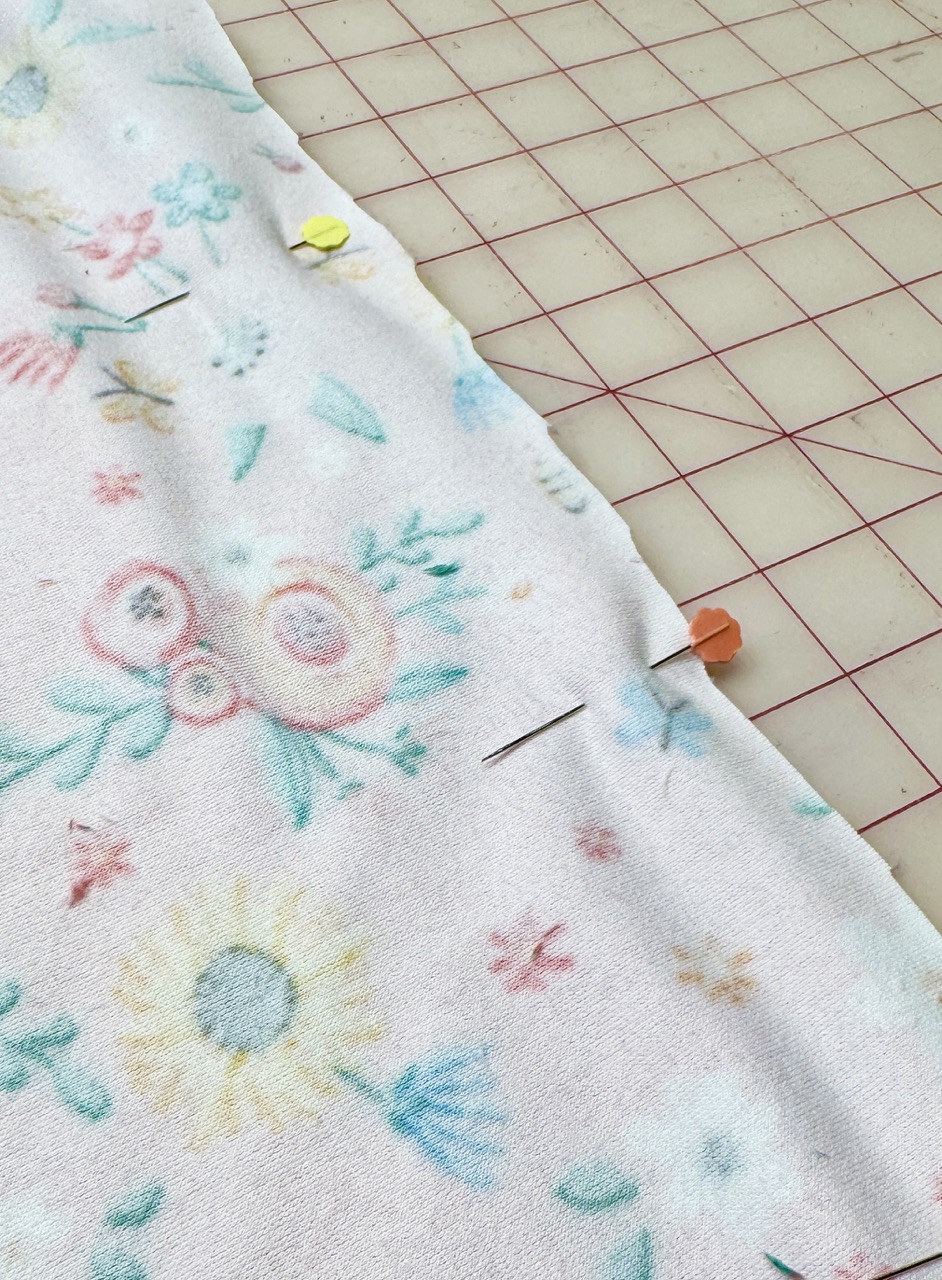
- For the scarf, cut both fabrics the length that you want and width using the Clover Rotary Cutter (60 mm). A good length is about 50-70 inches for a standard scarf. I chose to cut my scarf 8″ x 60″. Place both fabrics right sides together. Sew along the long edges. Turn right sides out. Cut the ends to create fringes and make knots between the two different fabrics like you would tie a balloon.

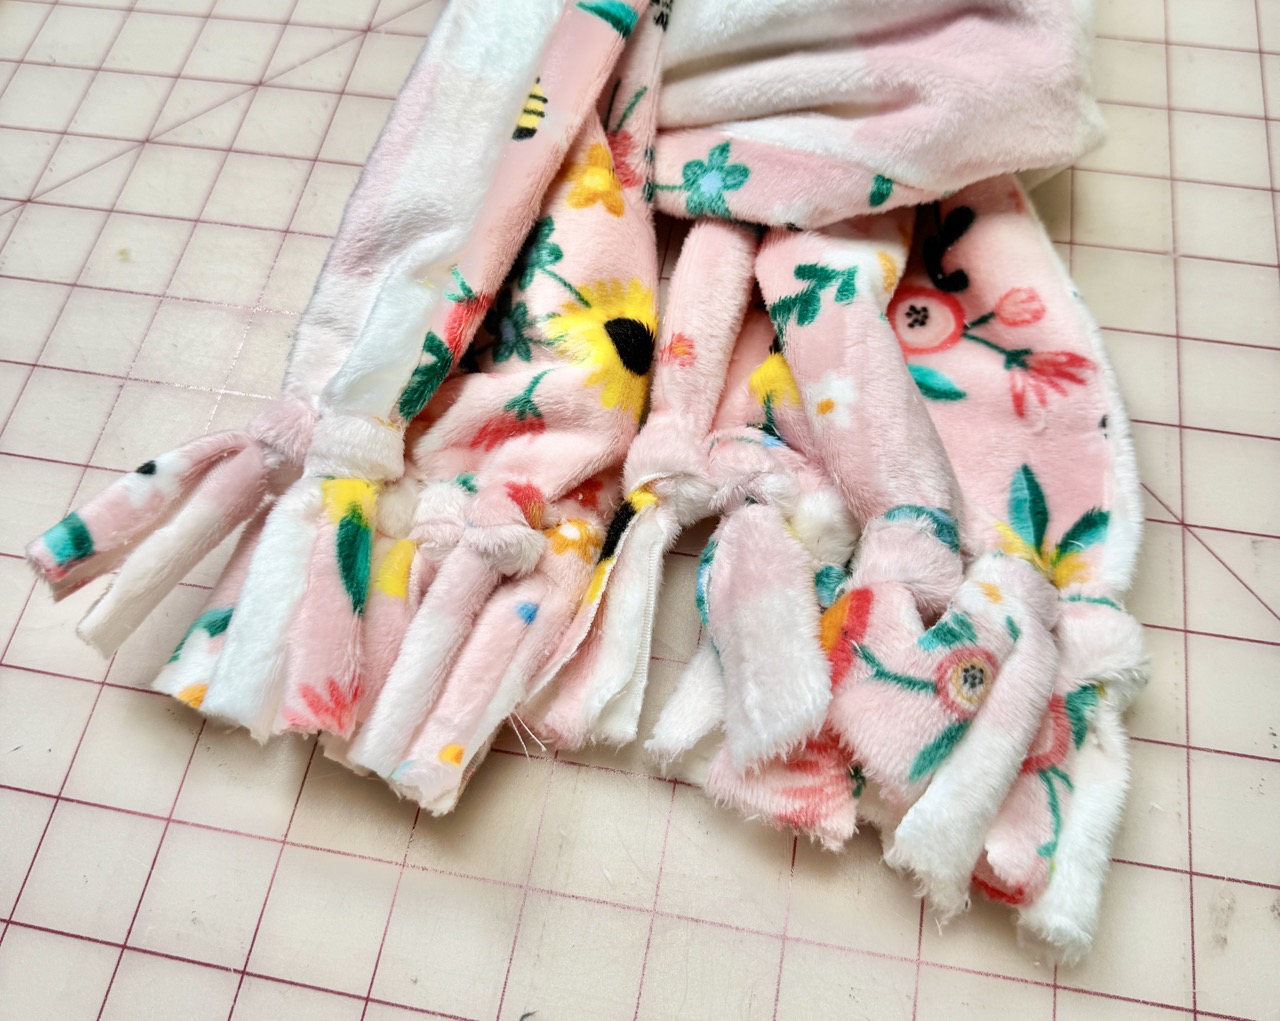
- Your scarf is complete!
I hope this DIY scarf, hat, and mittens set was timely! It is an easy way to add warmth and thoughtfulness to the season without overthinking it. Whether it’s a cozy gift for someone you love or a set you make for yourself, these pieces are meant to be worn, used, and enjoyed. The best part is, it can be used beyond the holidays and into the new year of 2026! Happy holidays to all!
If you want to keep up with me, Duana, on social media for other fun projects, follow me on social media: Instagram
If you want to keep up with all things Clover, follow us on: Facebook | Twitter | Instagram | Pinterest | YouTube | Ravelry